
Import Invoices in Bulk
Create up to 1,000 invoices from a CSV, with column matching and a review step.
Import invoices in bulk
Billing many customers at once? On the Invoices page, click Bulk Invoices to create them from a CSV. One row is one invoice, up to 1,000 rows per file, CSV only, and the first row must be the column headers.
Start by clicking Download CSV template so your columns match what PayMongo expects. The template has 12 columns; the six marked below are required and the rest are optional:
| Column | Required | What to put in it |
|---|---|---|
| Customer Name | Yes | The customer this invoice bills. |
| Customer Email | Yes | Where the invoice is sent. Must be a valid email address. |
| Customer Phone | No | Contact number, if you keep one. |
| Customer TIN | No | For BIR-registered customers who need their TIN on the invoice. |
| Line Item Description | Yes | What you are billing for. One line item per row. |
| Quantity | Yes | A whole number greater than 0. |
| Unit Price | Yes | Amount in pesos, e.g. 950 or 950.50. Must be greater than 0. |
| Due Date | Yes | YYYY-MM-DD, e.g. 2026-08-30. |
| Discount | No | Fixed peso amount off the row subtotal. Cannot be higher than the subtotal. |
| Message to Customer | No | Your message to the customer, shown on the invoice and on their payment page. |
| Internal Notes | No | A note only your team sees. It stays out of the invoice, the payment page, and the emails your customer receives. |
| Pass on Fees | No | Leave blank to absorb the transaction fee, or set it to pass the fee to the customer. |
The invoice number is not a column: PayMongo assigns it when each invoice is created.
A CSV creates one-off invoices only. To bill the same customer on a schedule, use repeating invoices instead.
The wizard then walks you through four steps.
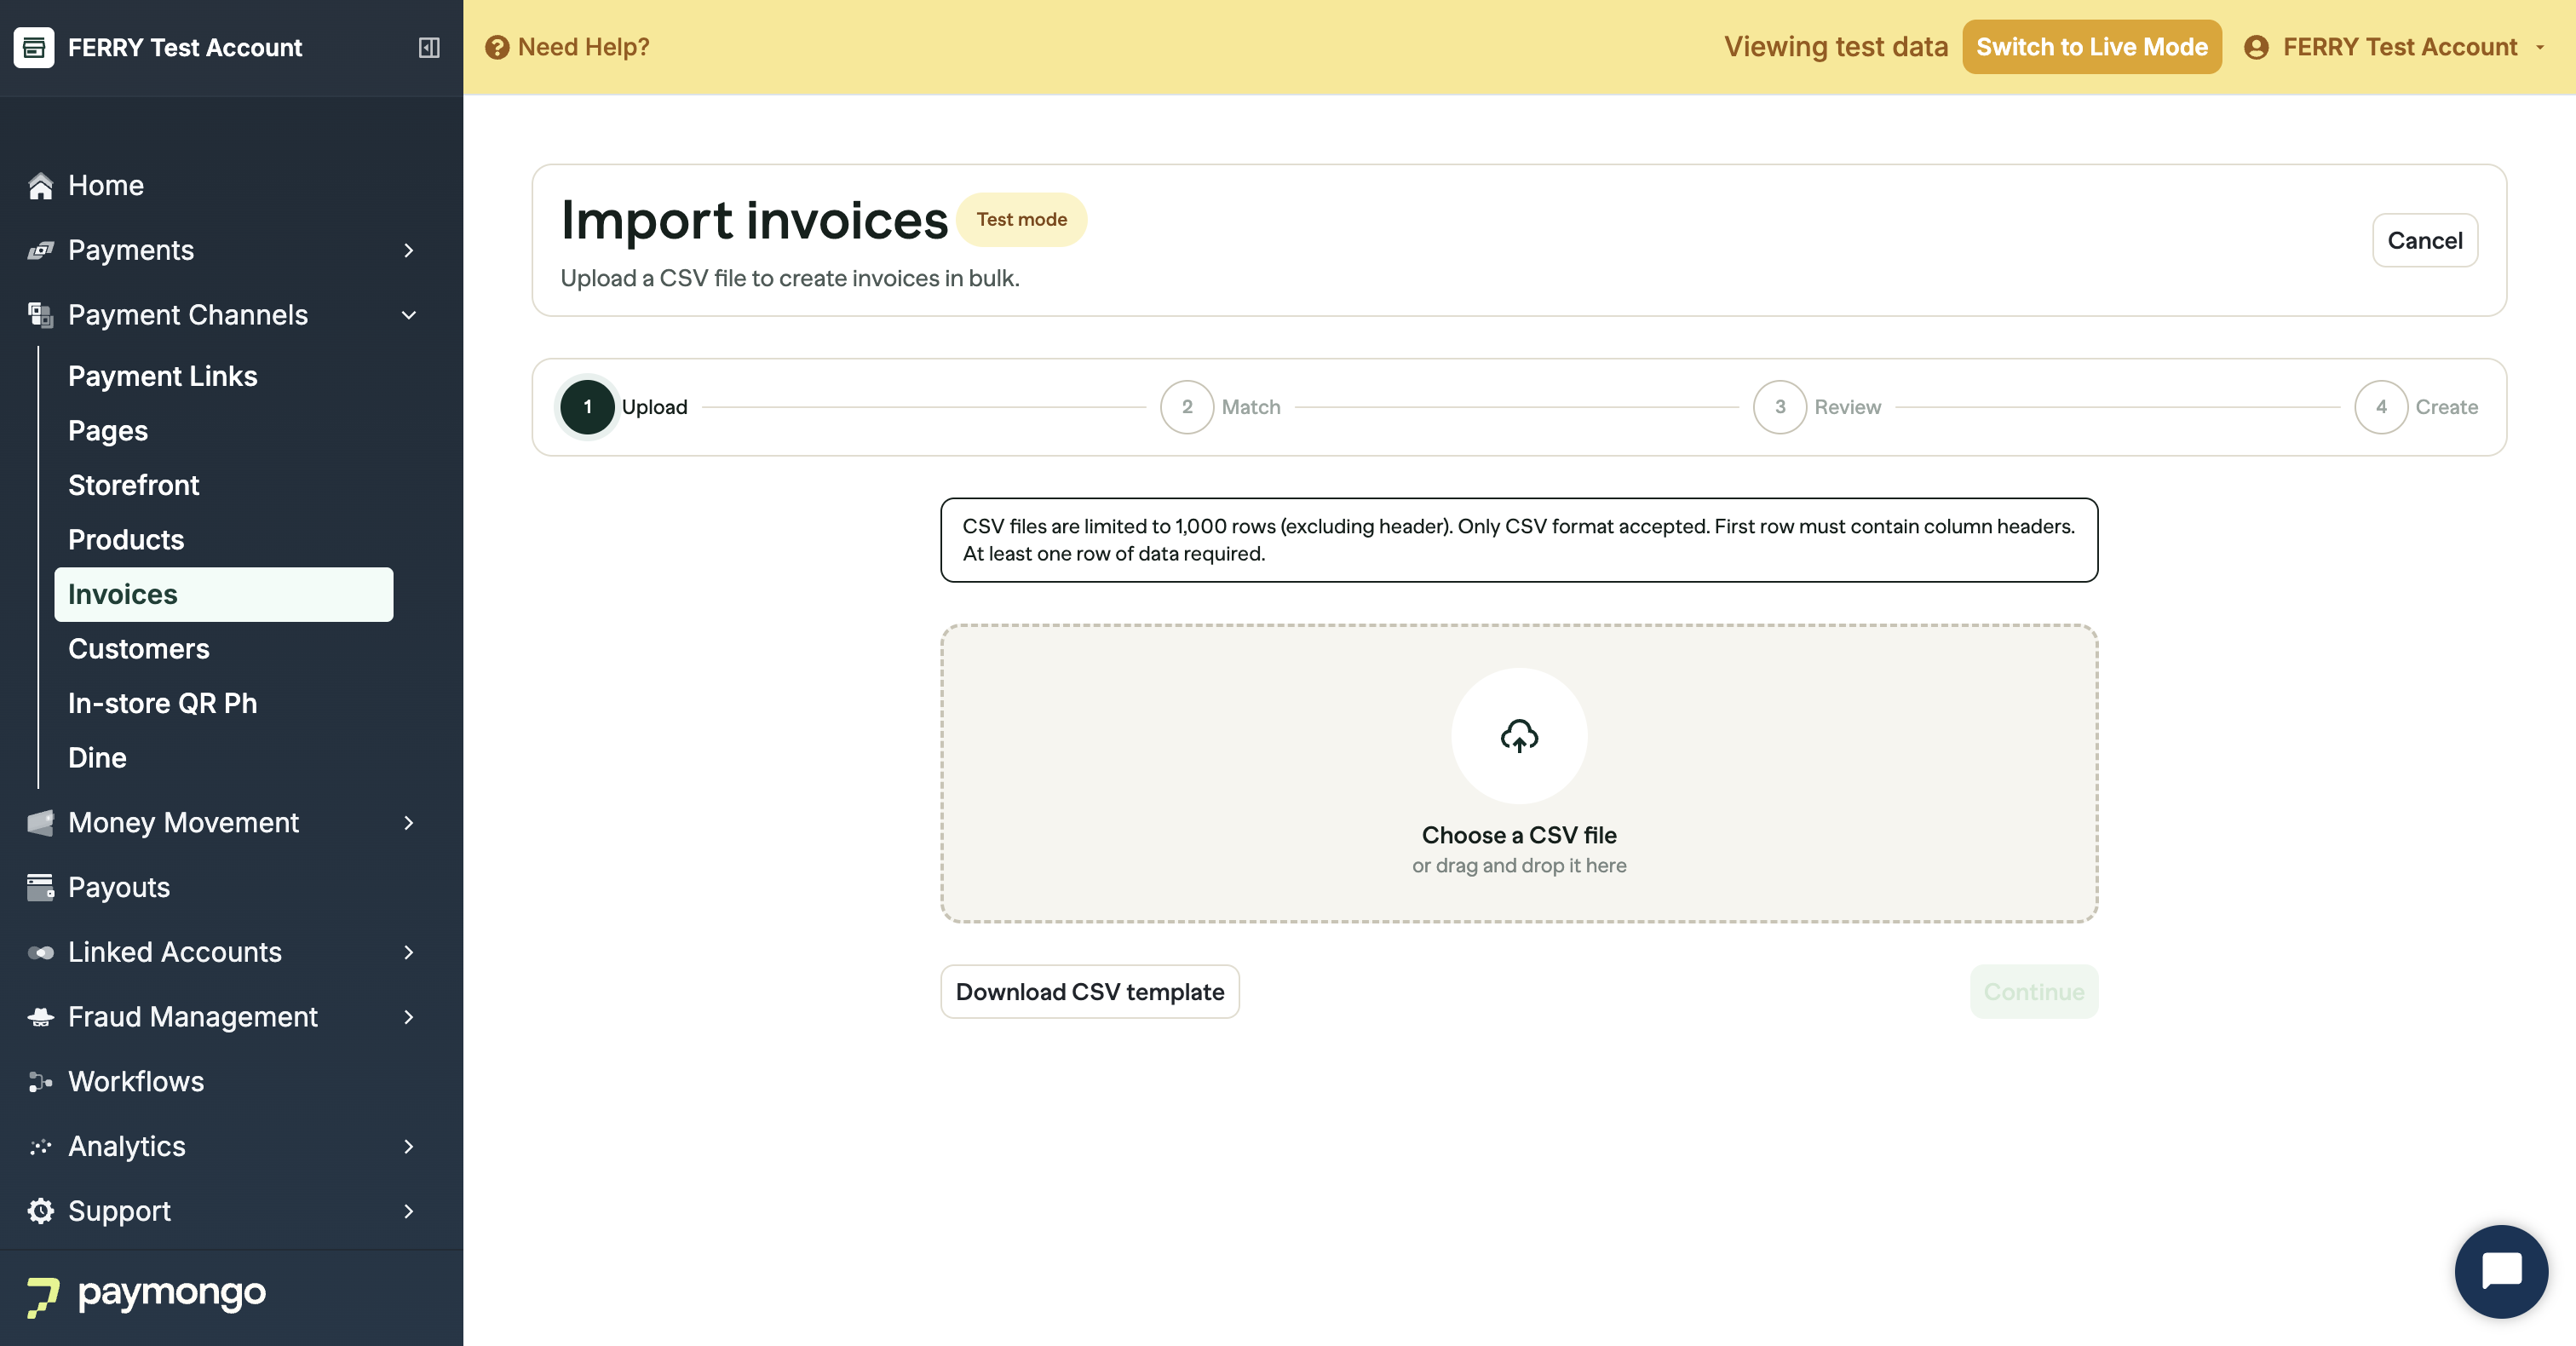
1. Upload. Choose your CSV. PayMongo reads it and tells you how many rows it found.
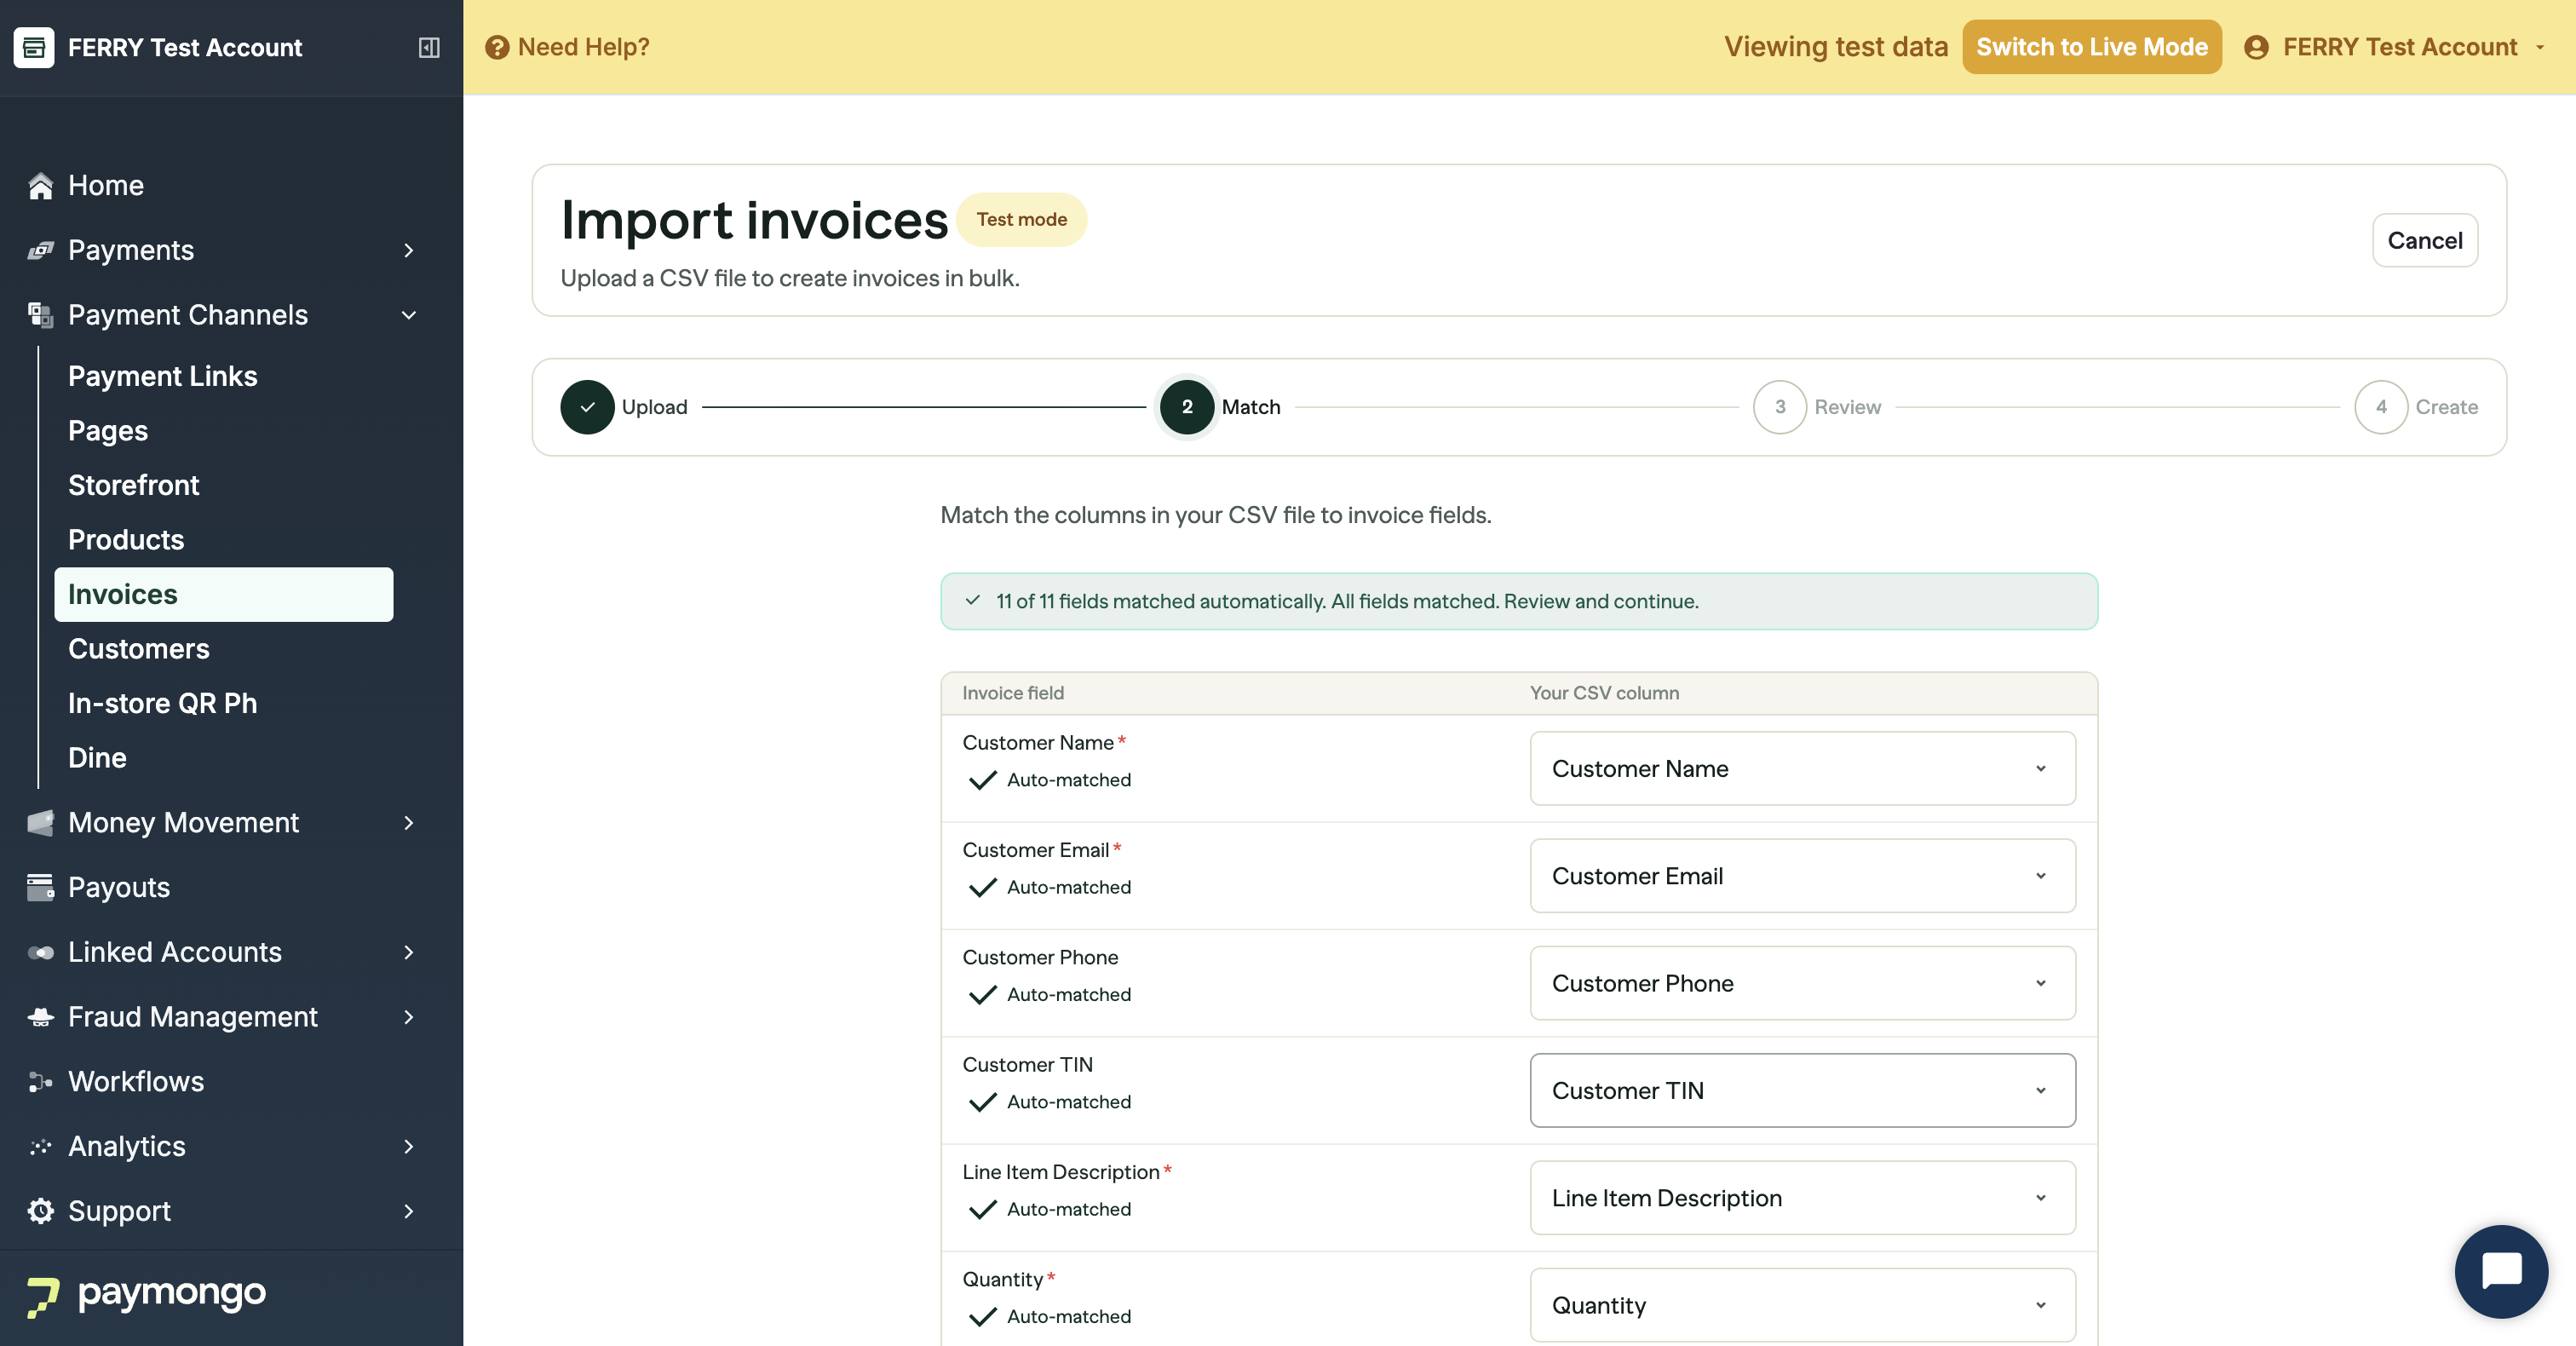
2. Match. Each column in your file is matched to an invoice field. If you used the template, all 12 match automatically; if you renamed or reordered anything, pick the right field from the dropdown. You can leave an optional column unmapped and fill it in at the next step.
3. Review. Every row is checked and you get a count of what is ready versus what needs attention. Rows with a problem are flagged with the specific reason, such as "Email address isn't valid" or "Quantity must be a whole number greater than 0":
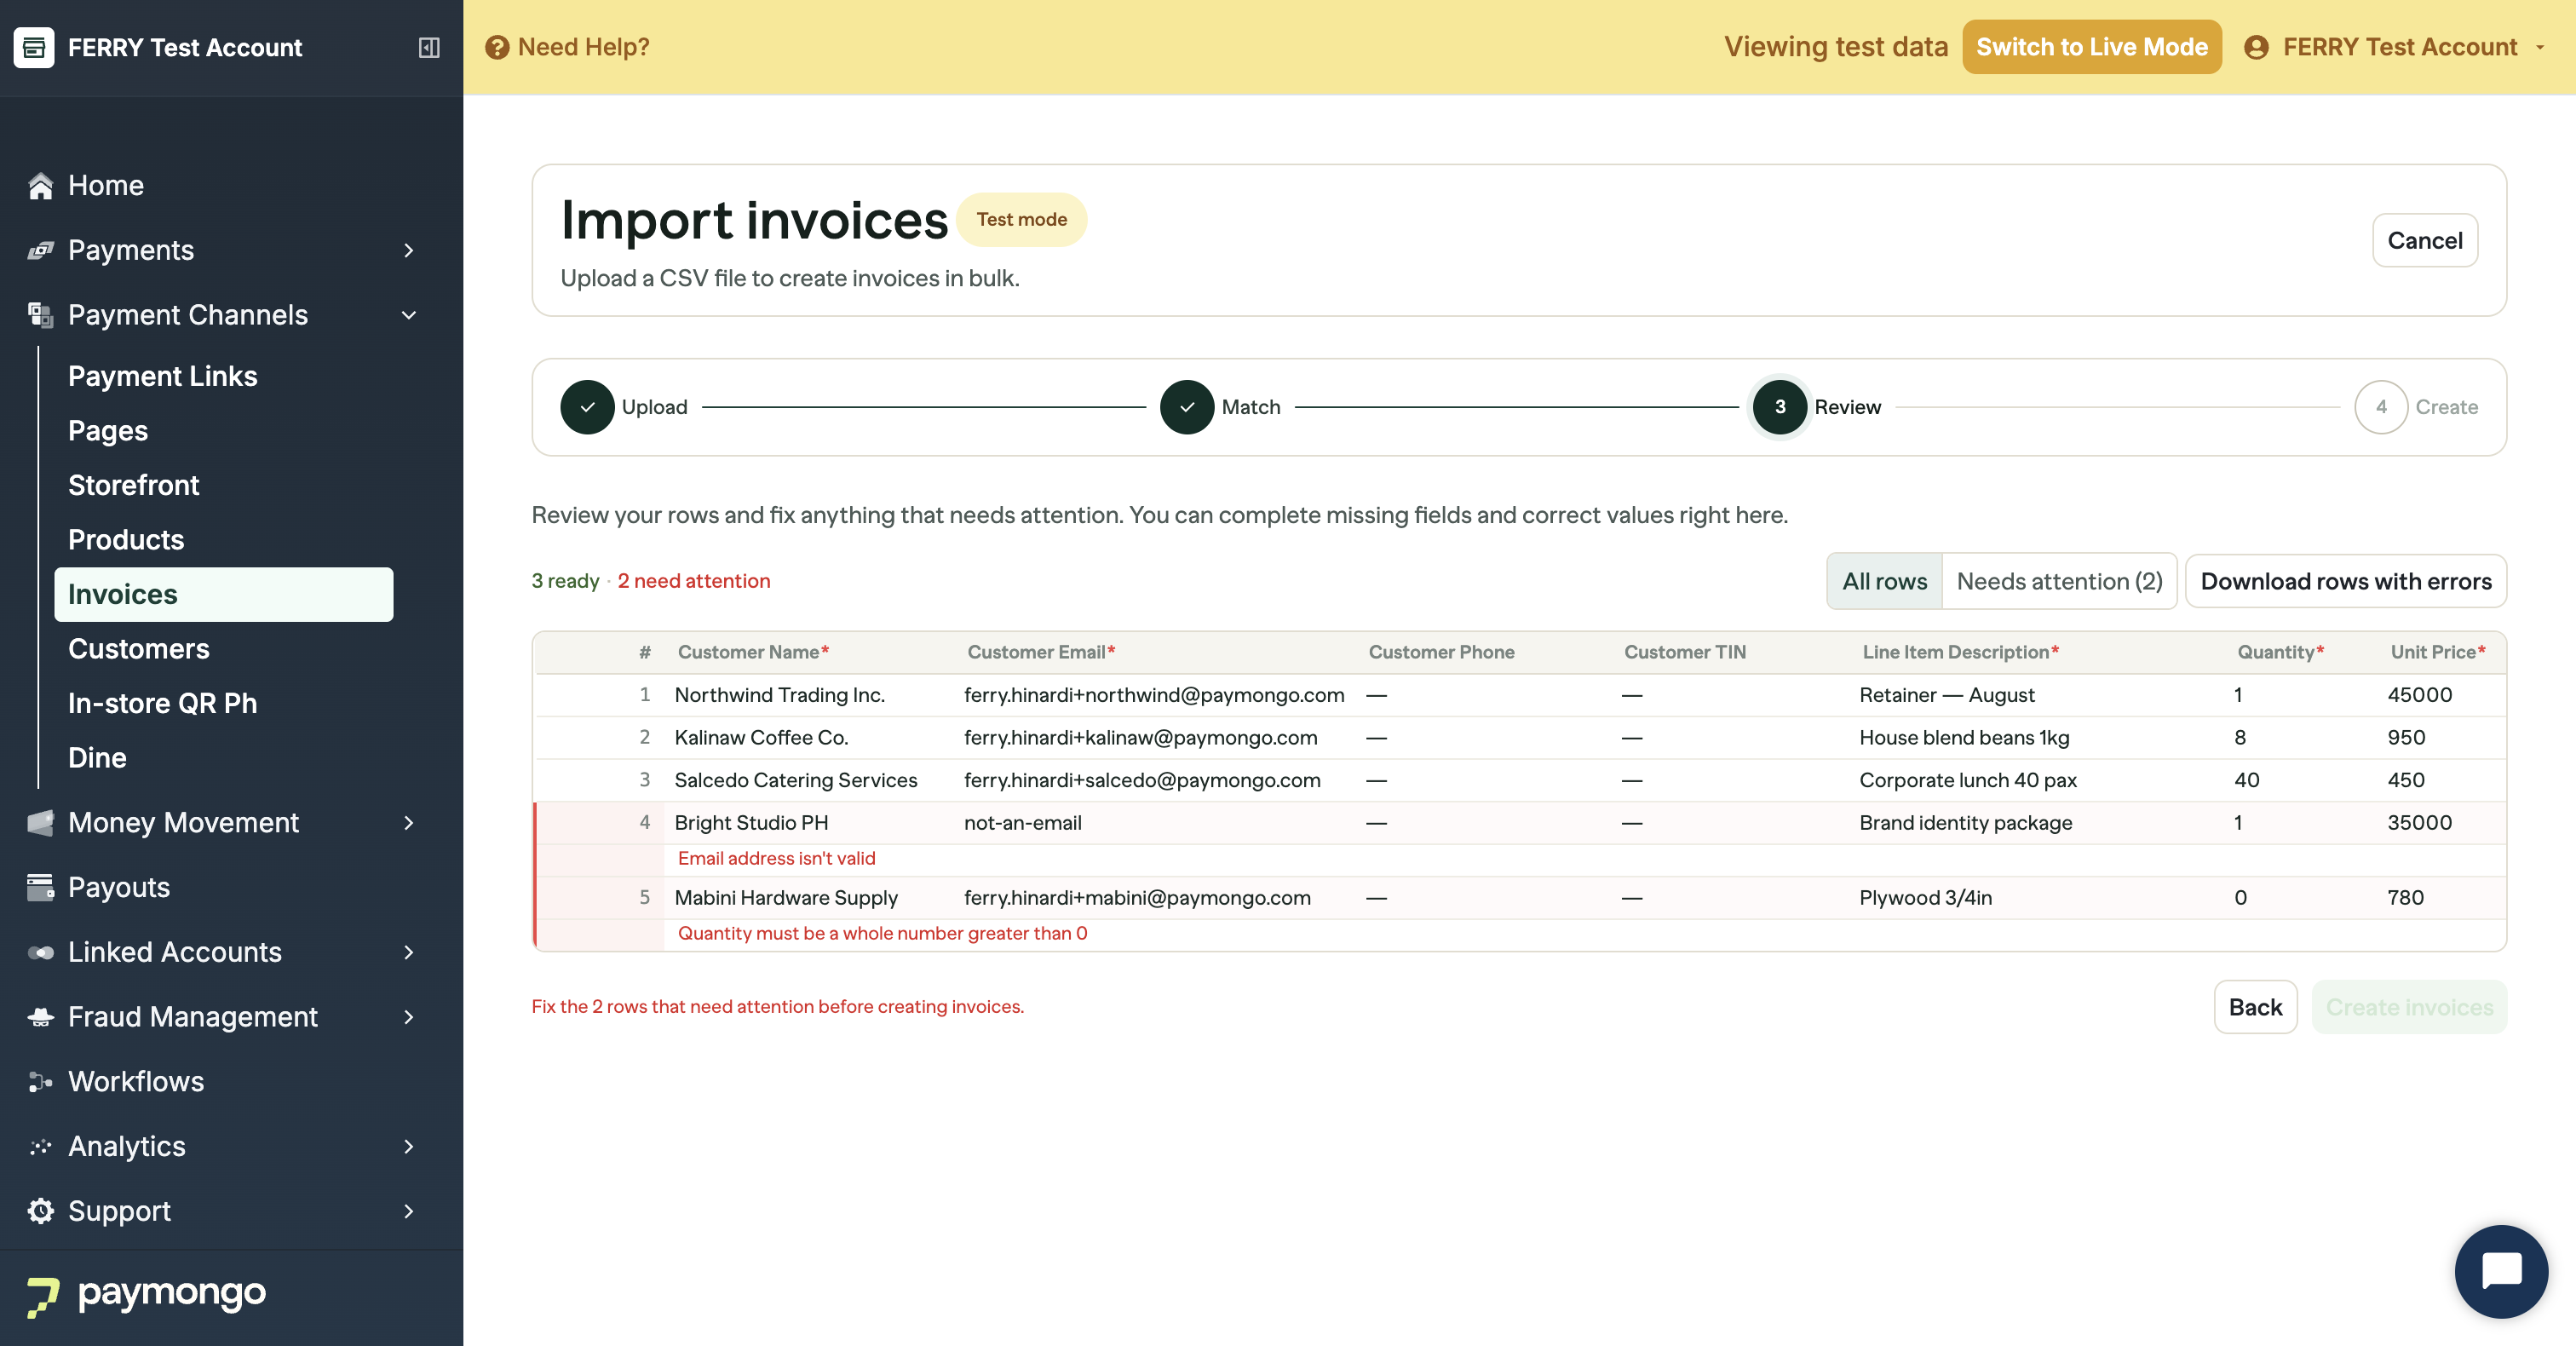
You can fix those rows right here: click the cell, correct the value, and the row flips to Ready as soon as it passes. You can also filter to Needs attention to work through only the problem rows, or Download rows with errors to fix them in your spreadsheet and re-upload. Nothing is created until every row is ready.
4. Create. Choose how the invoices come out:
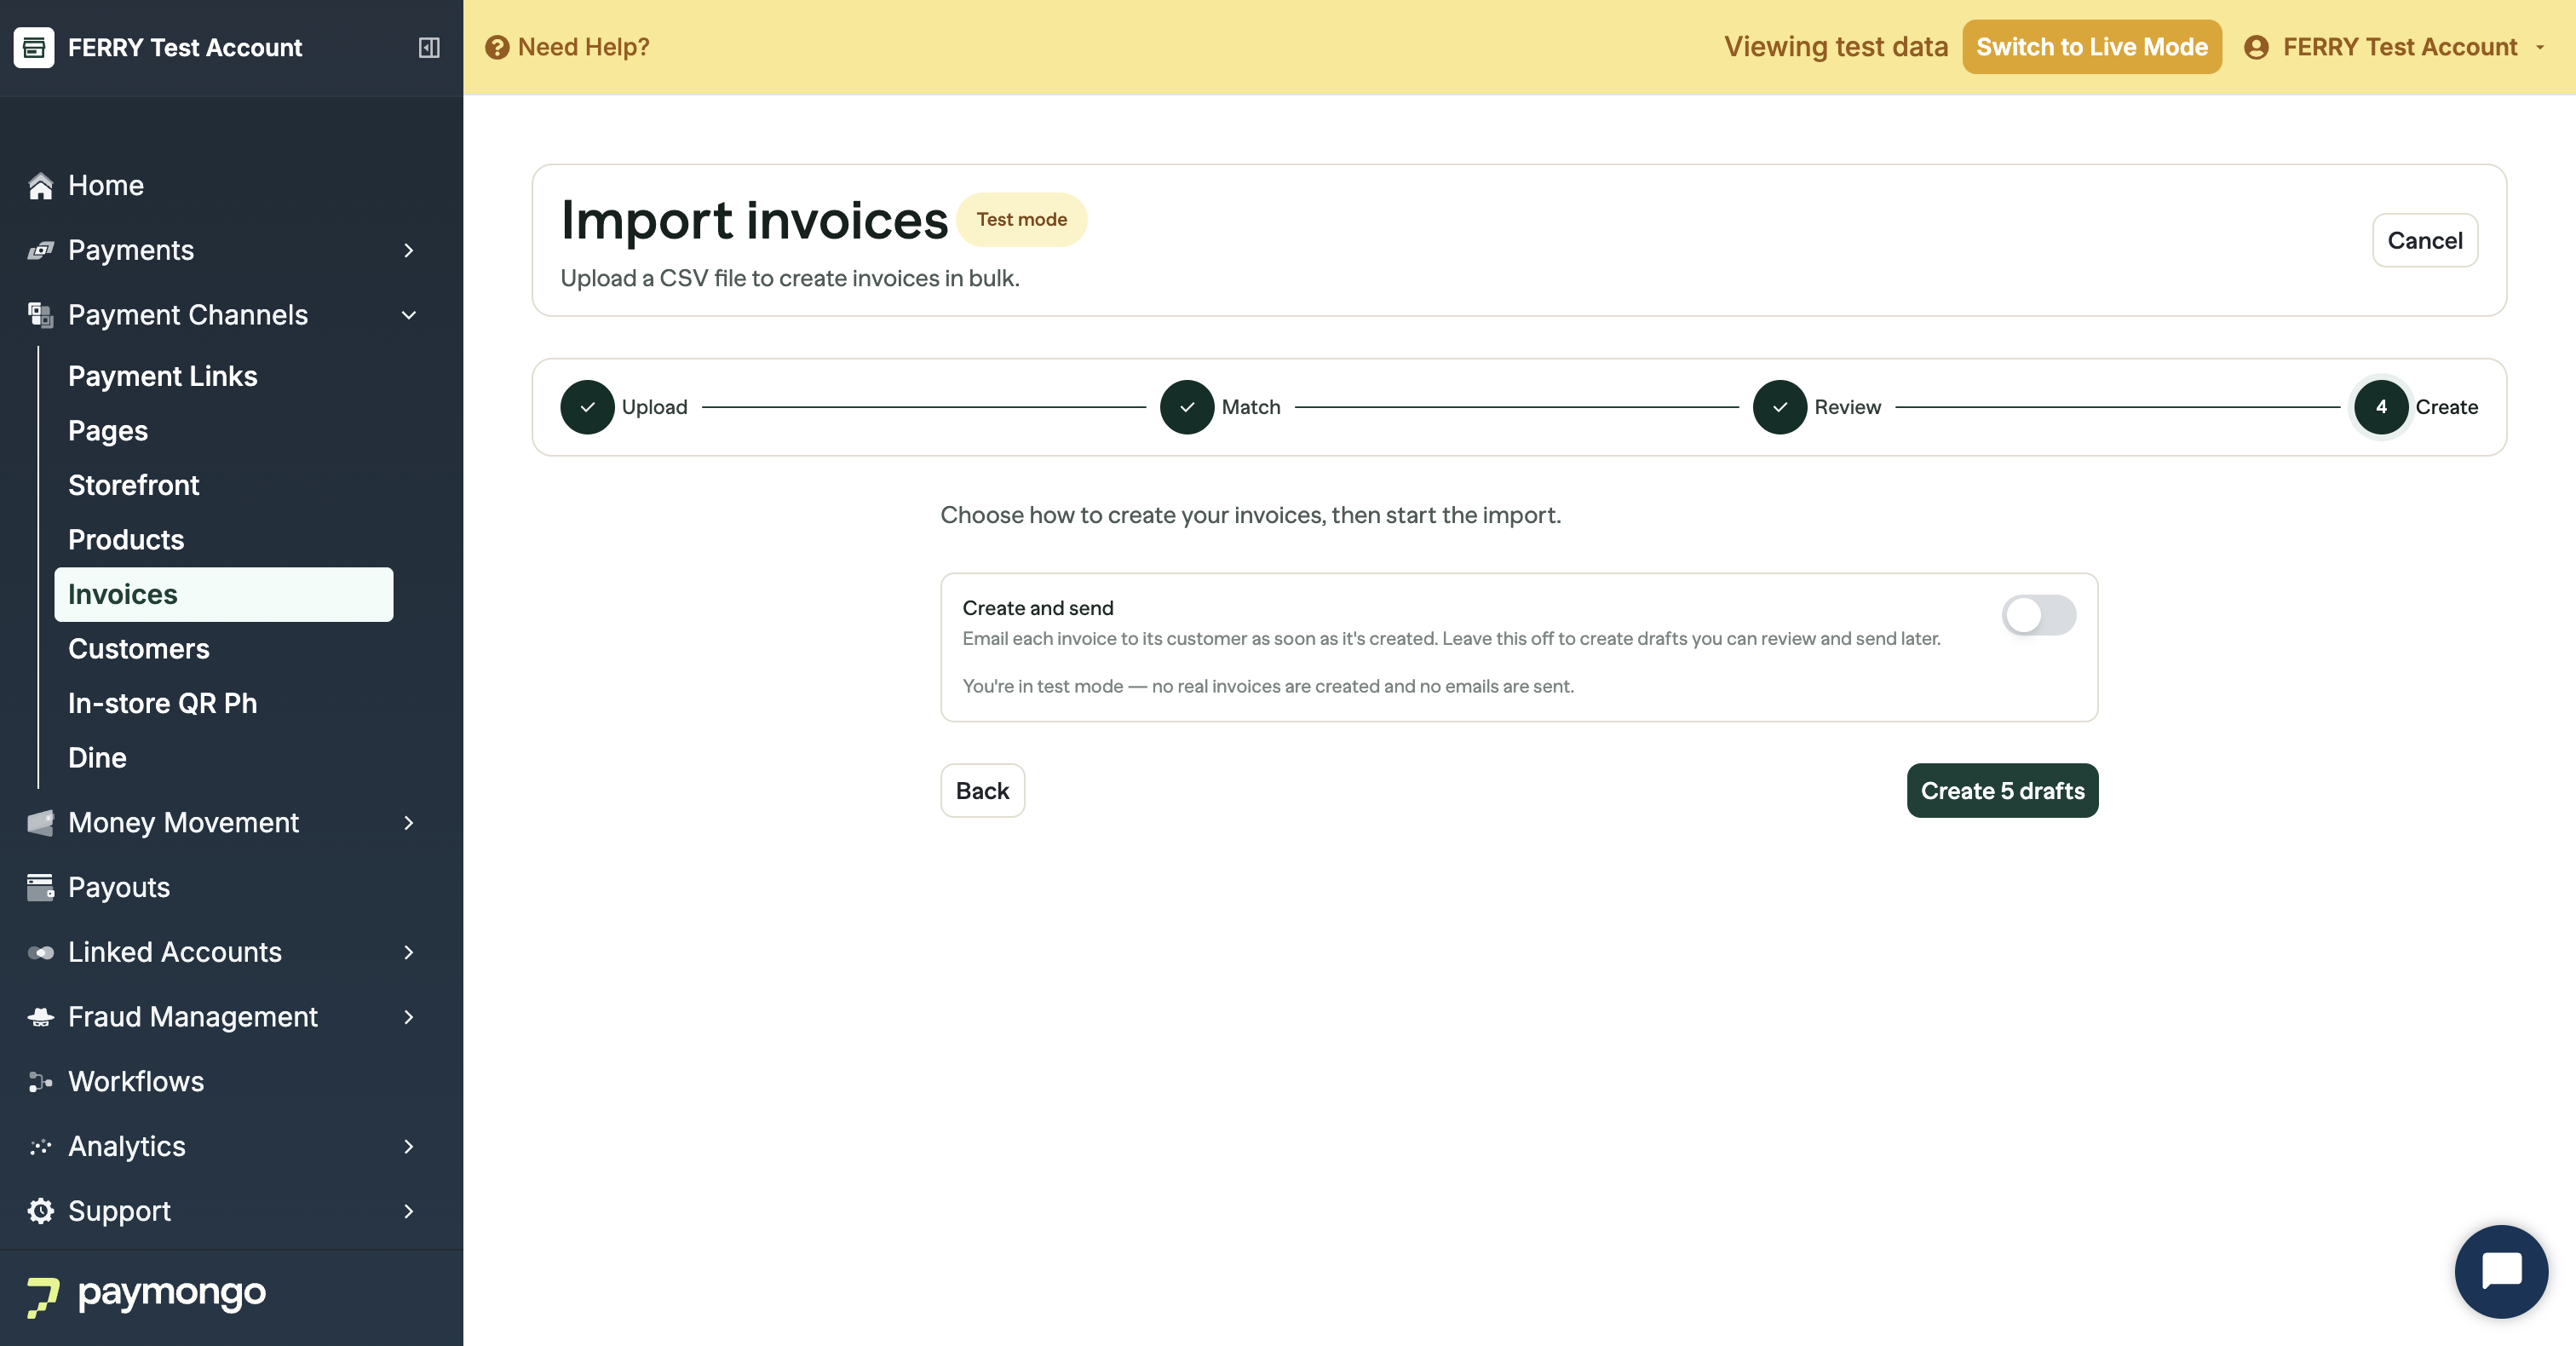
Leave Create and send off to get drafts you can review and send later, which is the default. Turn it on to email each invoice to its customer the moment it is created.
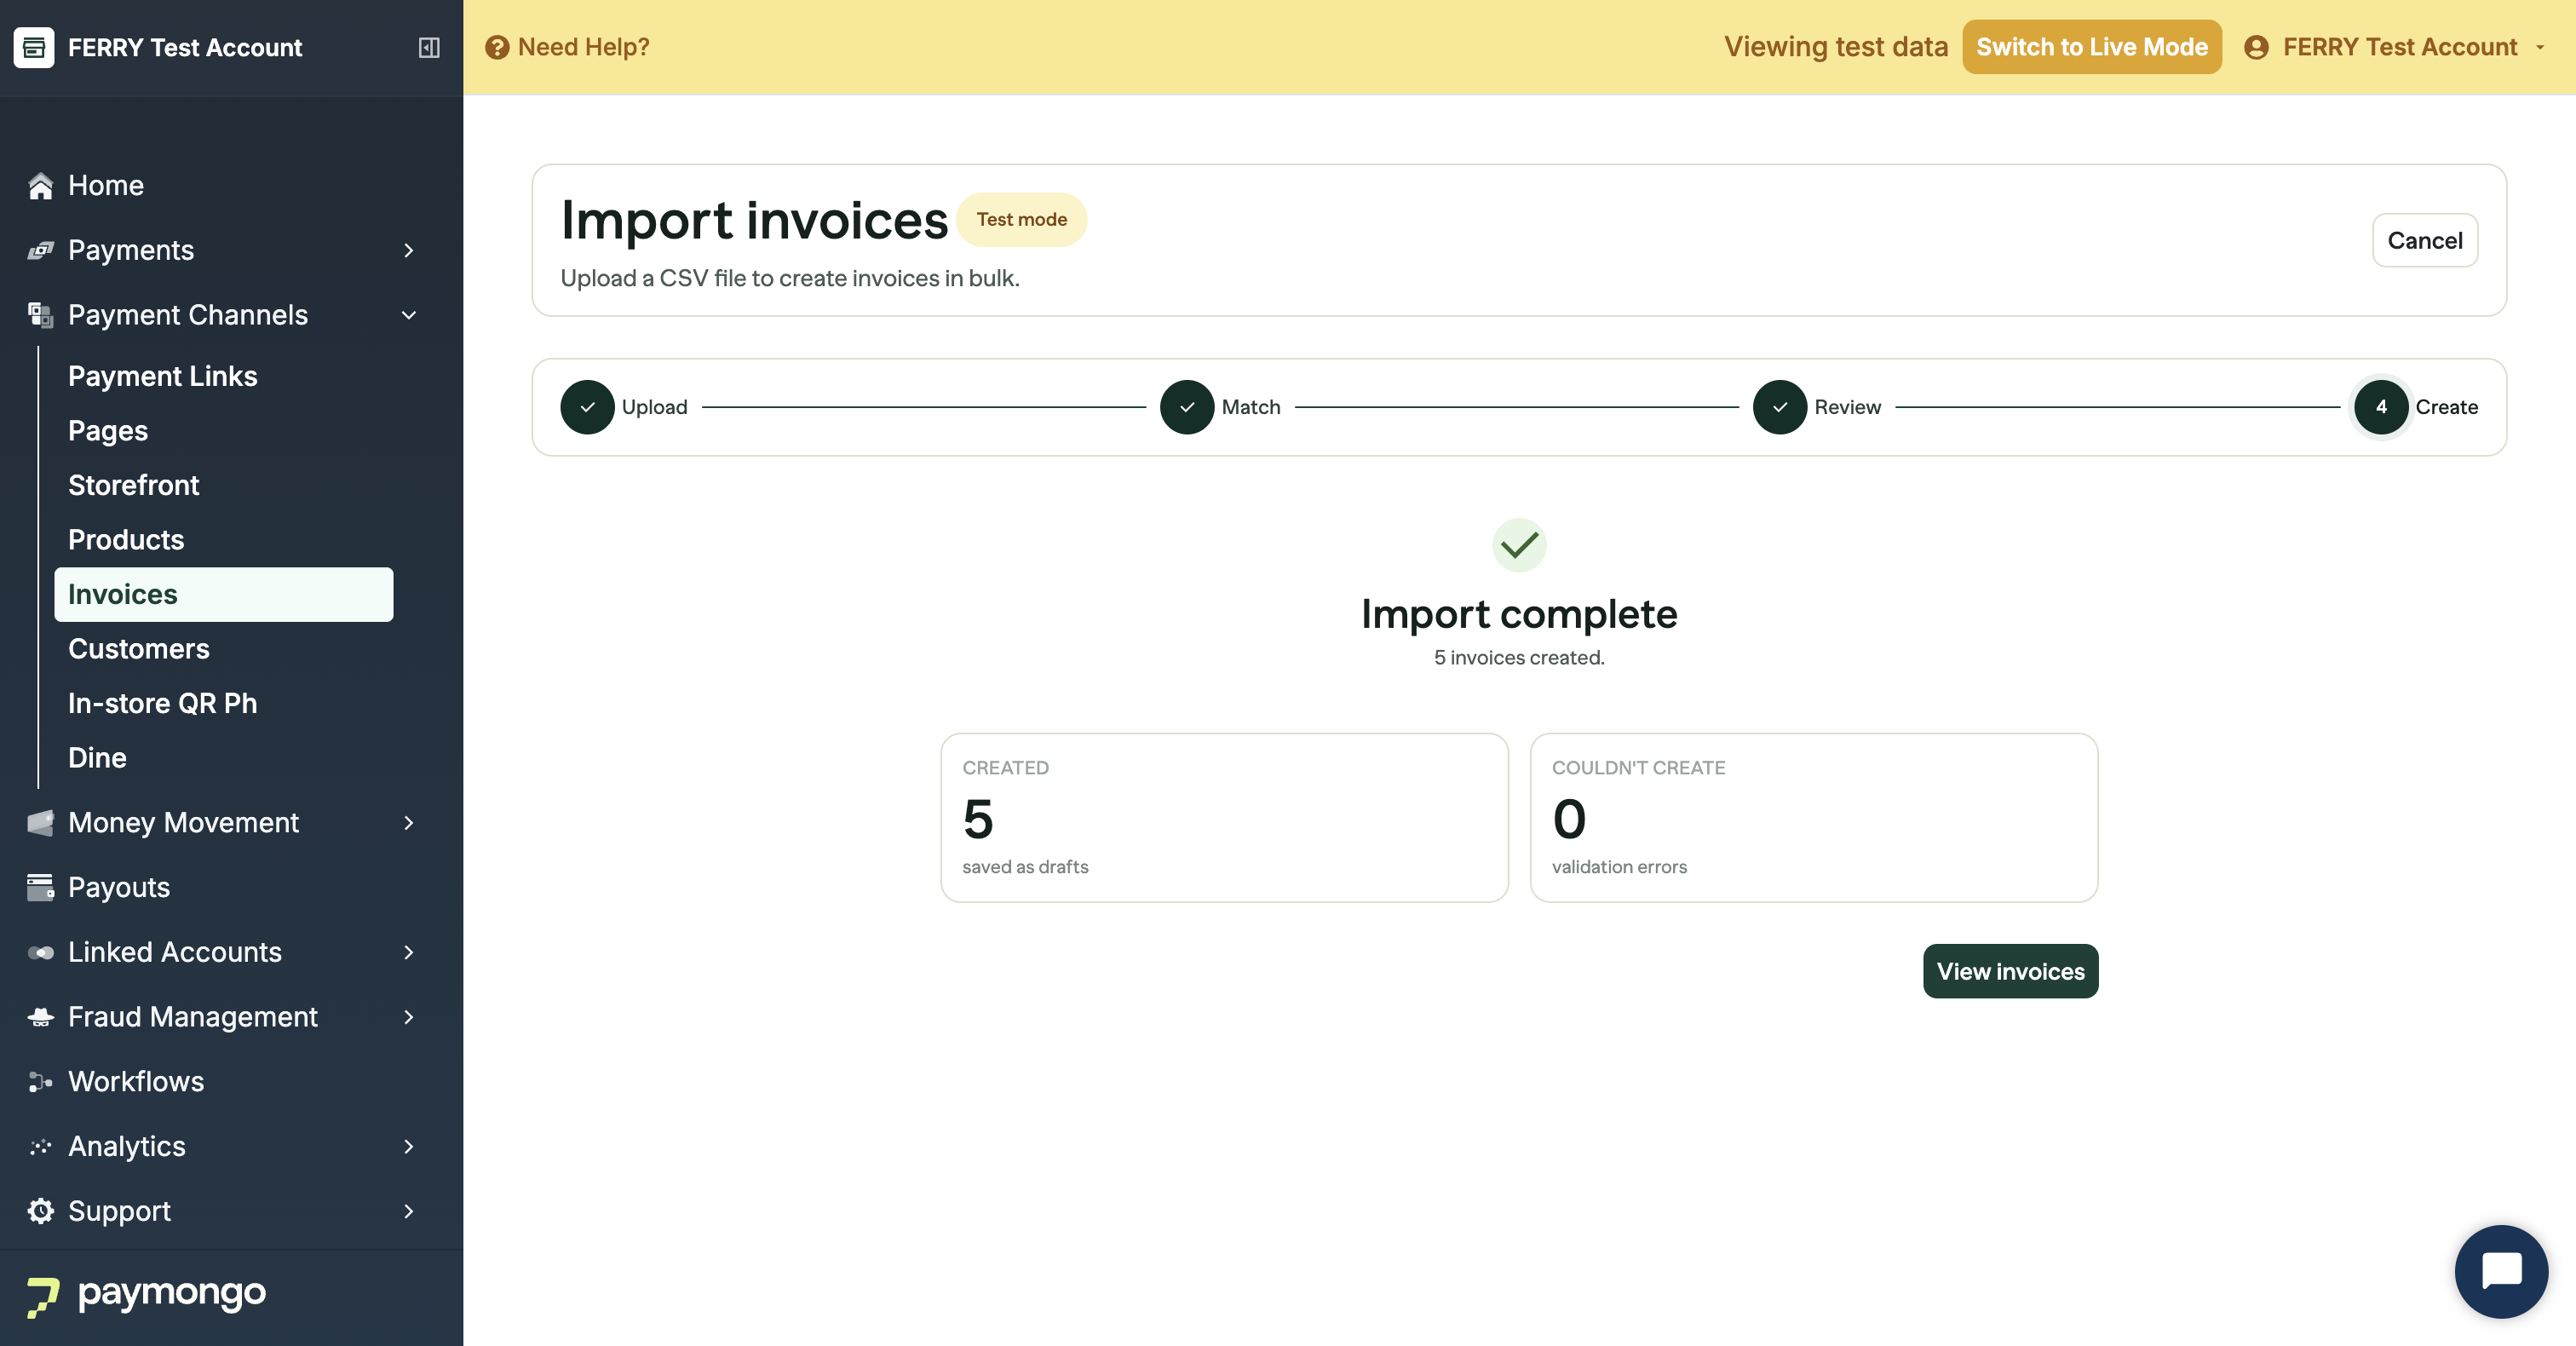
When the import finishes you get a report of how many were created and how many could not be, and a link straight to the list:
Imported invoices behave like any other invoice: you can open, edit while they are drafts, send, remind, and void them.
Updated 16 days ago