
Ordering Steps
Guide customers from Order Web to payment while managing order fulfillment in Order & Pay.
Follow an Order & Pay flow from the moment a customer opens Order Web until you complete the order.
Dine example for F&B
The steps and screenshots on this page use Dine as an Order & Pay example for F&B businesses. Other Order & Pay use cases can use a different Order Web, products or services, and customer entry point.
Ordering steps
-
Let customers open Order Web
Customers open Order Web from the entry point for your use case, such as a QR code or URL.
In Dine, customers scan a Touchpoint QR code or open its URL to access Order Web at
https://dine.paymongo.com.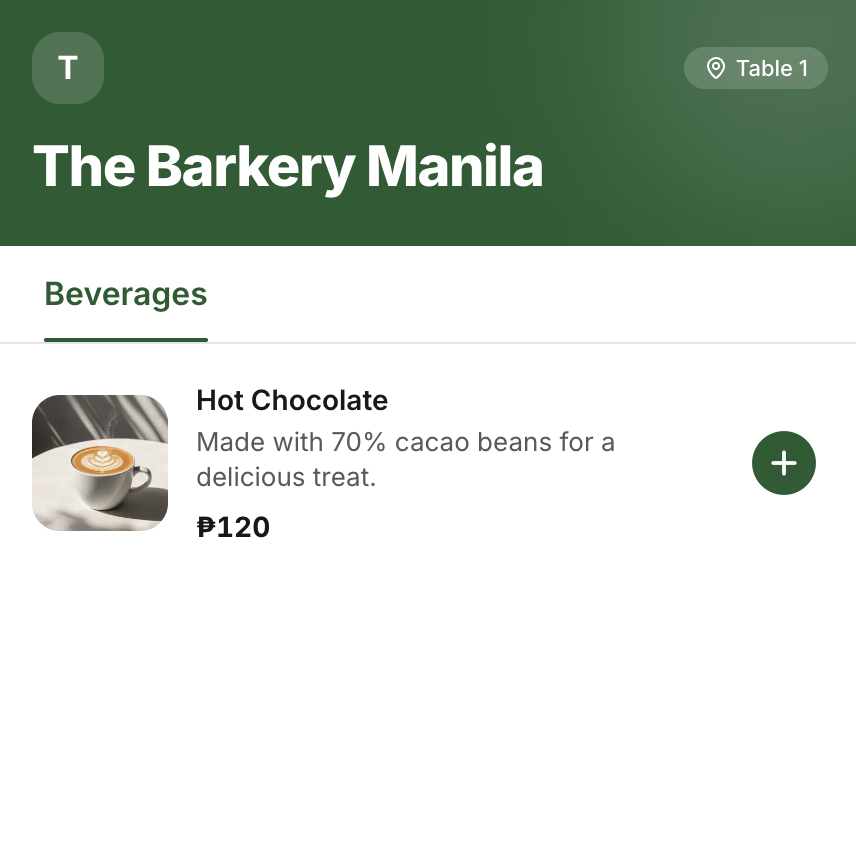
-
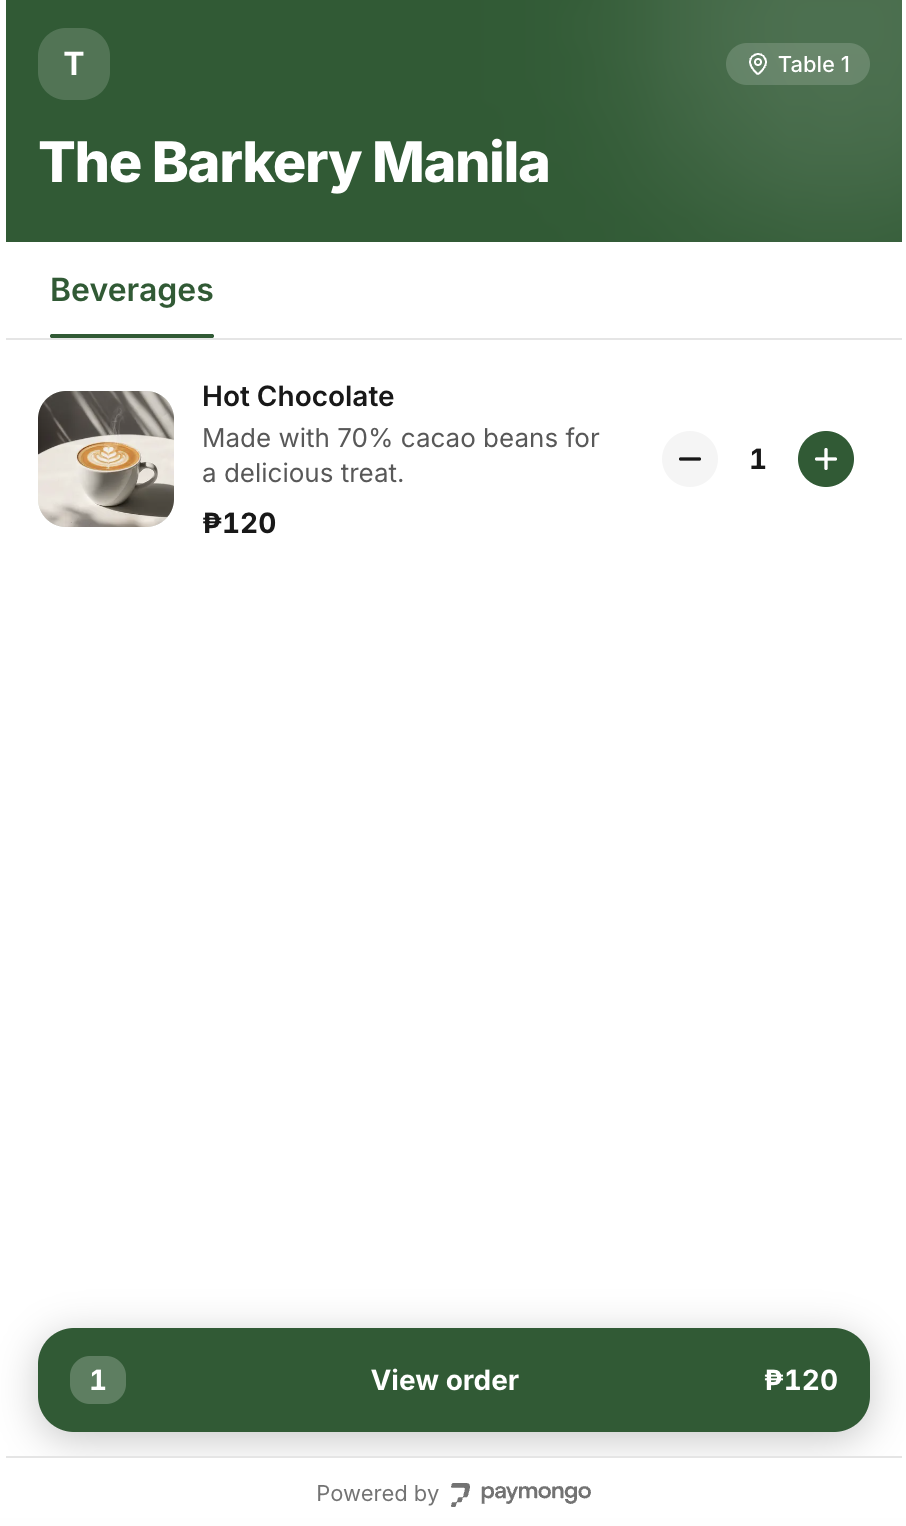
Customer selects products or services
The customer browses the available products or services and selects what they want to order.
-
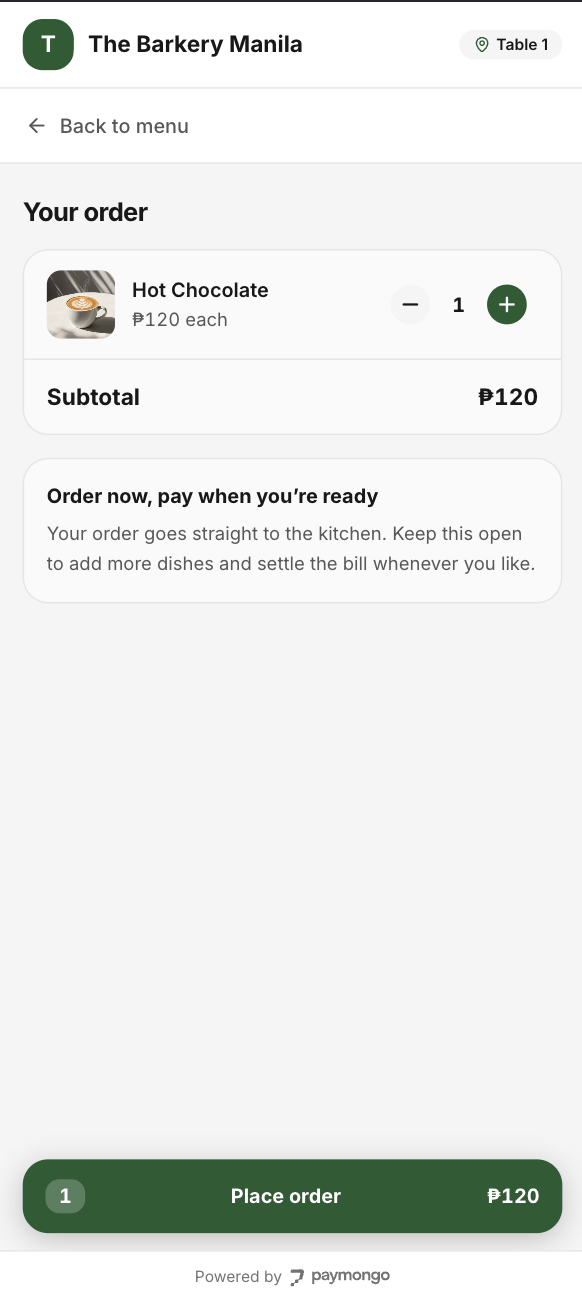
Customer reviews their order
Before placing an order, the customer can review their selected products or services, adjust quantities, remove items, or return to the ordering experience to add more items.
-
Customer places their order
The customer submits their order from Order Web. You can then manage the order and its fulfillment from your dashboard.
-
View the new order in the dashboard
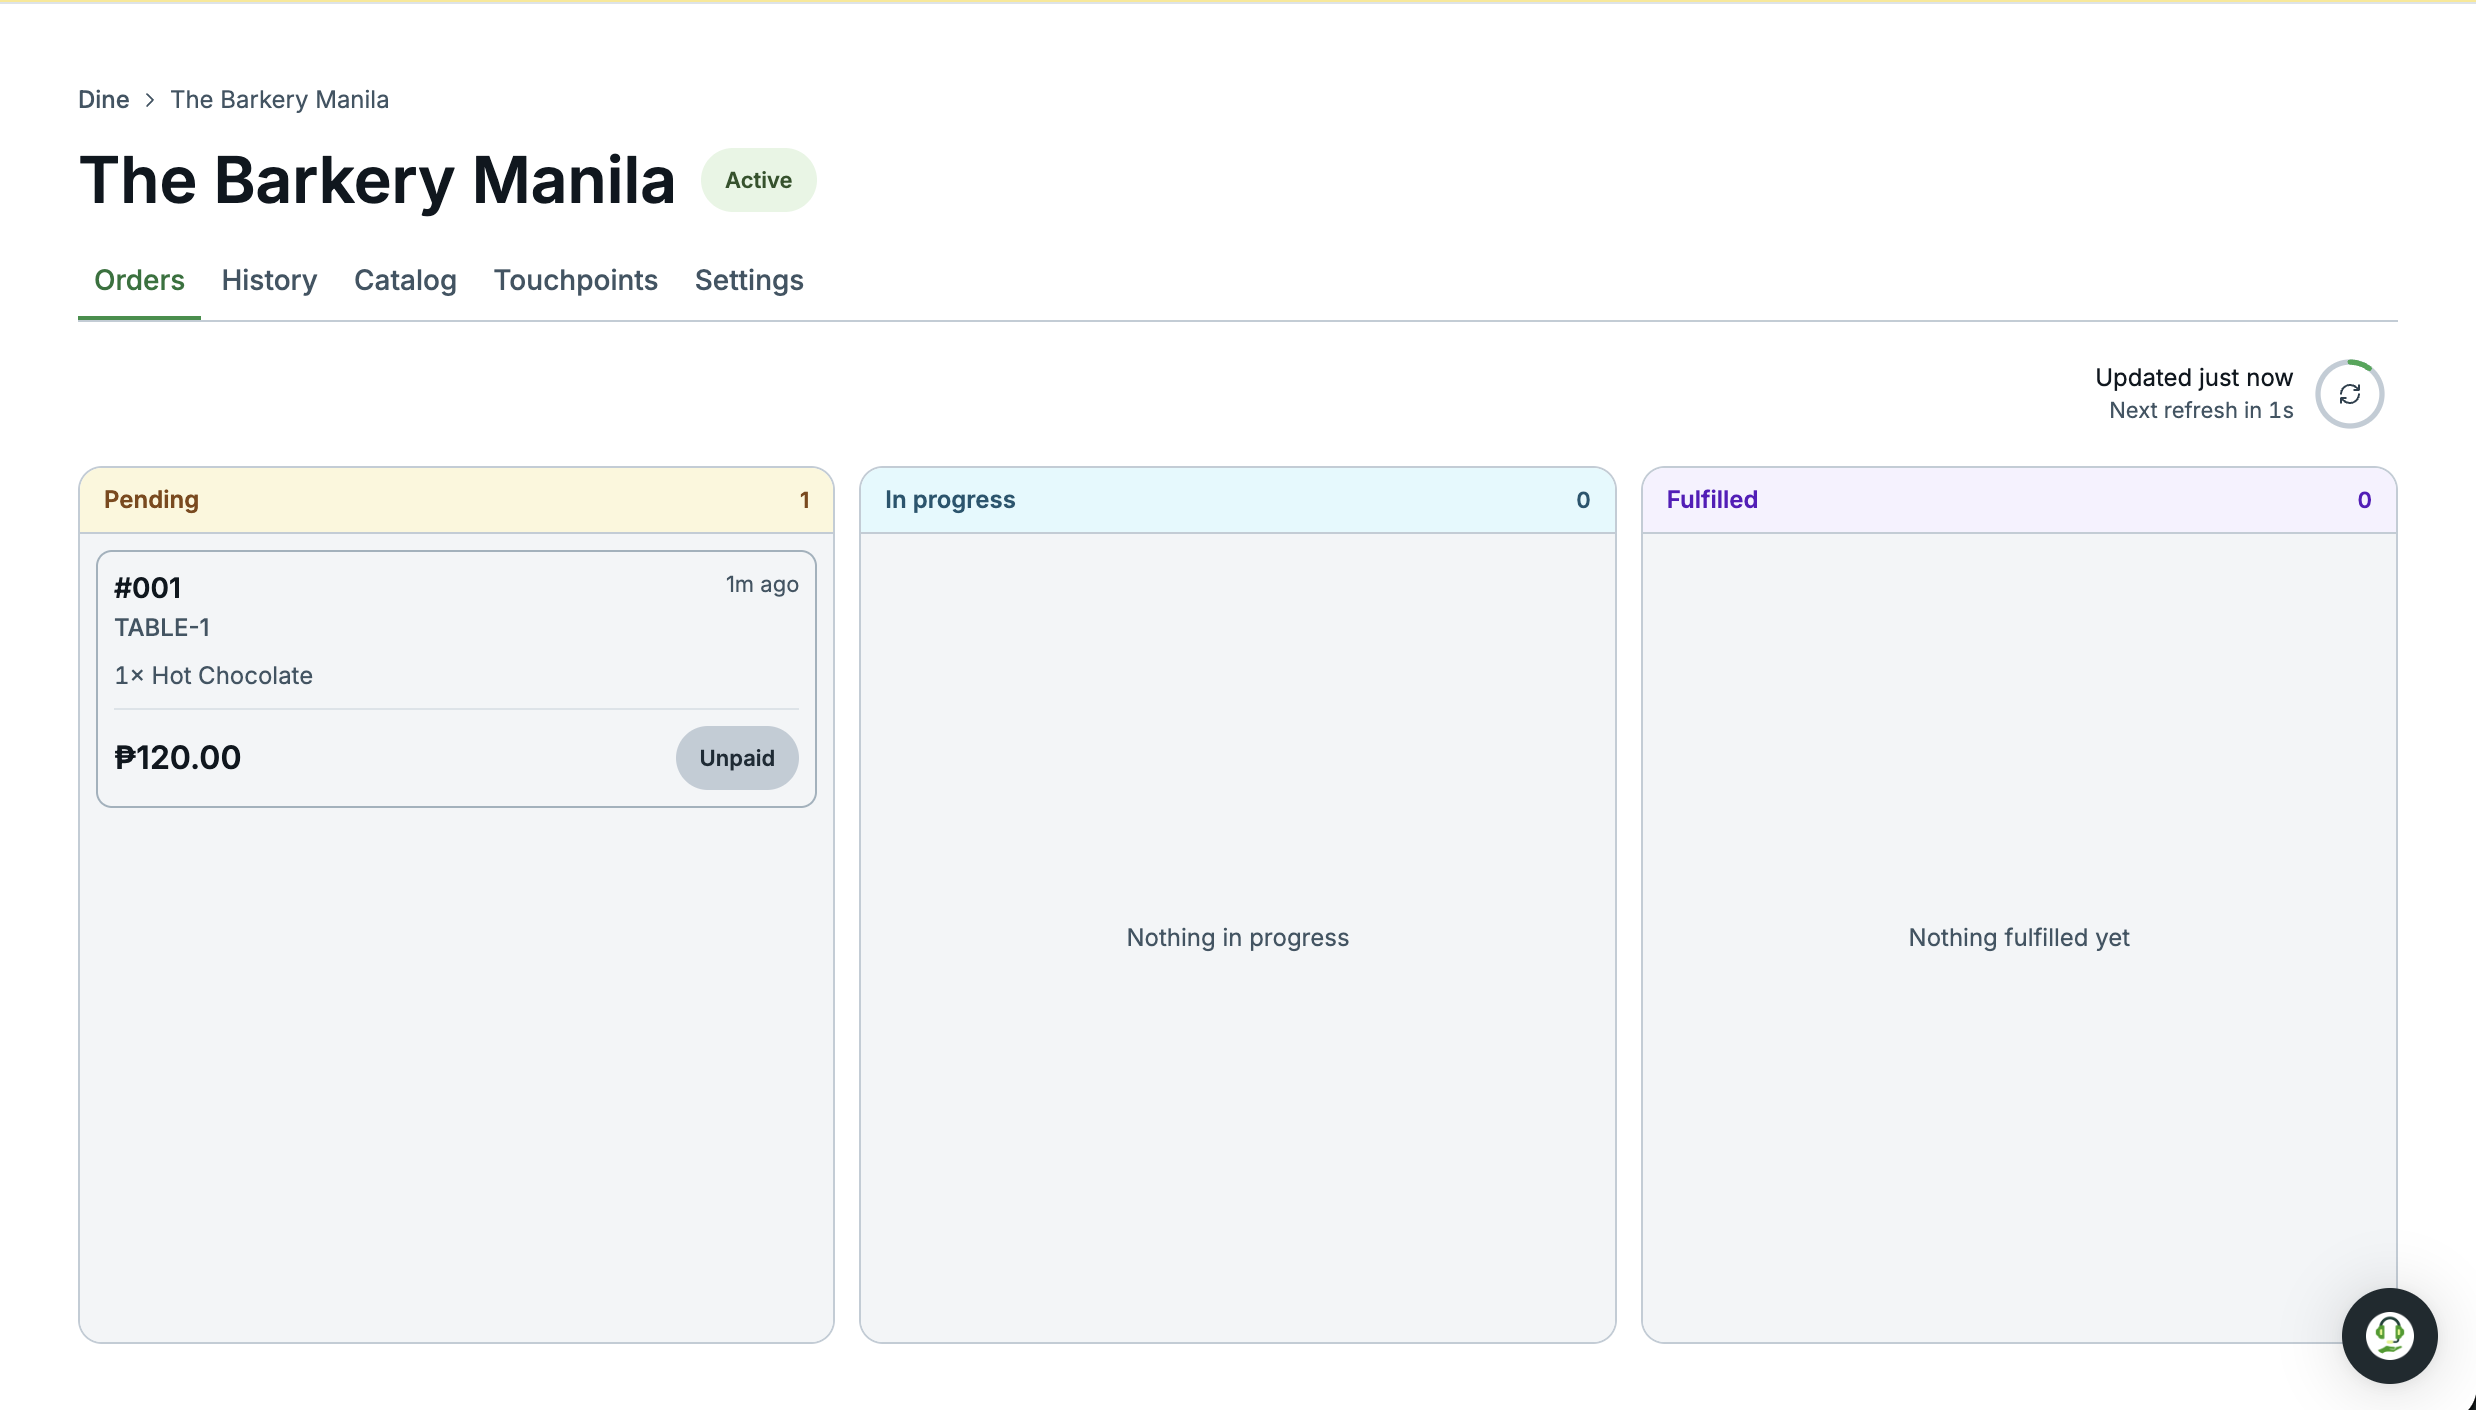
After checkout, the order appears in the Orders table. Your staff can use the order details to prepare, provide, or deliver the requested products or services.
-
Update the fulfillment status
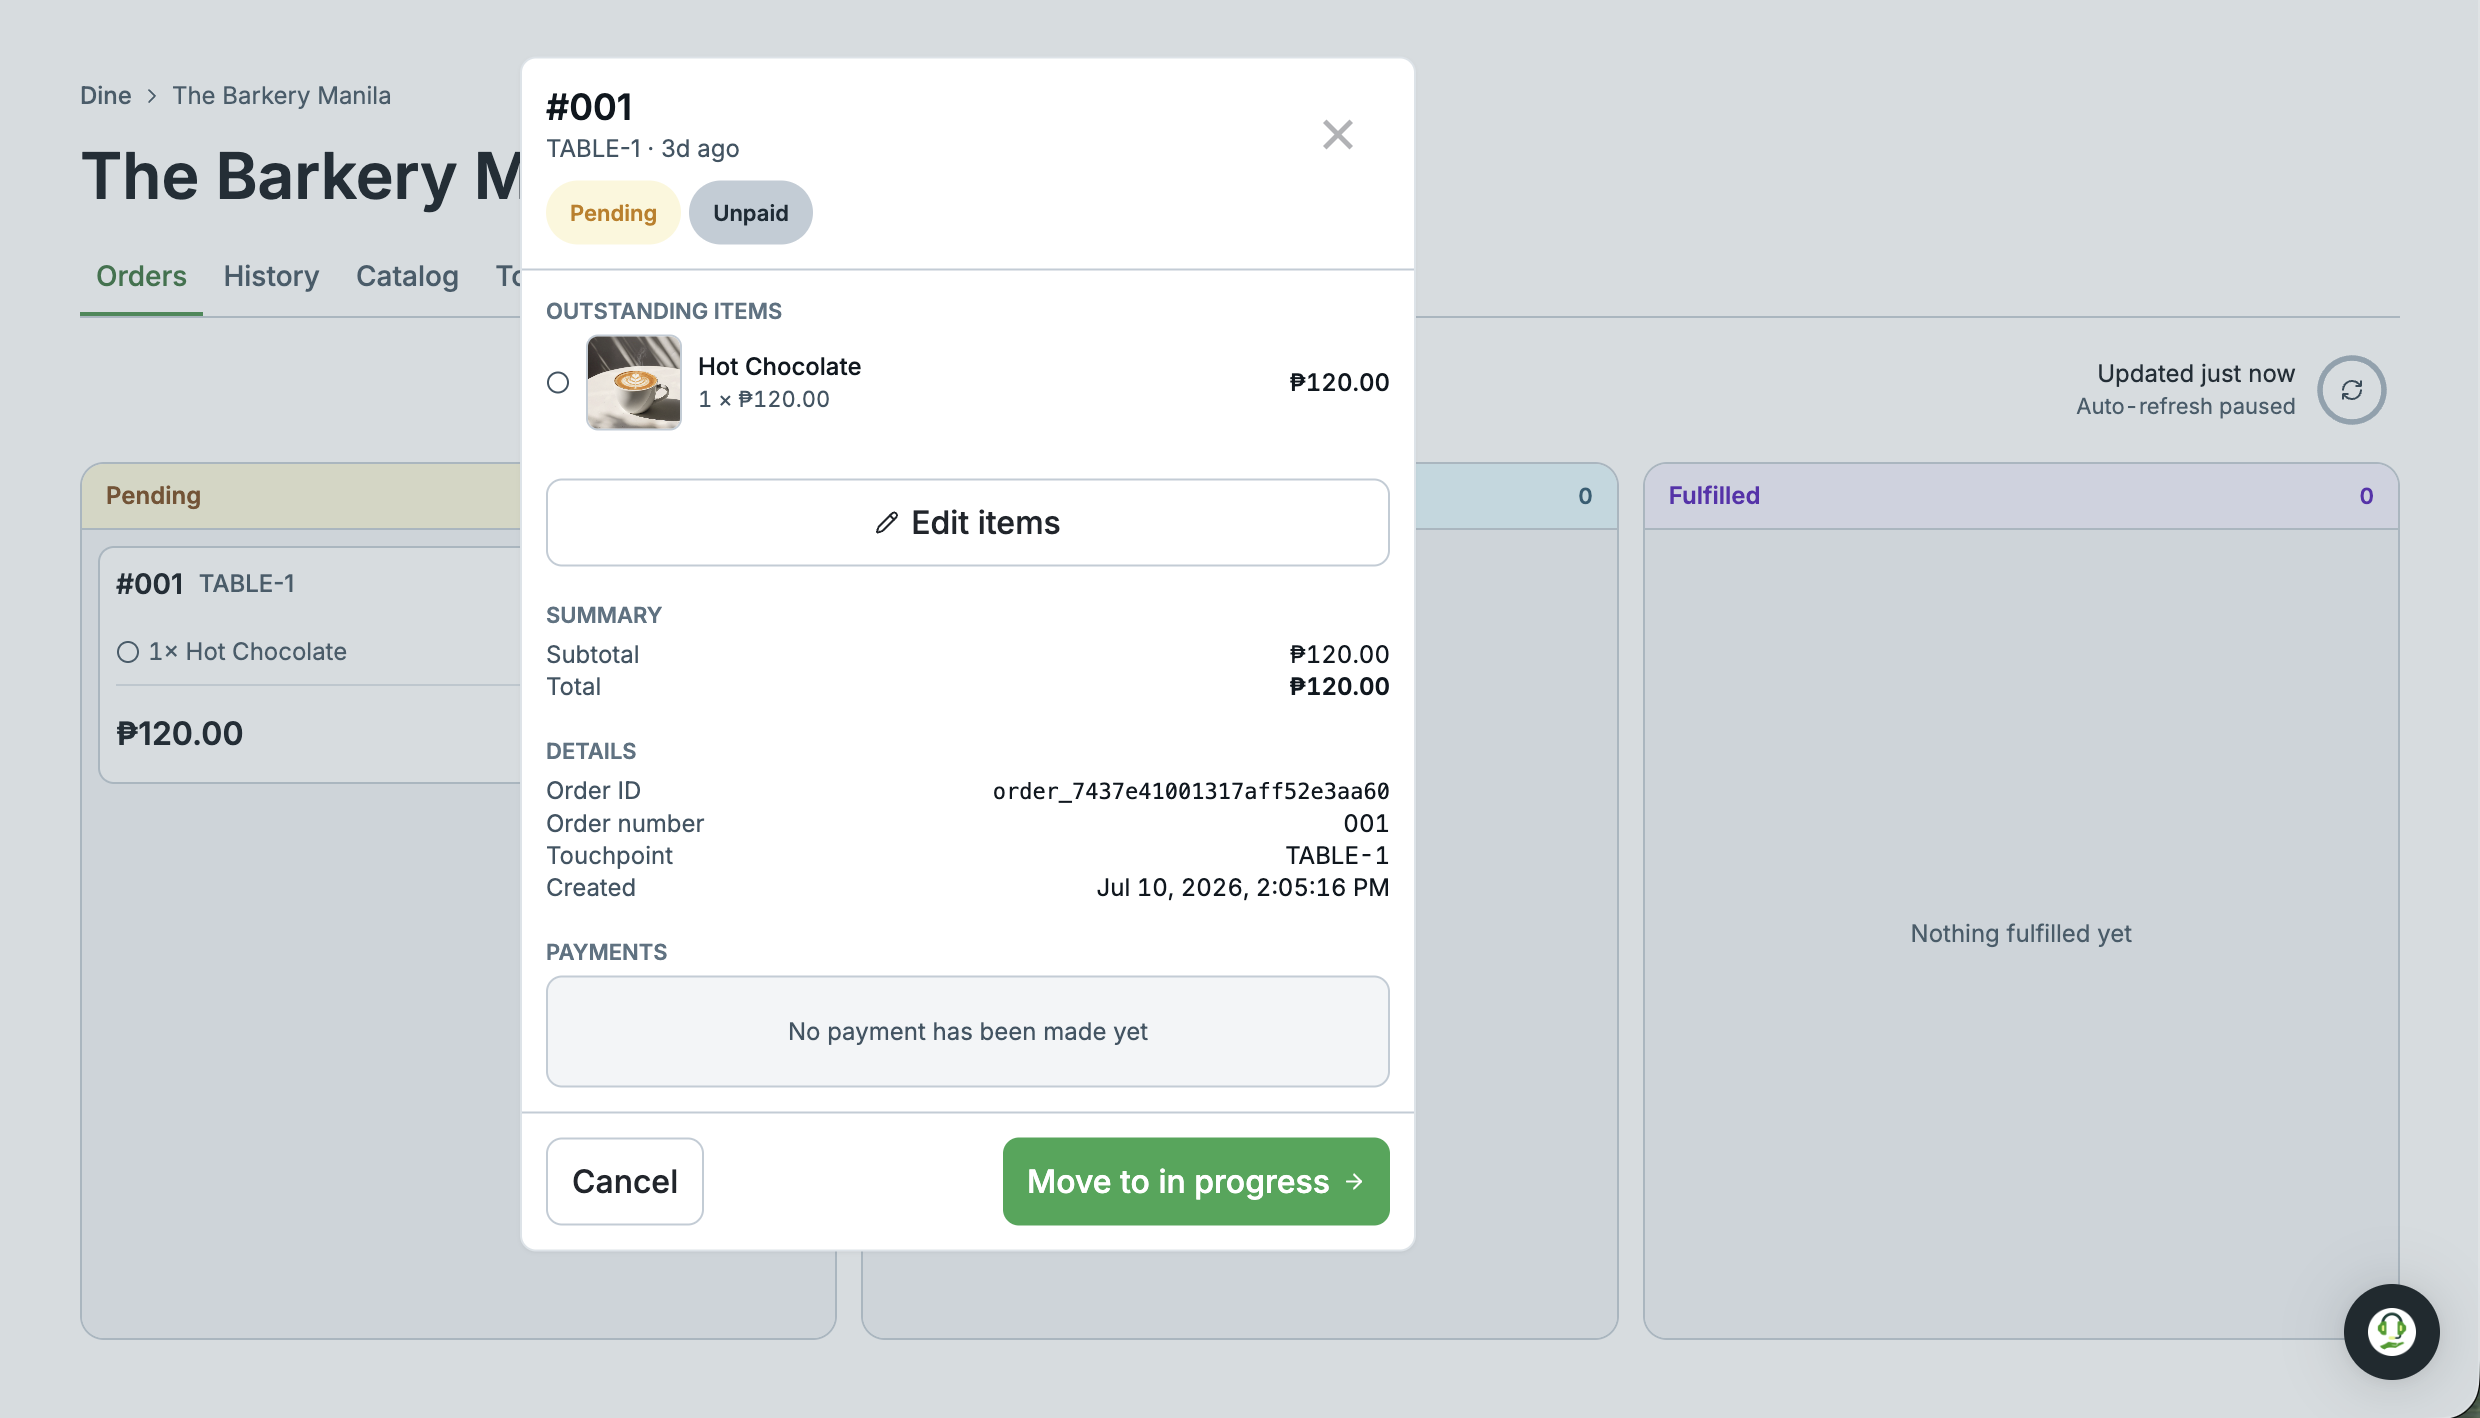
Update the fulfillment status to match your operating flow. For example, you can move an order to
in_progresswhen staff acknowledge it and tofulfilledwhen the products or services have been provided.You can also align fulfillment with when customers pay. A fast food restaurant can collect payment before preparing an order, while an open-bill restaurant can collect payment when the customer asks for the bill.
-
Add more items to an existing order
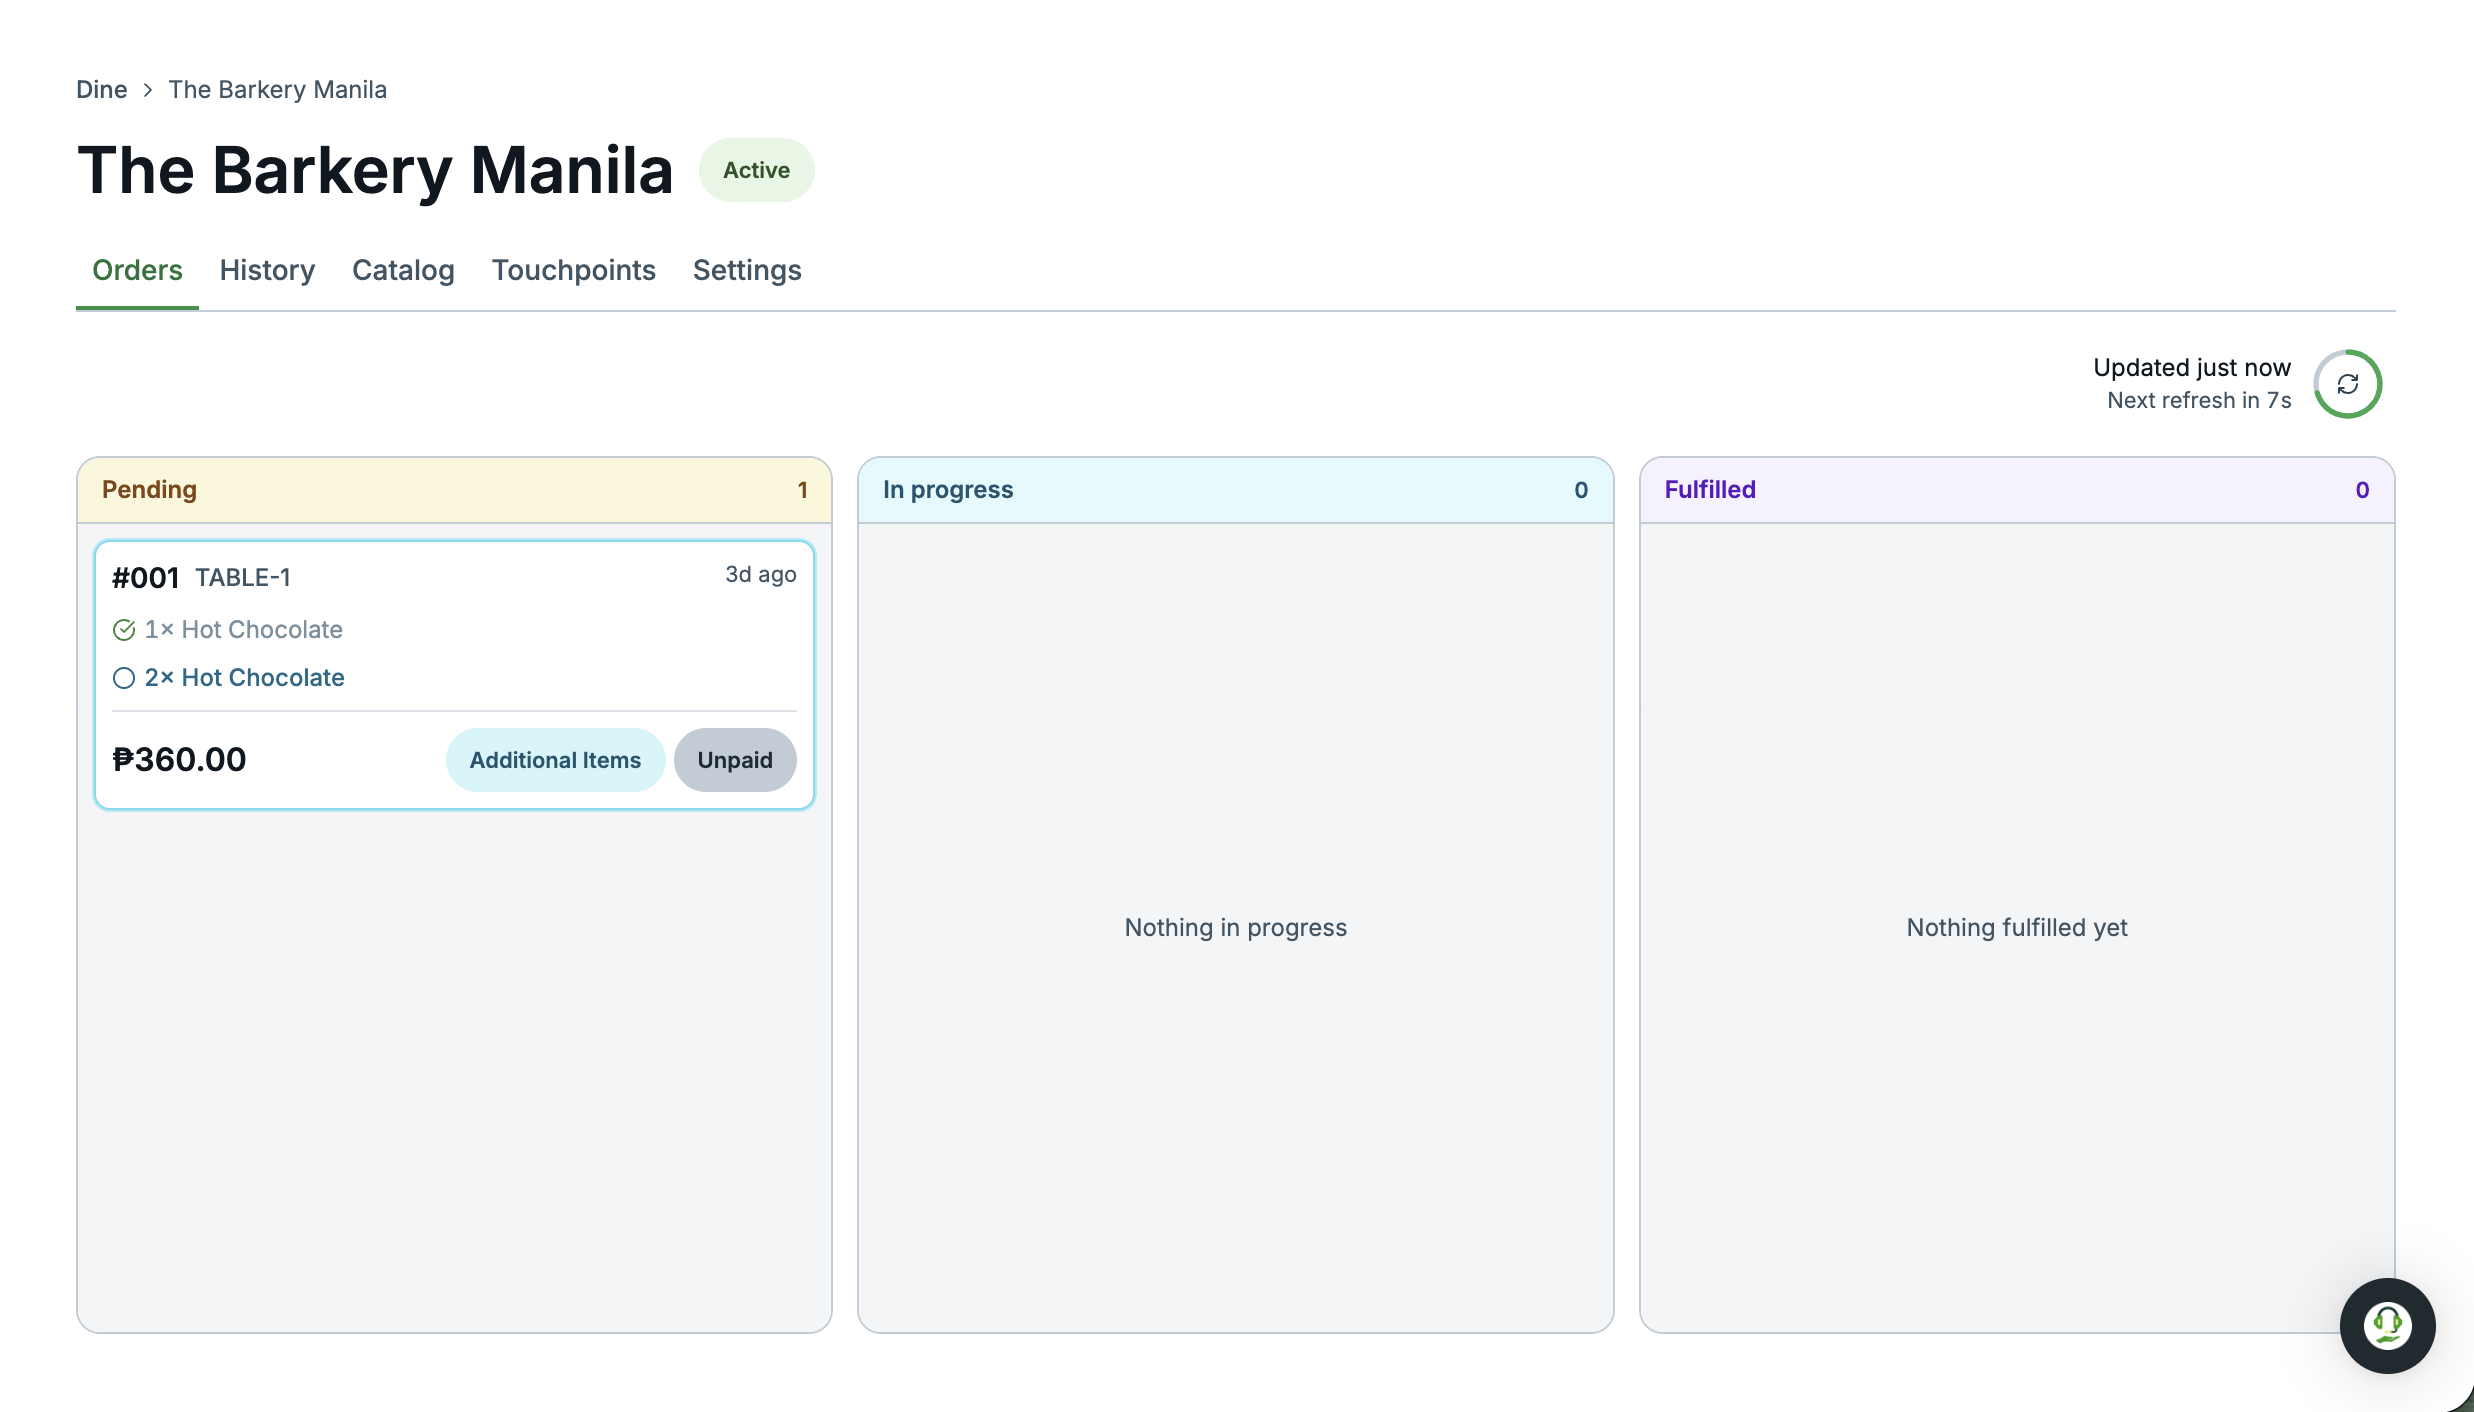
Your flow can support changes to an existing order before billing. In Dine, customers can add more items until they ask for the bill. When an order changes, Dine moves its fulfillment status back to
pendingand highlights the newly added items.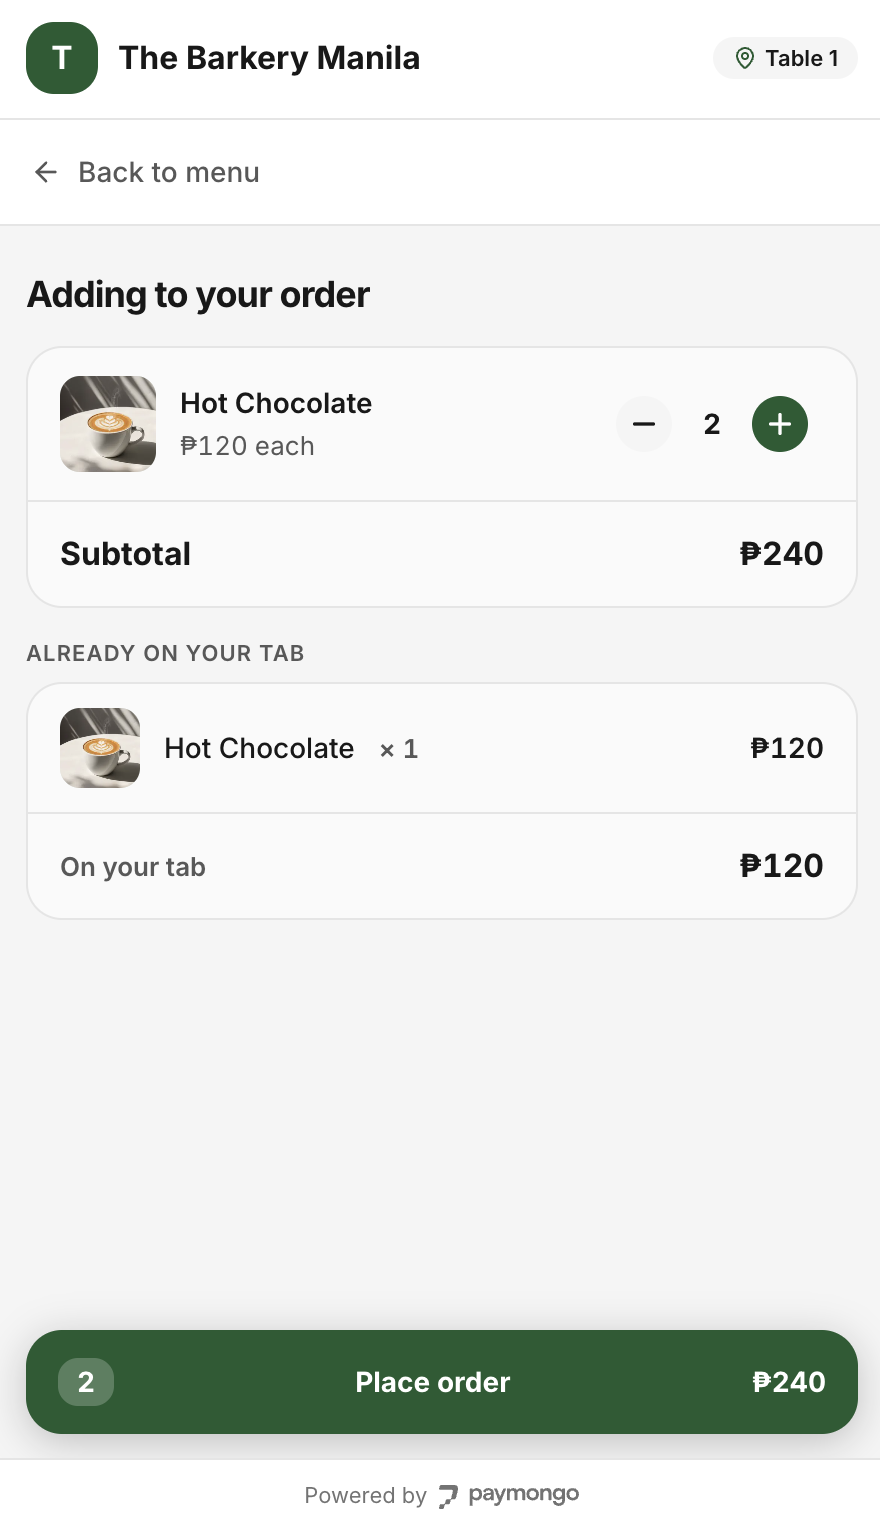
-
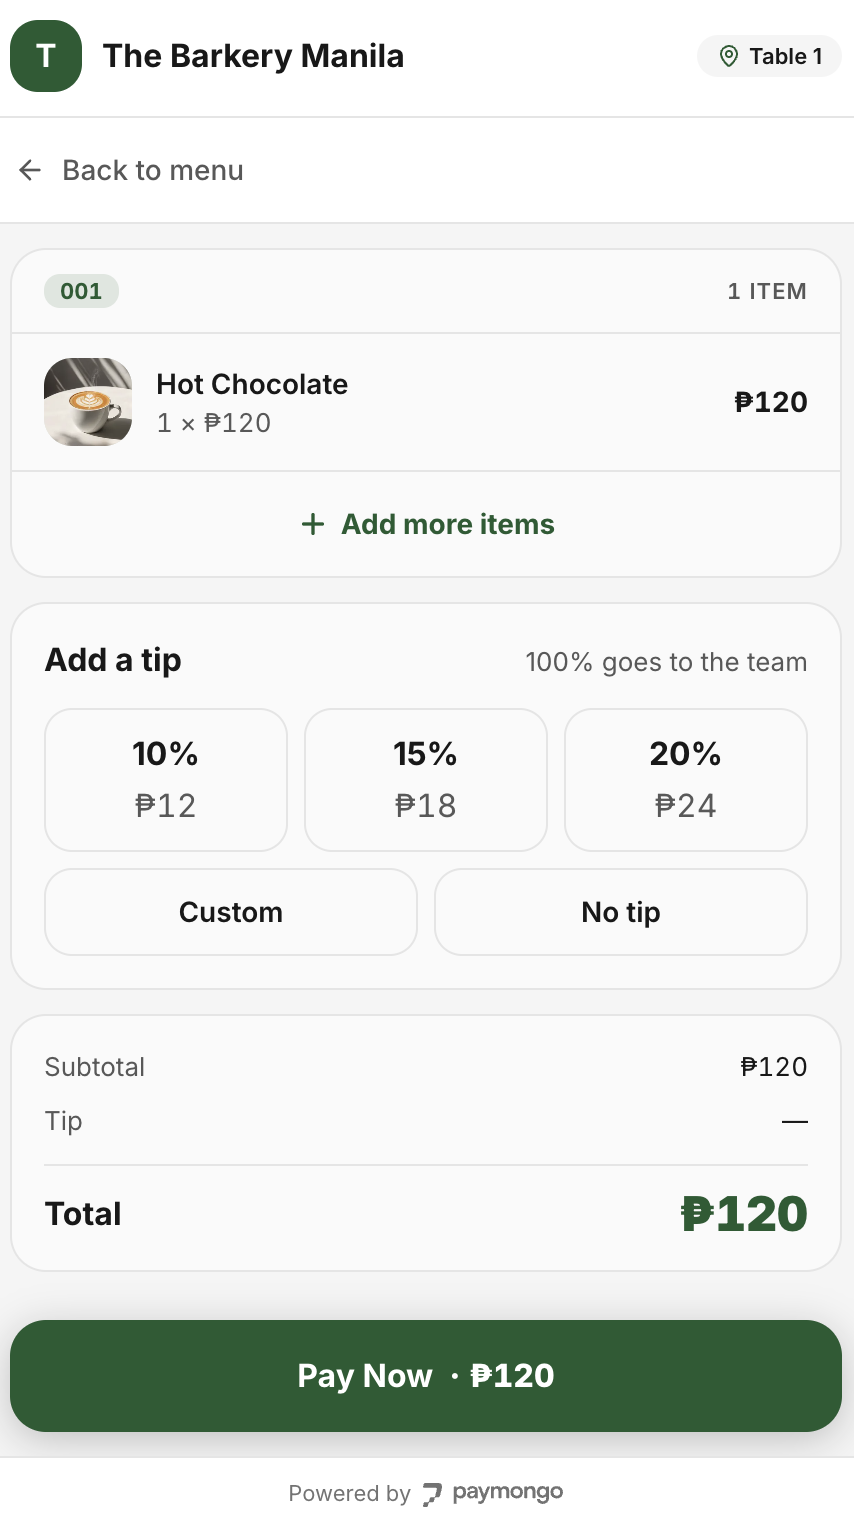
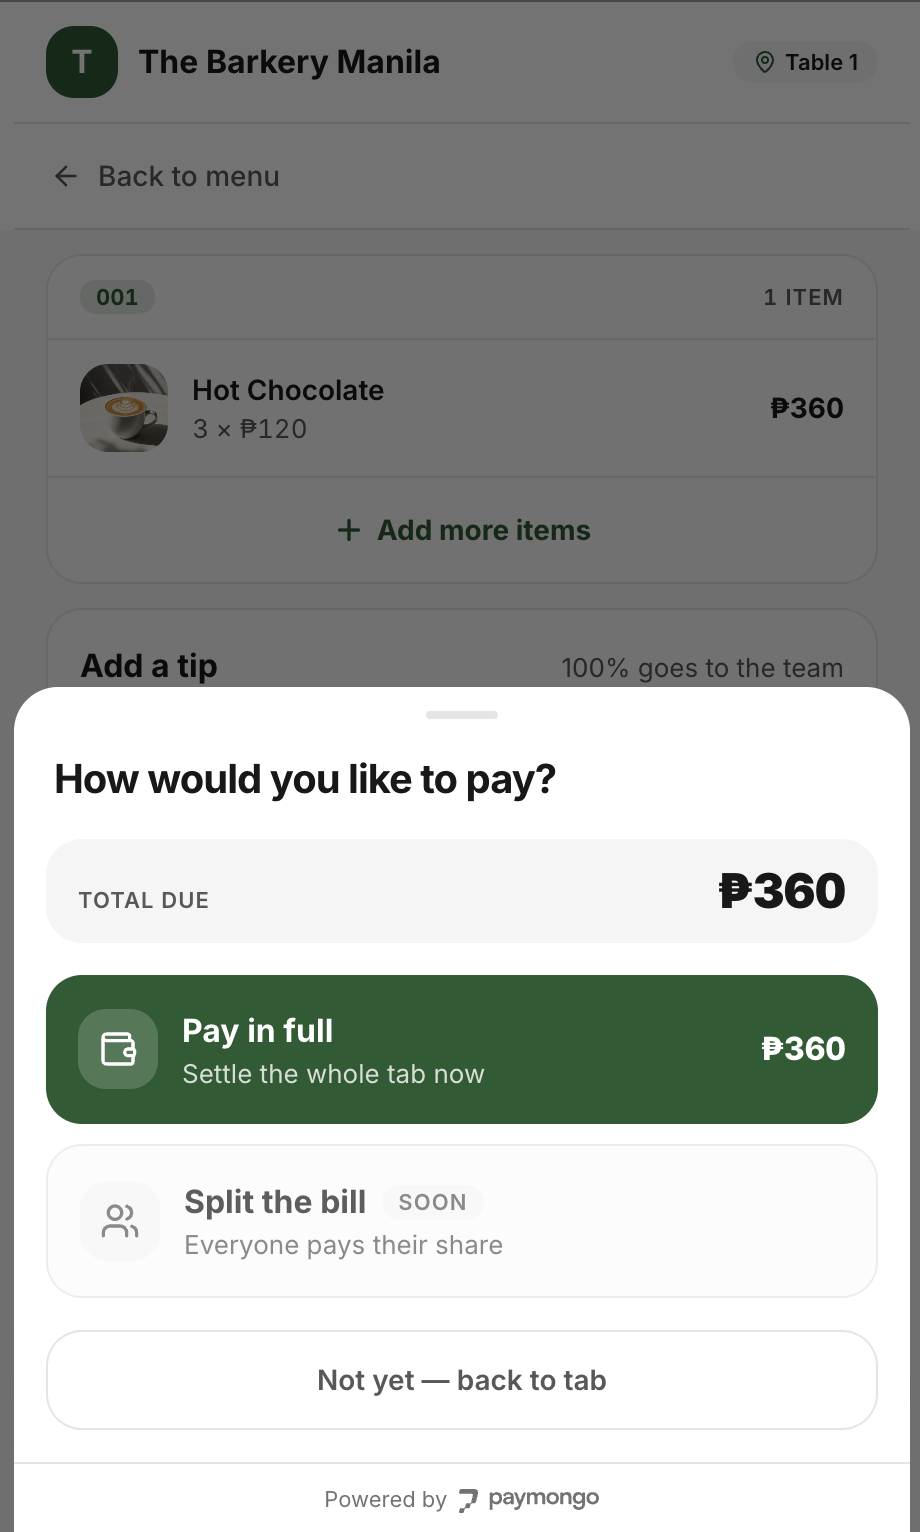
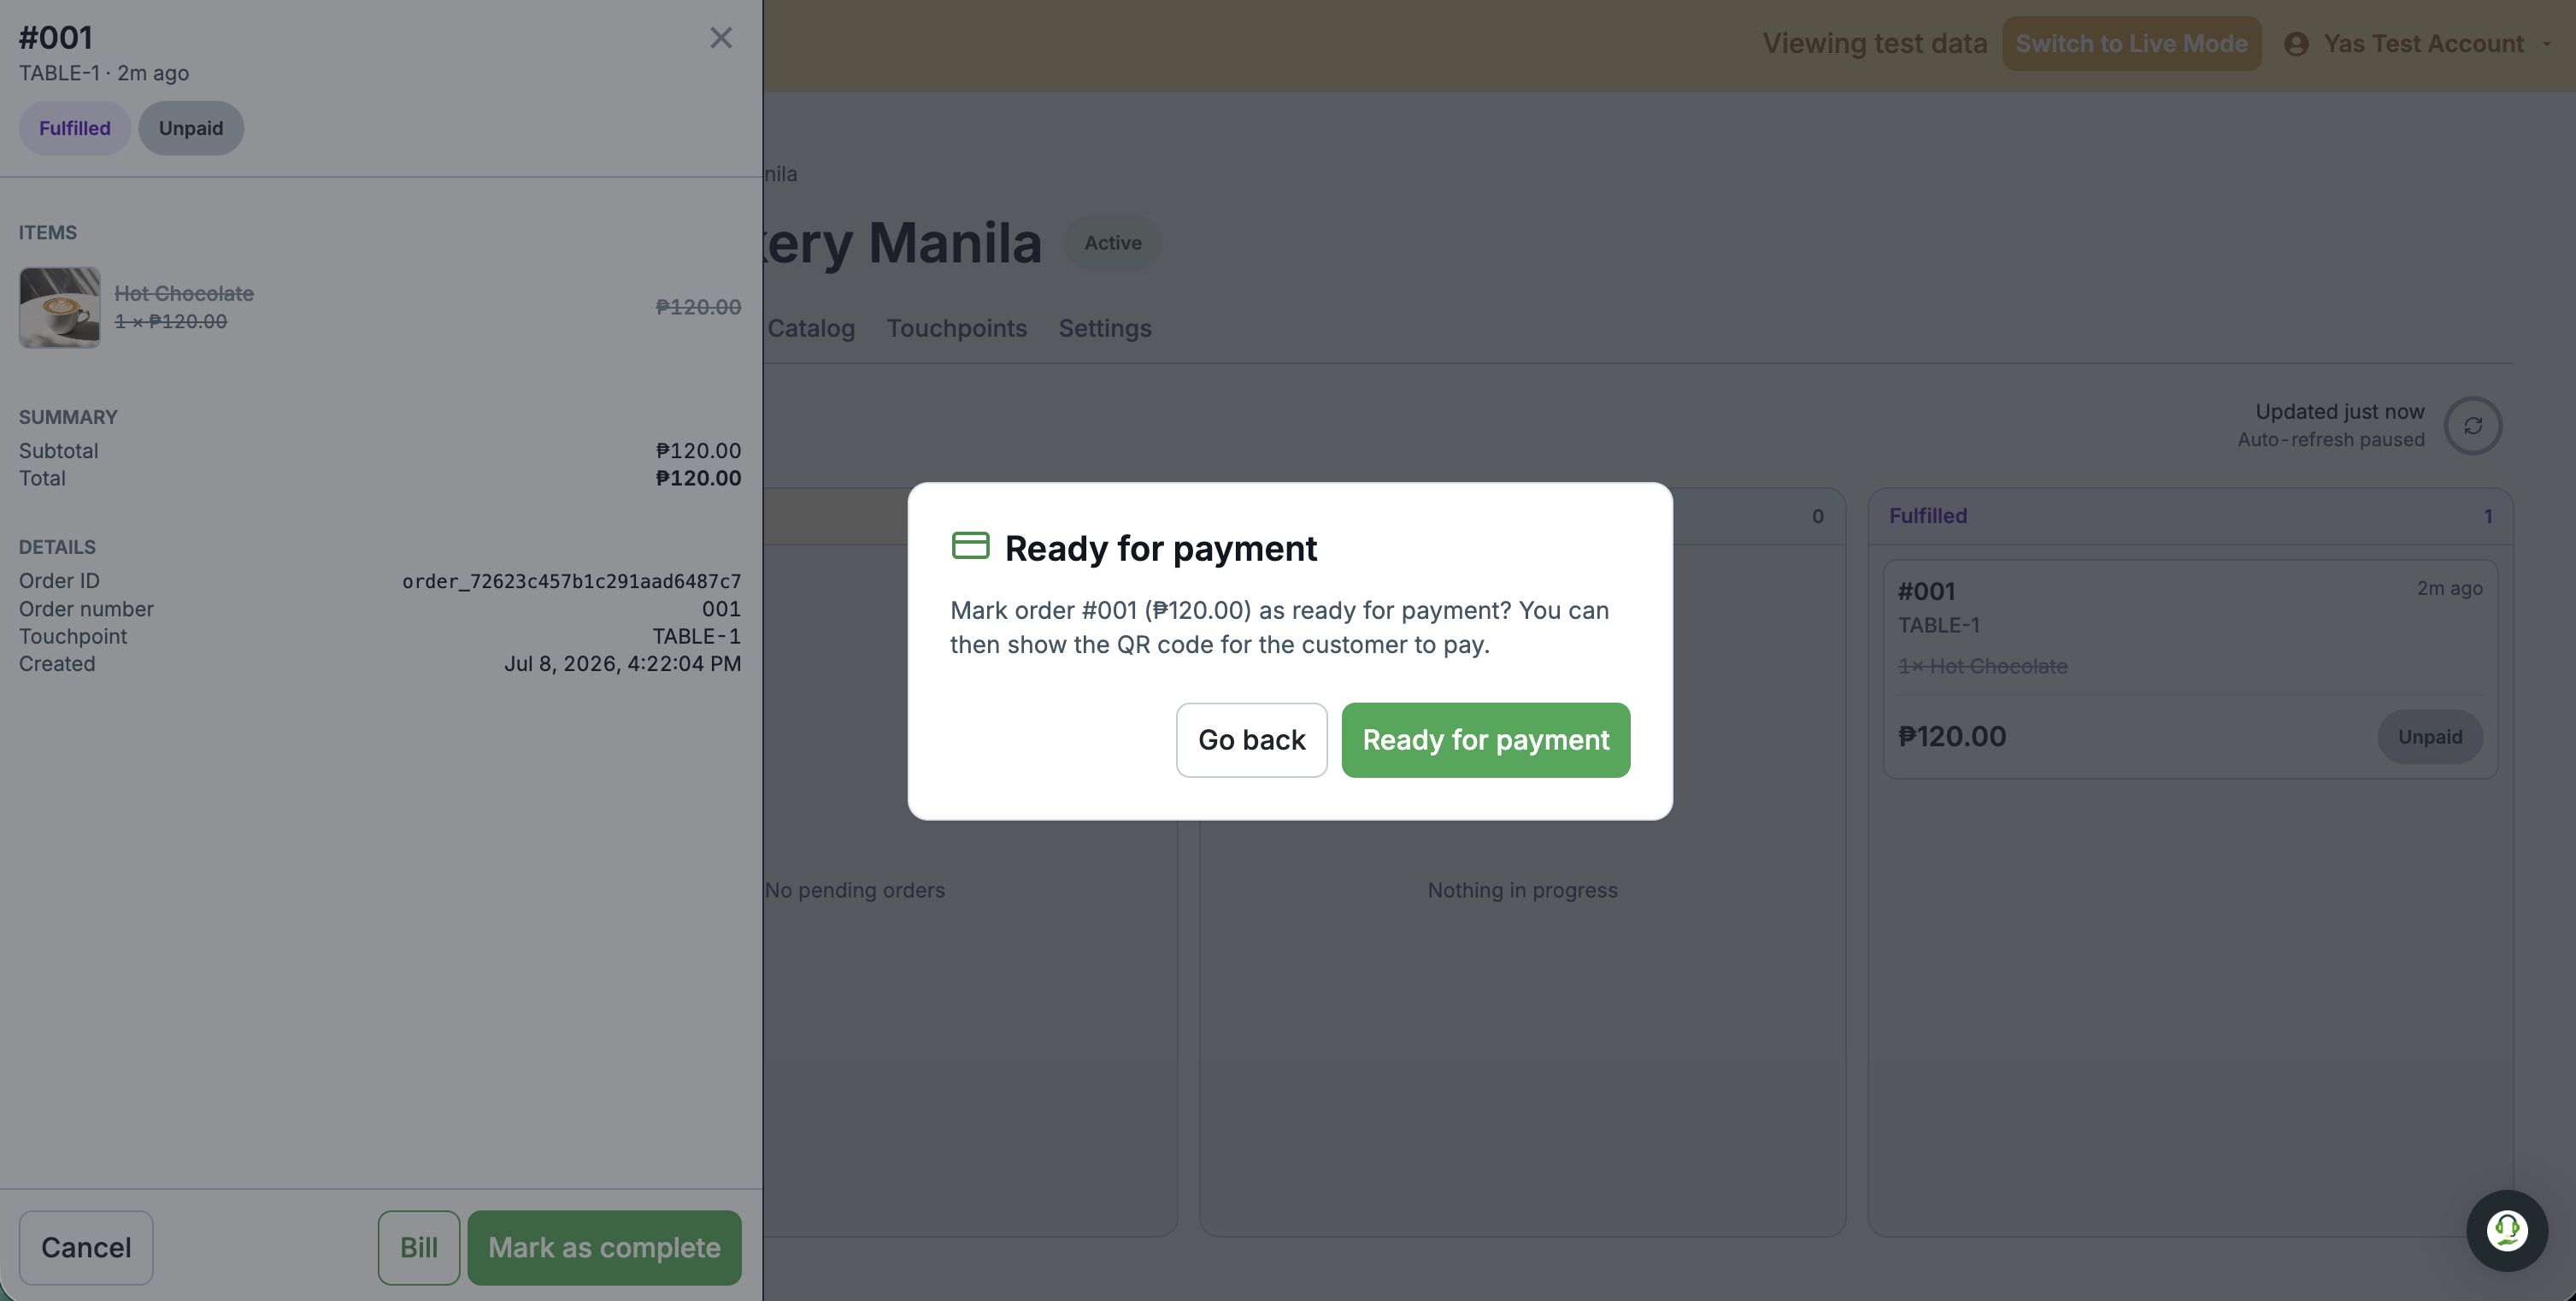
Generate the bill when payment is due
Generate the bill based on your payment timing. For example, generate it before fulfillment for a pay-first flow or when the customer asks for the bill for an open-bill flow.
In Dine, staff can start billing from the dashboard, or customers can continue from Order Web. If staff generate the bill from the dashboard, ask the customer to scan the Touchpoint QR code or open its URL to reach the payment page. Dine does not generate official receipts; merchants provide them when required.
-
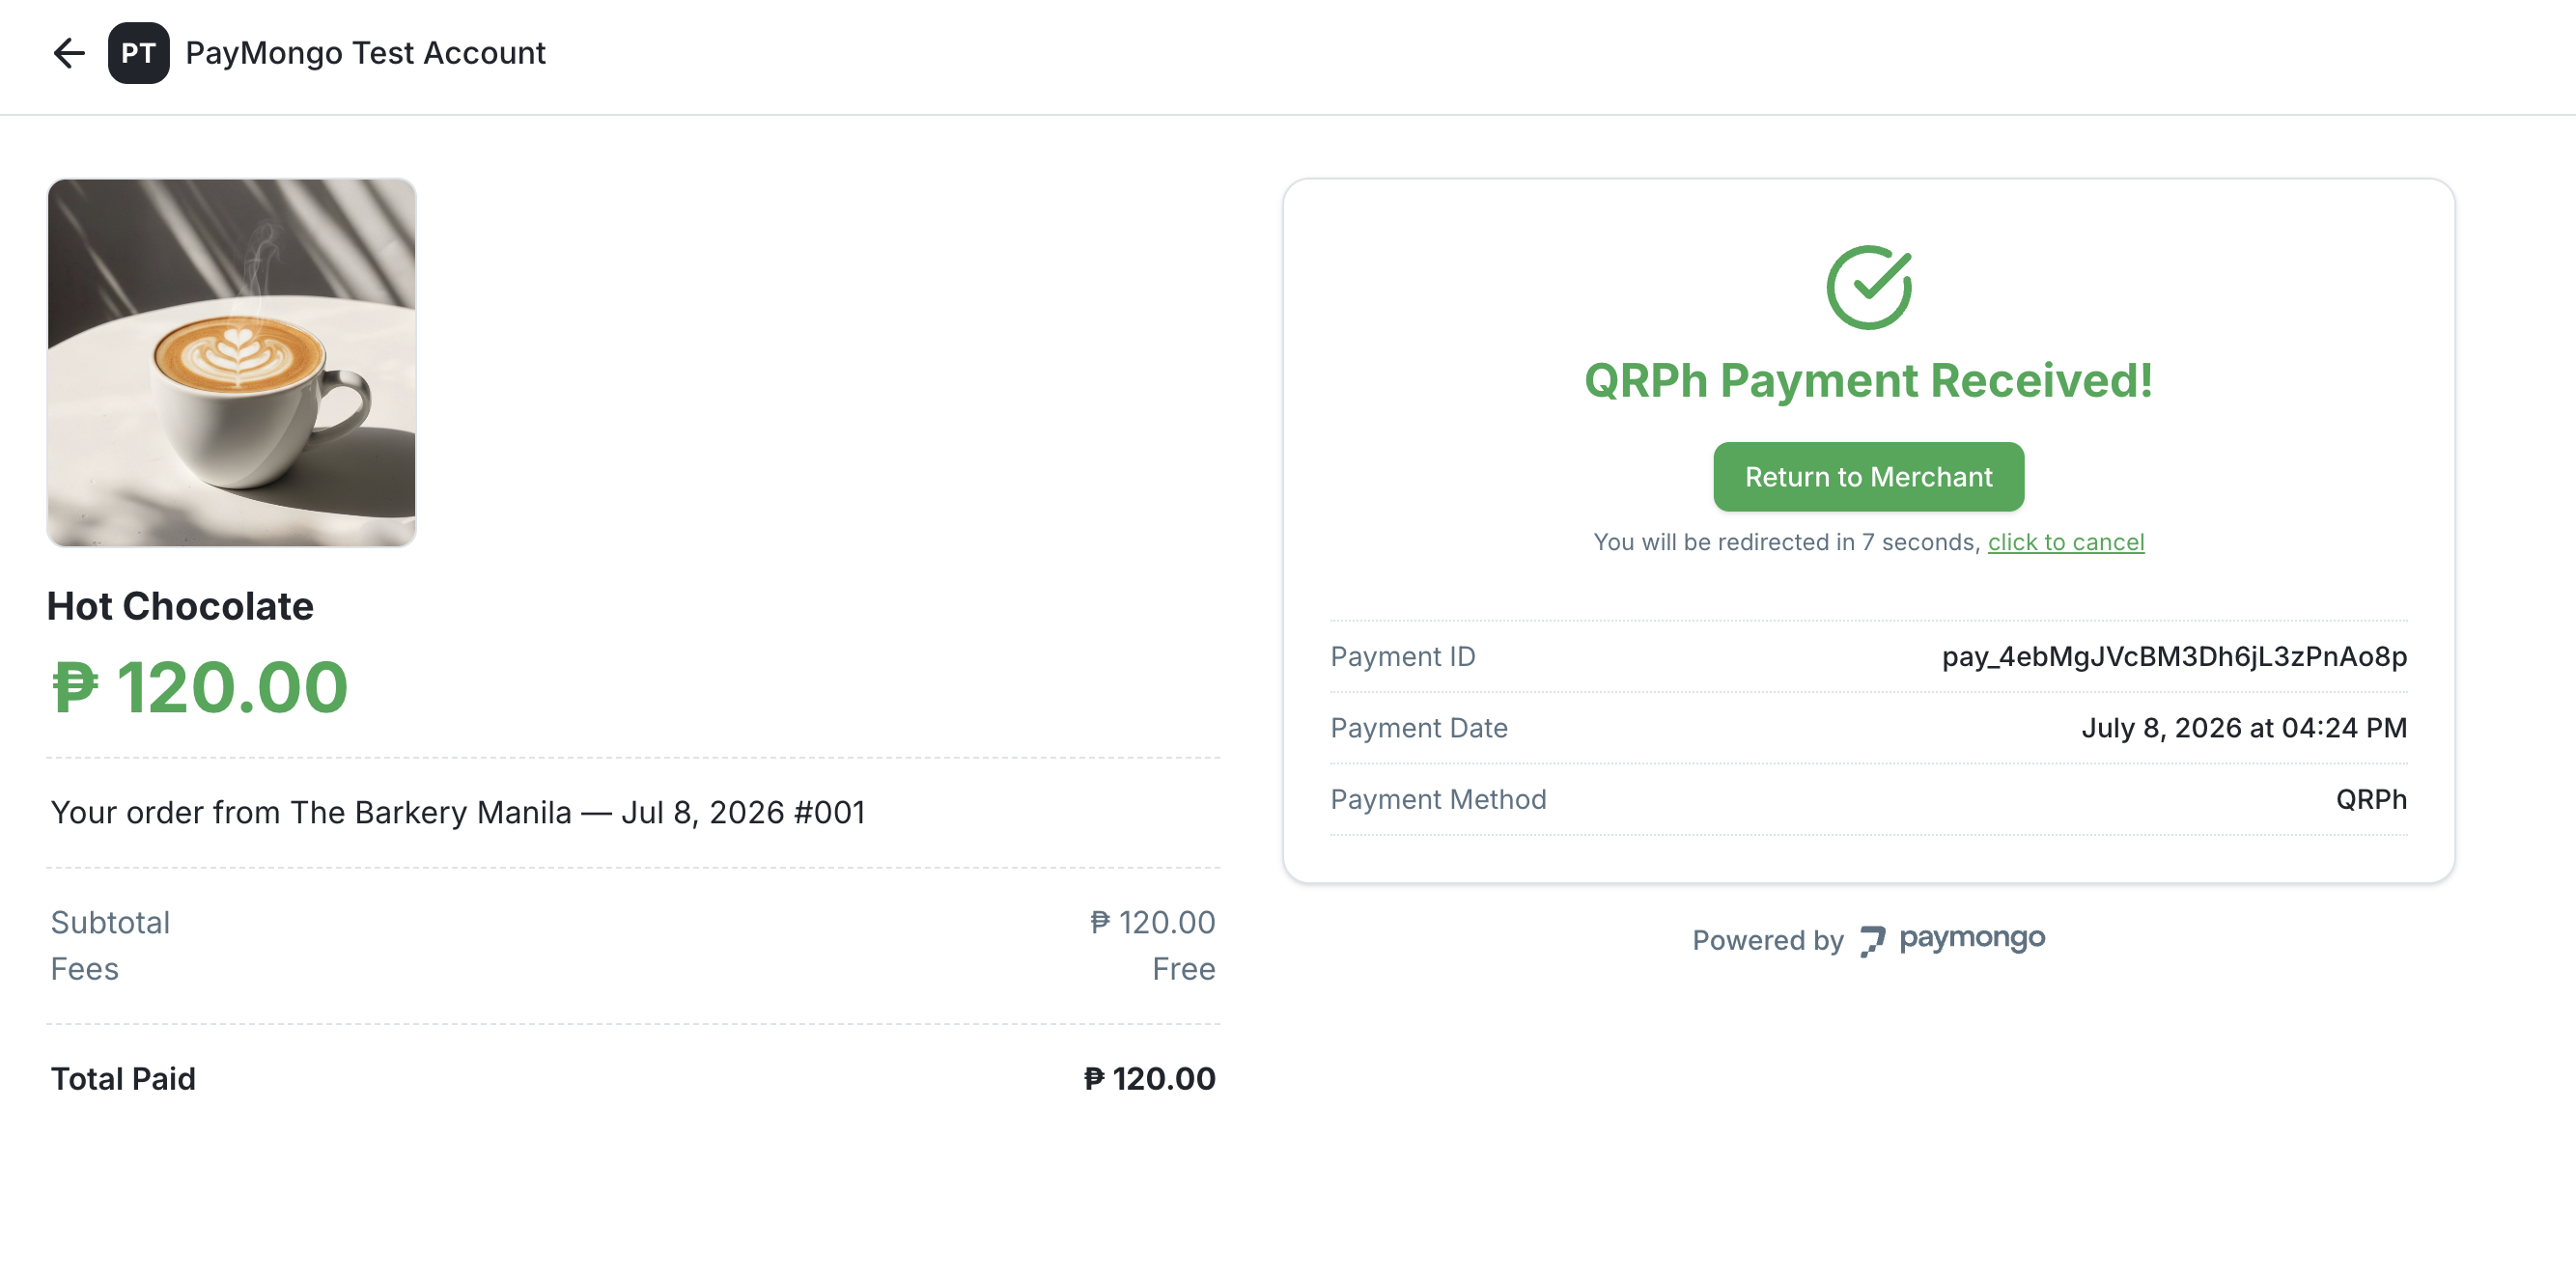
Customer completes payment
The customer pays from the payment page using an available payment flow. PayMongo tracks the payment and updates the order status when it changes.
-
Confirm successful payment
A successful payment updates the order status to
completed. This means the order is fully paid.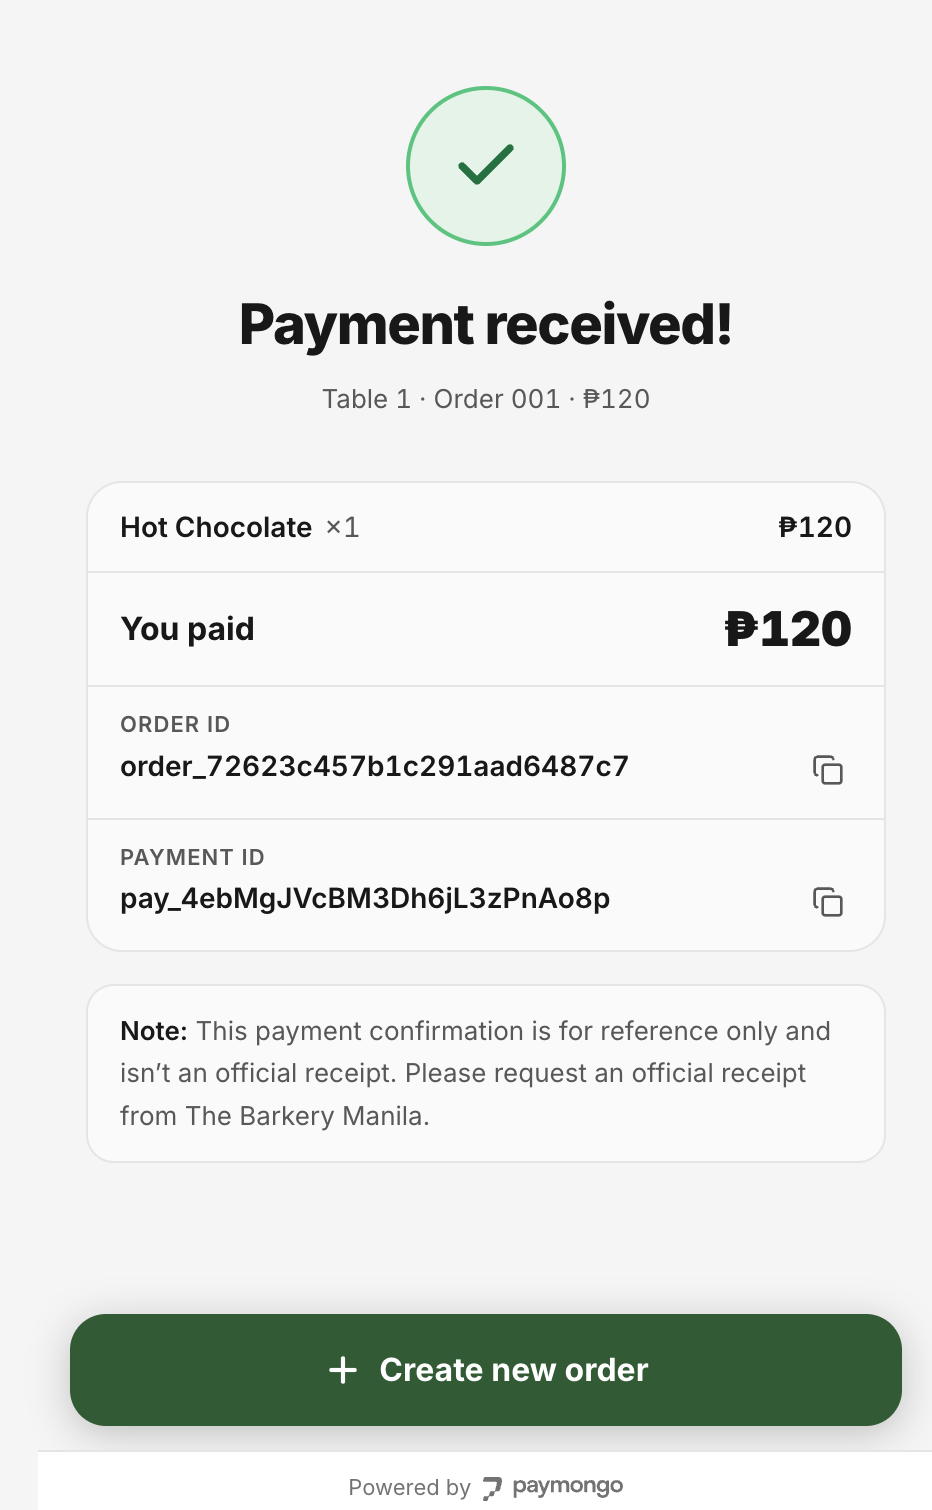
-
Check paid orders from the Orders table
Use the Orders table to confirm which orders are paid. Paid orders show an order status of
completed.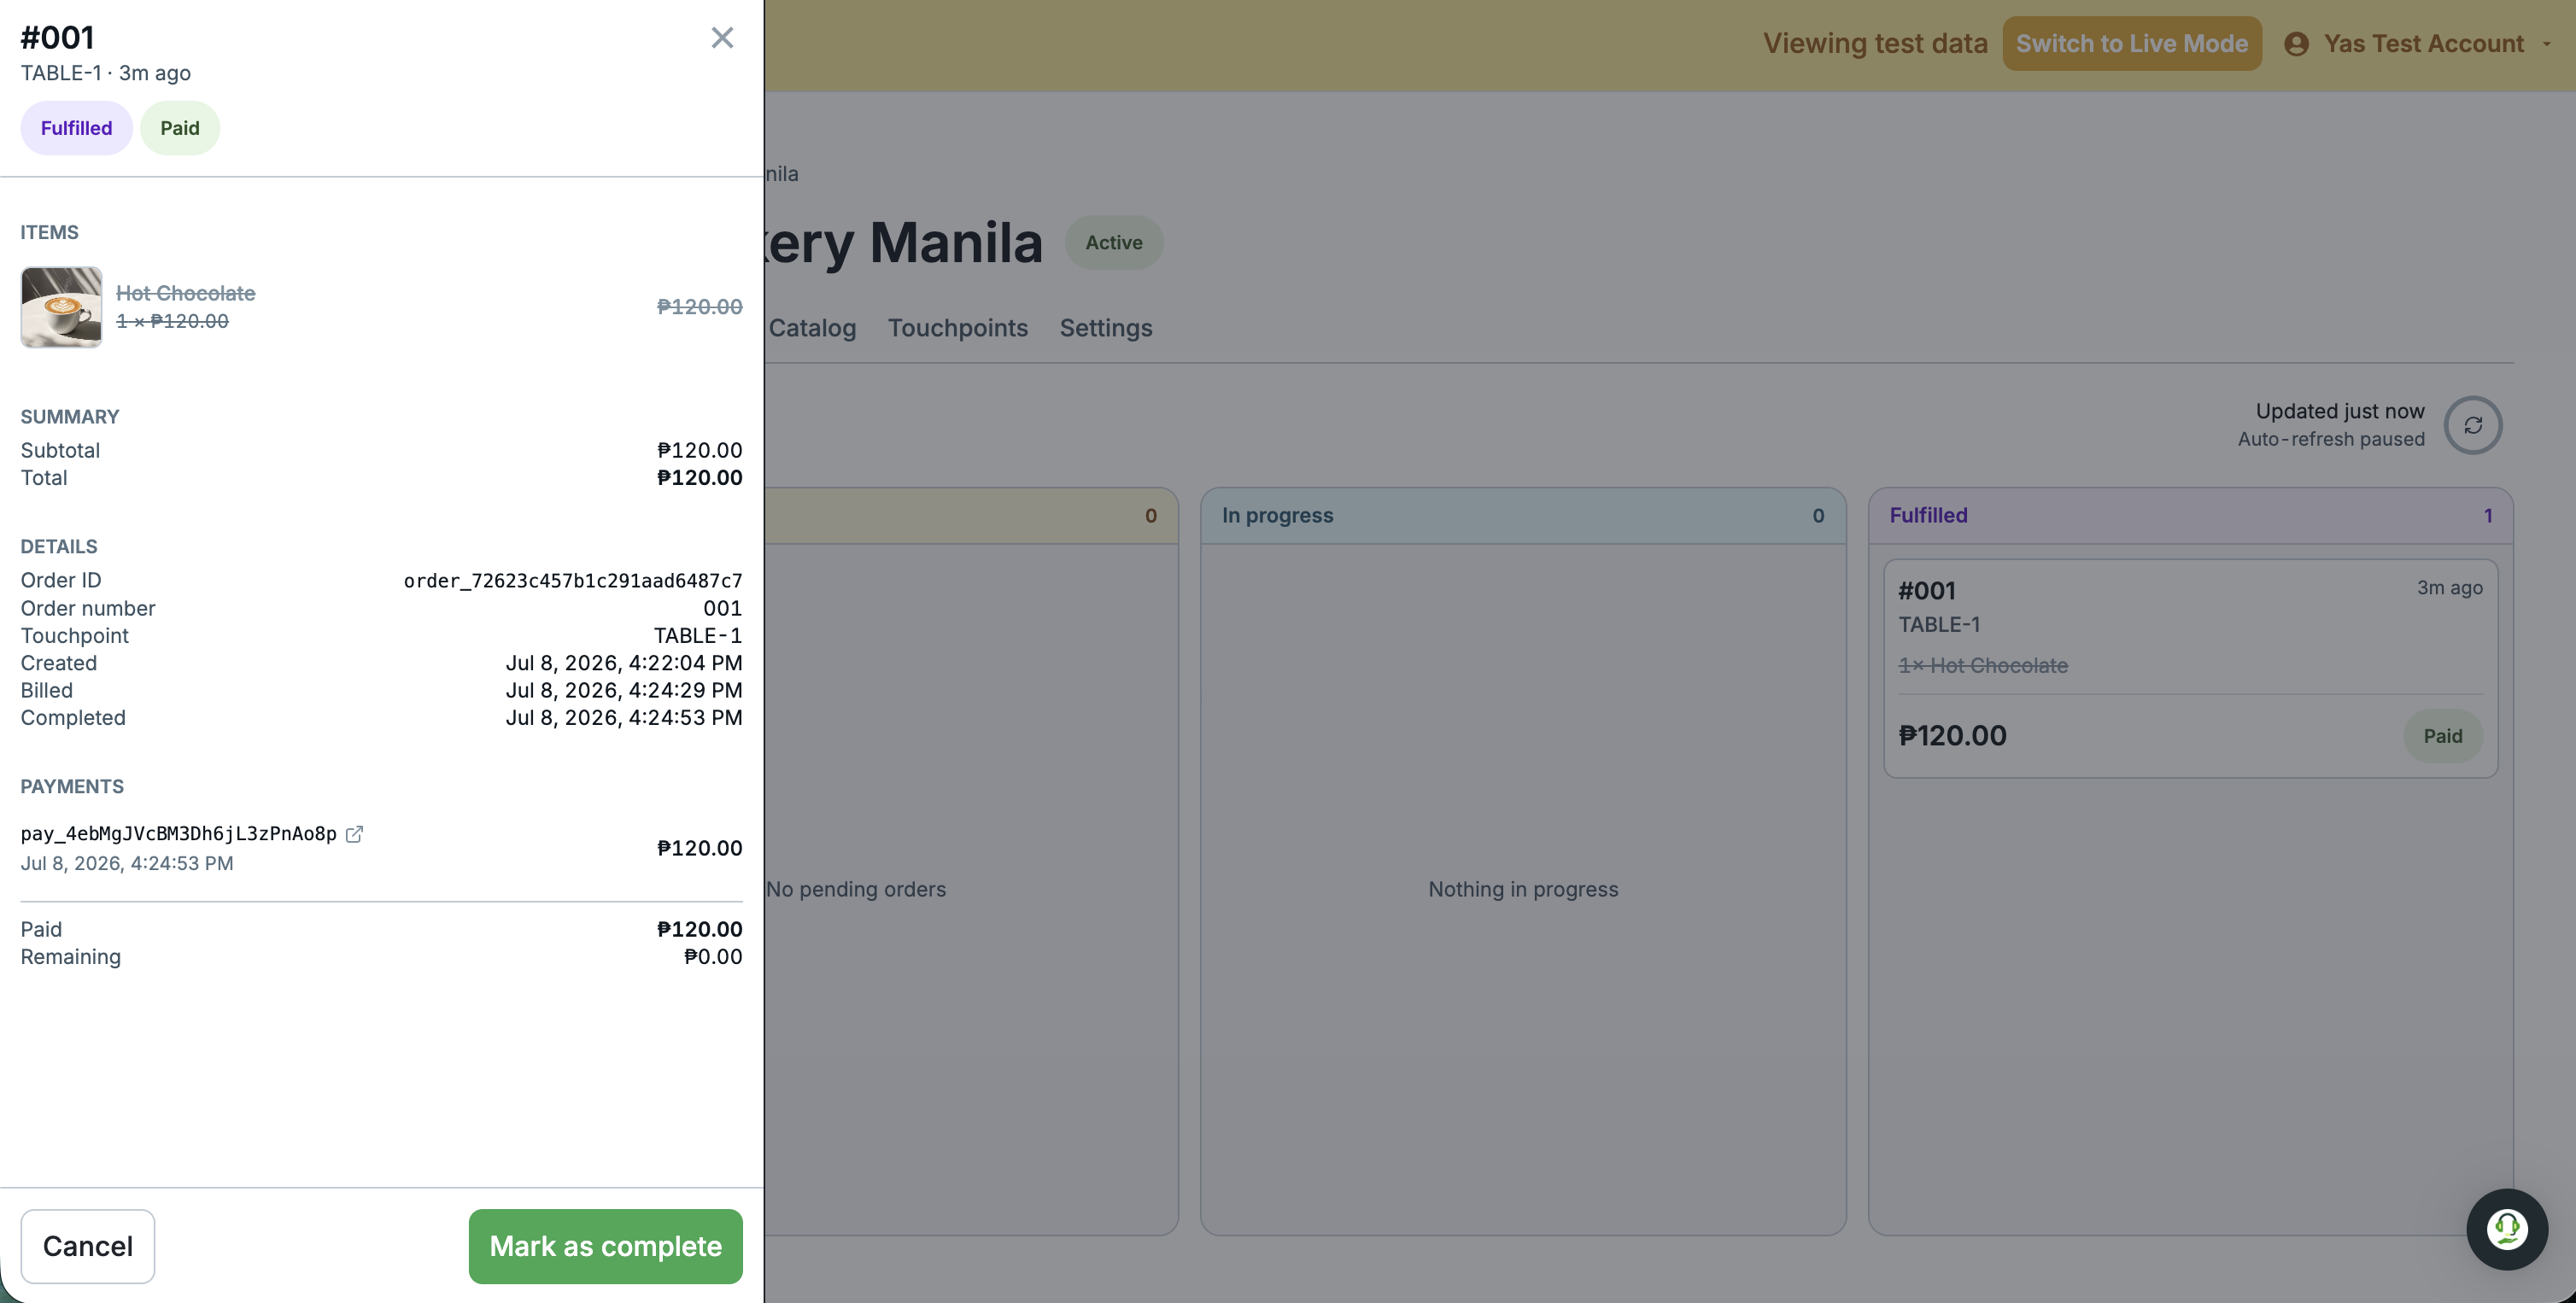
-
Complete the order
When the products or services have been provided, payment is complete, and your operational process is closed, update the fulfillment status to
completed.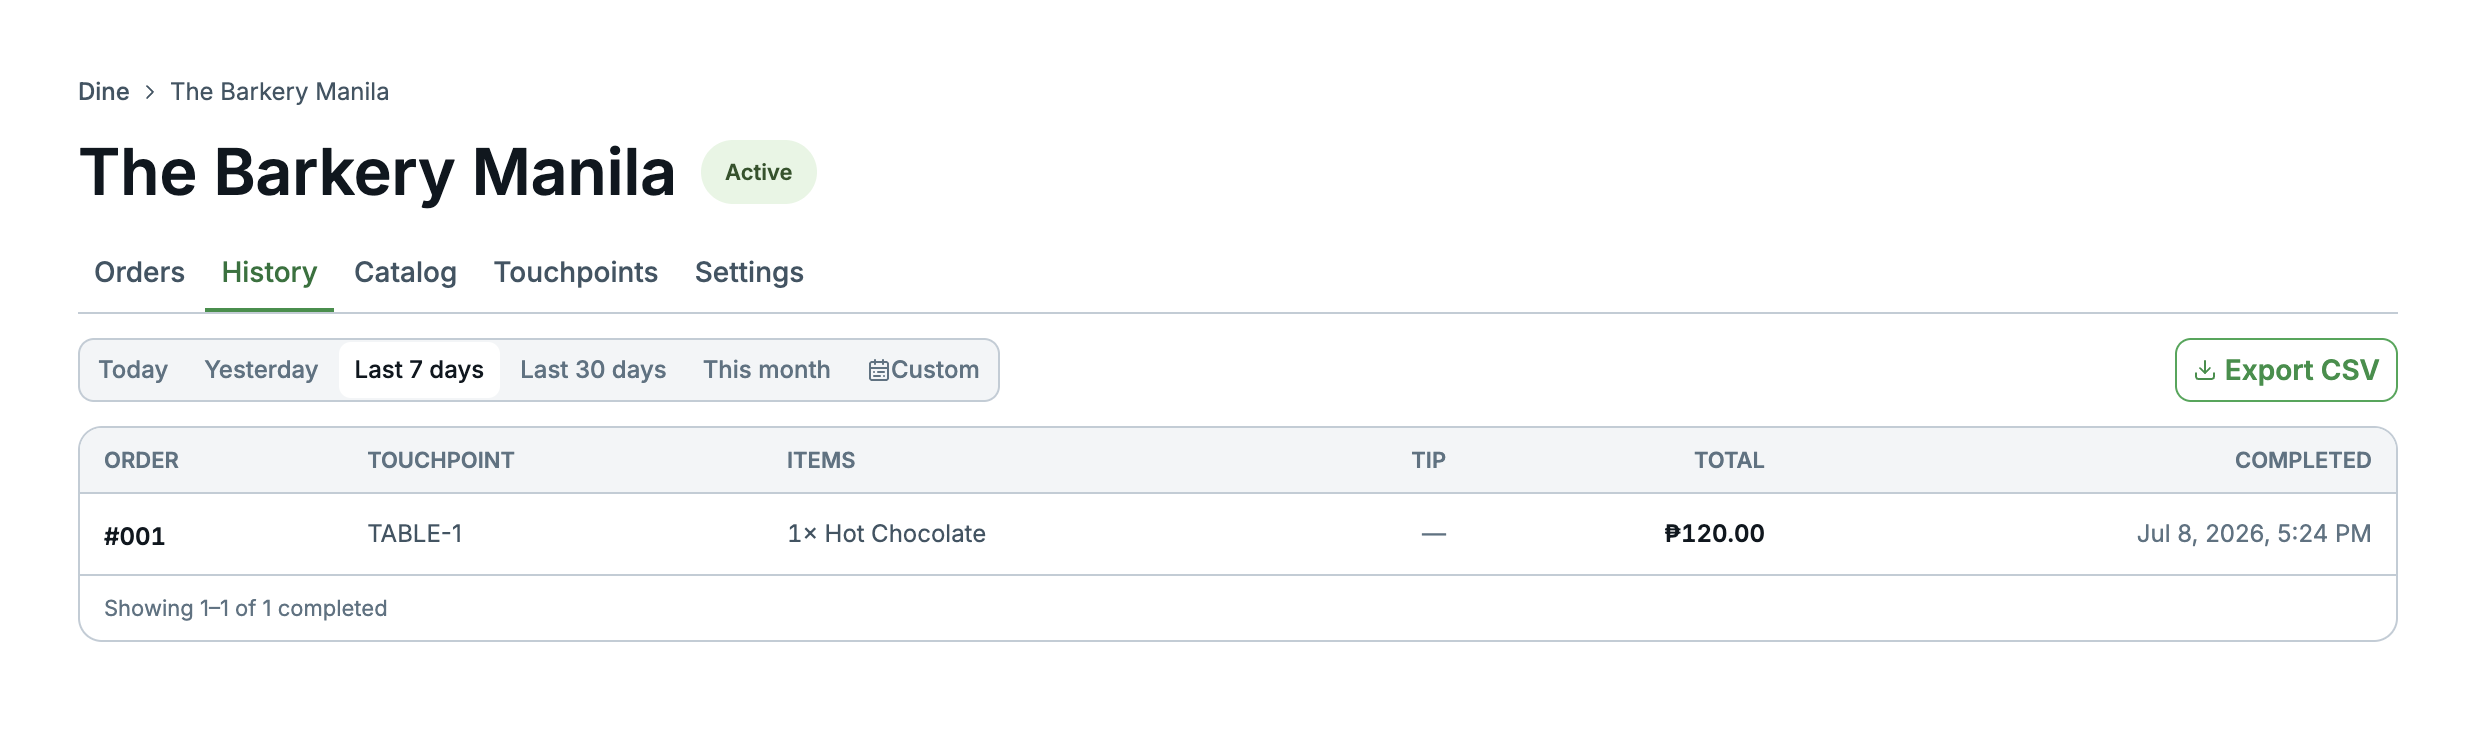
Updated 2 days ago