
Hosted Checkout
Accept payments through a PayMongo-hosted page by creating a Checkout Session from your backend.
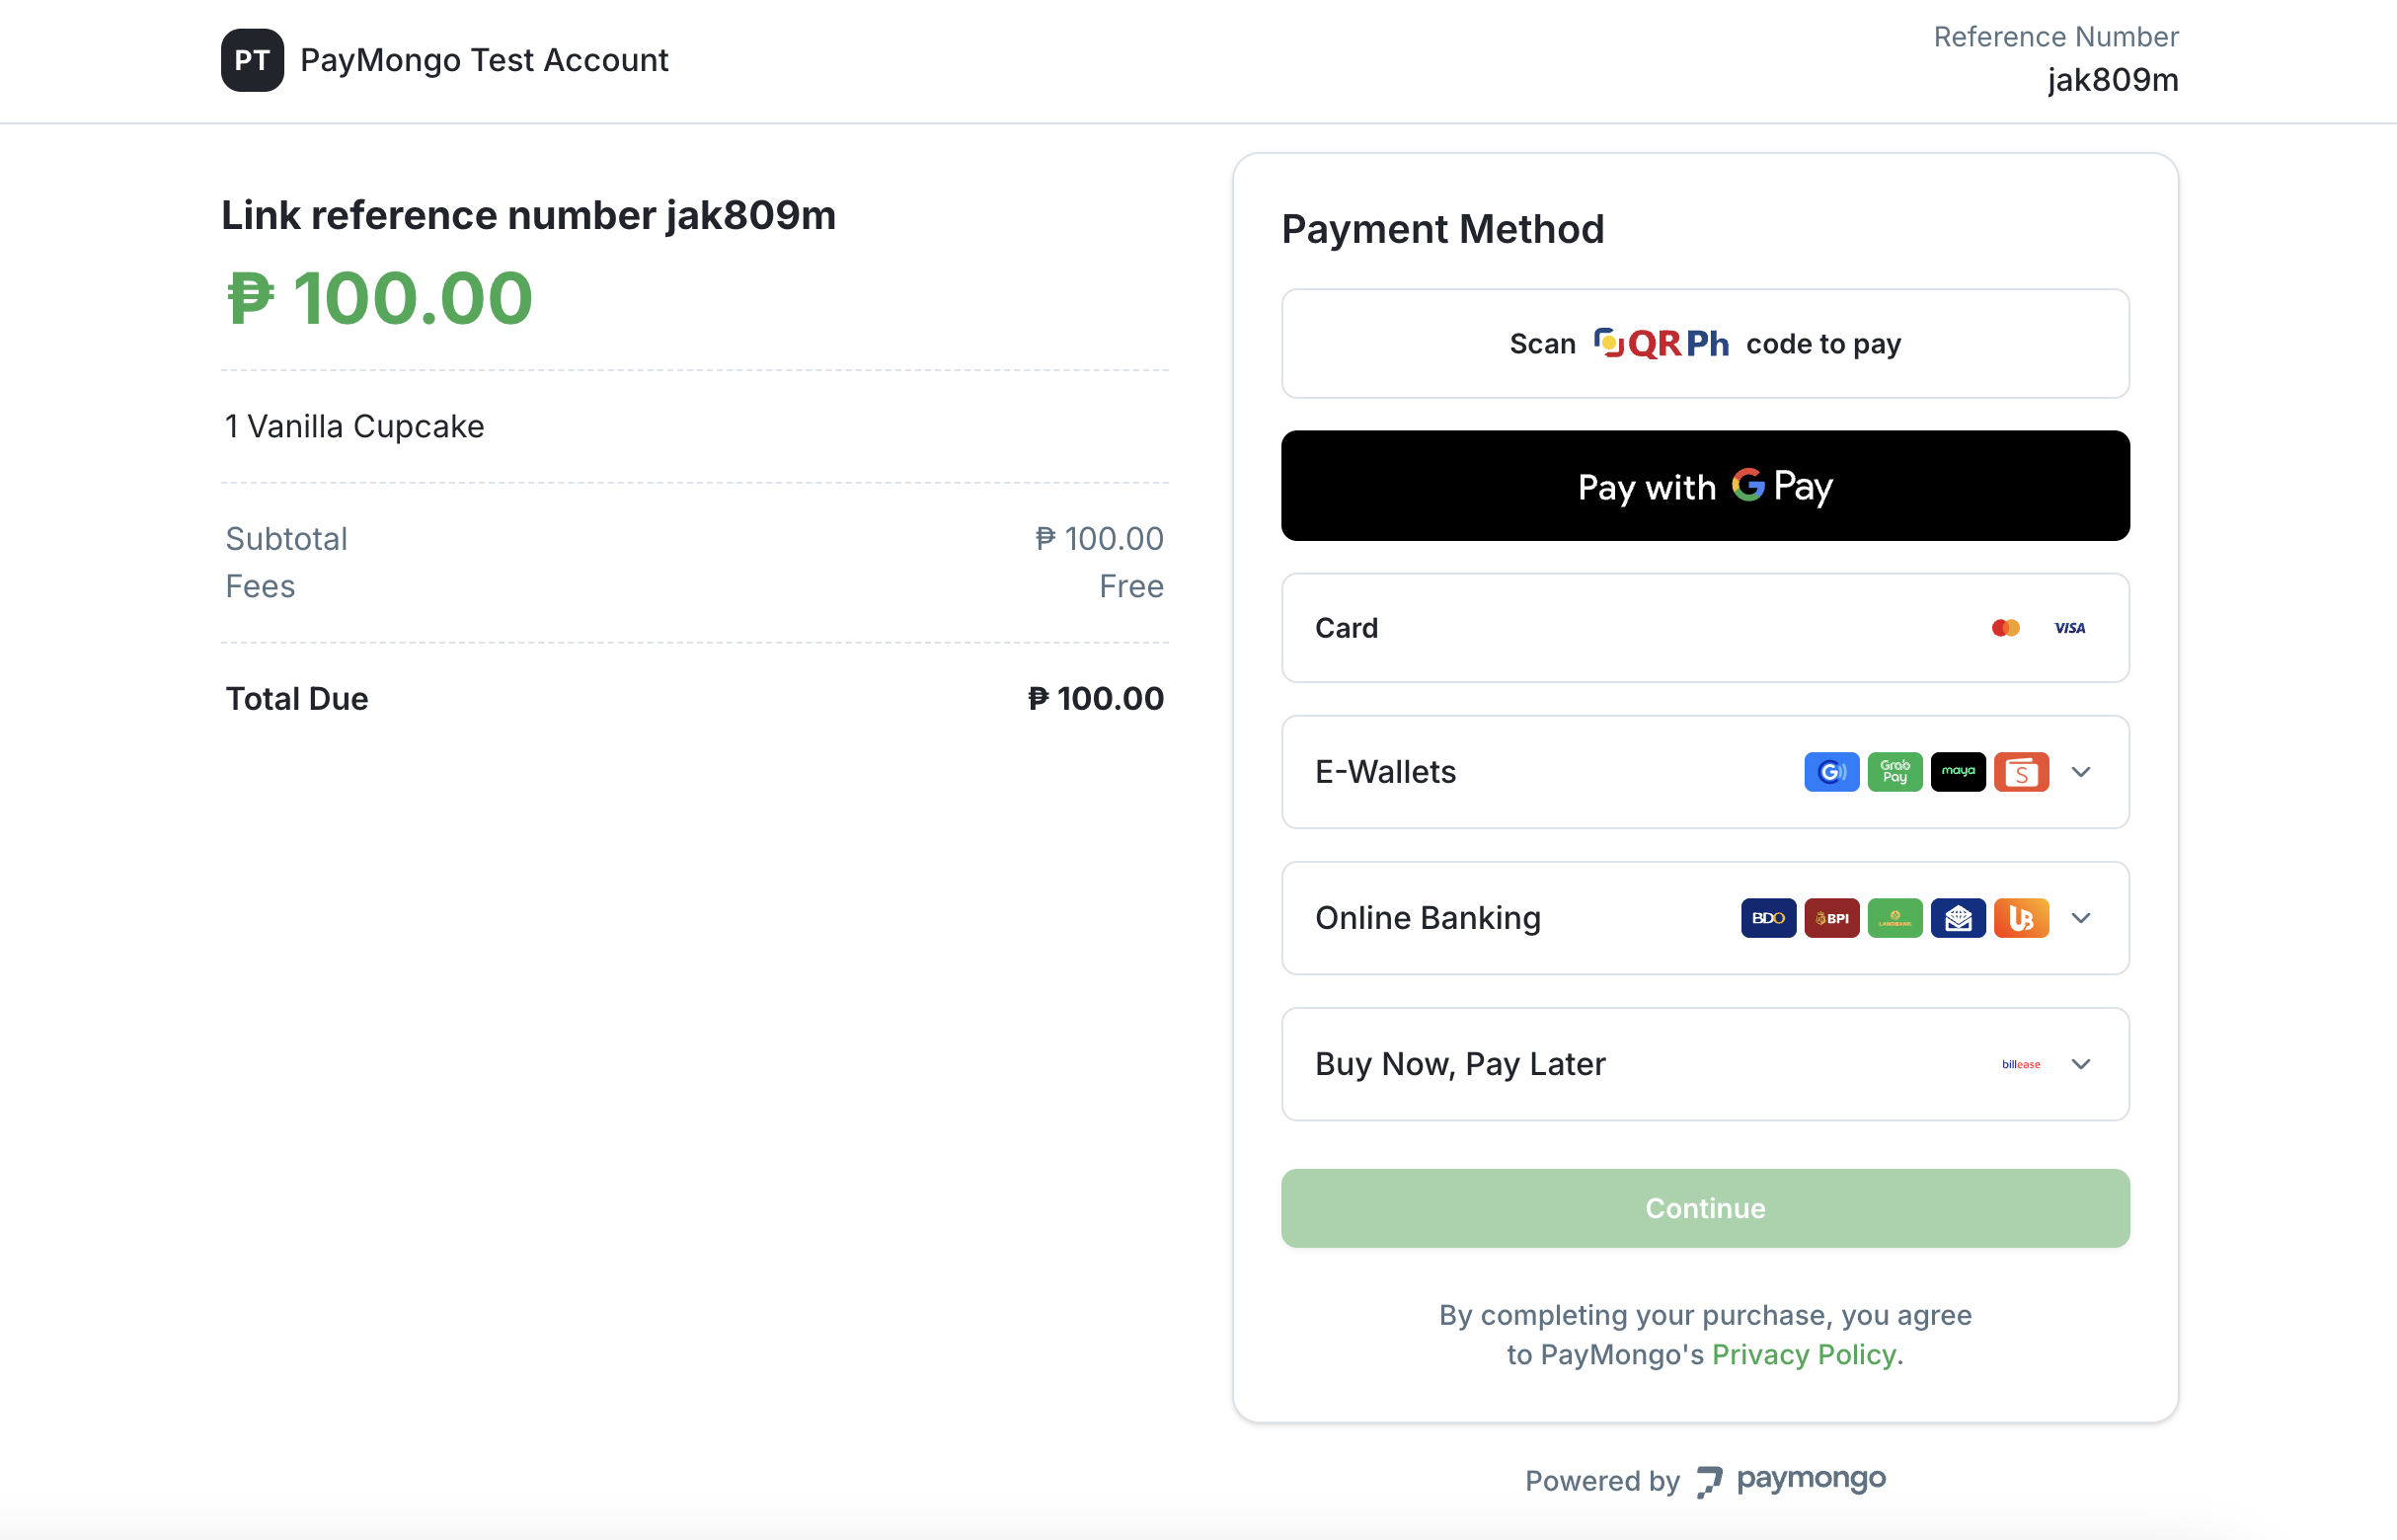
Hosted Checkout is the channel for accepting payments through a PayMongo-hosted page that you create from your backend. You call the Checkout Session API with the payment details — amount, line items, accepted payment methods, redirect URLs — and PayMongo returns a URL where your customer pays.
The Checkout Session is the primitive every payment channel runs on. Payment Links, Payment Pages, the e-commerce plugins, and Storefront AI all create Checkout Sessions under the hood — they wrap that API call in a dashboard or plugin. Hosted Checkout is for when you want to drive that creation yourself, from your own backend, with full control over when sessions are created and what's in them.
This page is for developers integrating Hosted Checkout. If you haven't yet, read Key Concepts first — this page assumes you know what a Checkout Session is.
Checkout API
Hosted Checkout has two API versions:
/v1/checkout_sessions— Creates a Payment Intent at the same time as the Checkout Session./v2/checkout_sessions— Defers Payment Intent creation until the customer actually pays.
We recommend /v2 for new integrations. Deferring Payment Intent creation unlocks features that aren't possible when the intent is created upfront, including pass_on_fees and upcoming features like promotions and multi-currency.
The rest of this page uses /v2.
Example request
curl https://api.paymongo.com/v2/checkout_sessions \
  -u sk_live_xxxxxxxxxxxx: \
  -H "Content-Type: application/json" \
  -d '{
    "data": {
      "attributes": {
        "line_items": [
          {
            "name": "Premium subscription",
            "amount": 49900,
            "currency": "PHP",
            "quantity": 1
          }
        ],
        "payment_method_types": ["card", "gcash", "qrph"],
        "success_url": "https://example.com/orders/12345/success",
        "cancel_url": "https://example.com/cart",
        "reference_number": "ORDER-12345",
        "send_email_receipt": true,
        "pass_on_fees": true,
        "metadata": {
          "tier": "premium"
        }
      }
    }
  }'
The response includes a checkout_url. Redirect the customer to that URL to start the payment flow.
Features
Hosted Checkout supports some built in features to support your day-to-day operations.
Pass-on Fees
By default, PayMongo's transaction fee comes out of the amount you receive. Set pass_on_fees: true to add the fee on top of the total and charge it to the customer instead.
The fee varies by payment method, so the exact amount can't be known until the customer picks one. PayMongo handles this for you: when the customer selects a method on the checkout page, the displayed total updates to include that method's fee. This is one of the reasons /v2 defers Payment Intent creation — the intent only needs to be created once the method (and therefore the fee) is known.
Email Receipts
Set send_email_receipt: true to have PayMongo send an email receipt after a successful payment. The receipt goes to billing.email or the email submitted inside the checkout page.
The reply-to address on the receipt is your account's Customer Support Email if you have configured one in Settings → Business Information. If no support email is set, the reply-to falls back to the account owner's email address.
Webhooks
PayMongo sends checkout_session.payment.paid to your configured webhook endpoint when a customer completes payment. The payload contains the full Checkout Session and the resulting payment, so you can fulfill the order without an additional API call.
{
  "event_type": "send.webhook",
  "data": {
    "type": "checkout_session.payment.paid",
    "resource": "checkout_session",
    "livemode": true,
    "organization_id": "org_xxx",
    "created_at": "2026-01-01T00:00:00Z",
    "updated_at": "2026-01-01T00:00:00Z",
    "data": {
      "id": "cs_xxx",
      "type": "checkout_session",
      "attributes": {
        "reference_number": "ORDER-12345",
        "metadata": {
          "tier": "premium"
        },
        "payment_intent": {
          "id": "pi_xxx",
					...
        },
        "payments": [
          {
            "id": "pay_xxx",
            "attributes": {
              "amount": 50660,
              "fee": 760,
              "net_amount": 49900,
              "currency": "PHP",
							"status": "paid",
              "billing": {
                "name": "Juan Dela Cruz",
                "email": "[email protected]"
              },
              "source": {
                "type": "qrph"
              },
							...
            }
          }
        ]
      }
    }
  }
}
The fields you'll most often use:
data.id— Checkout Session ID (cs_xxx).data.attributes.reference_number— Whatever you passed at session creation. Use this to look up the order in your system.data.attributes.metadata— Anything else you attached at session creation.data.attributes.payment_intent.id— The latest Payment Intent.data.attributes.payments— One entry per Payment attempt. Each has anid,billinginfo,status,sourcesinfo, and amount fields (amount,net_amount,fee). At most one entry hasstatus: "paid".
The full payload includes many more attributes — full billing details, line items, status, timestamps, tax breakdowns, payment method details, and more. Log a real webhook in test mode to see everything available, then pull what you need.
Common questions
Can one Checkout Session produce two successful payments?
No. A session holds one active Payment Intent at a time, and PayMongo rejects further attempts once a payment succeeds. Opening the checkout URL in two tabs does not create two payable attempts, because a new QR code expires the previous one. It is safe to send a customer back to an active checkout URL instead of creating a new session. See Payment attempts and retries.
Can a payment succeed after the Checkout Session expires?
No payment can be recorded on an expired session. Expiring a session cancels its Payment Intent and any QR code tied to it. The Expire endpoint refuses to expire a session that already has a paid or ongoing payment, so handle its 400 response before you create a replacement session. See Expiring a Checkout Session.
Does an expired QR code mean the session expired?
No. A QR Ph code expires after 30 minutes by default, but the session stays active. The customer can generate a new code from the same checkout page until you expire the session.
Updated 18 days ago