
Sending a Test Event
Send a test event to a webhook of your choice
Sending test events means simulating the actual live behavior of webhooks to allow ease of integration. These events mimic the actual live events and can be used to test without having to go through an end-to-end process in generating an event.
-
In the Dashboard, go to Developer Tools → Webhooks and make sure you're in Test mode.
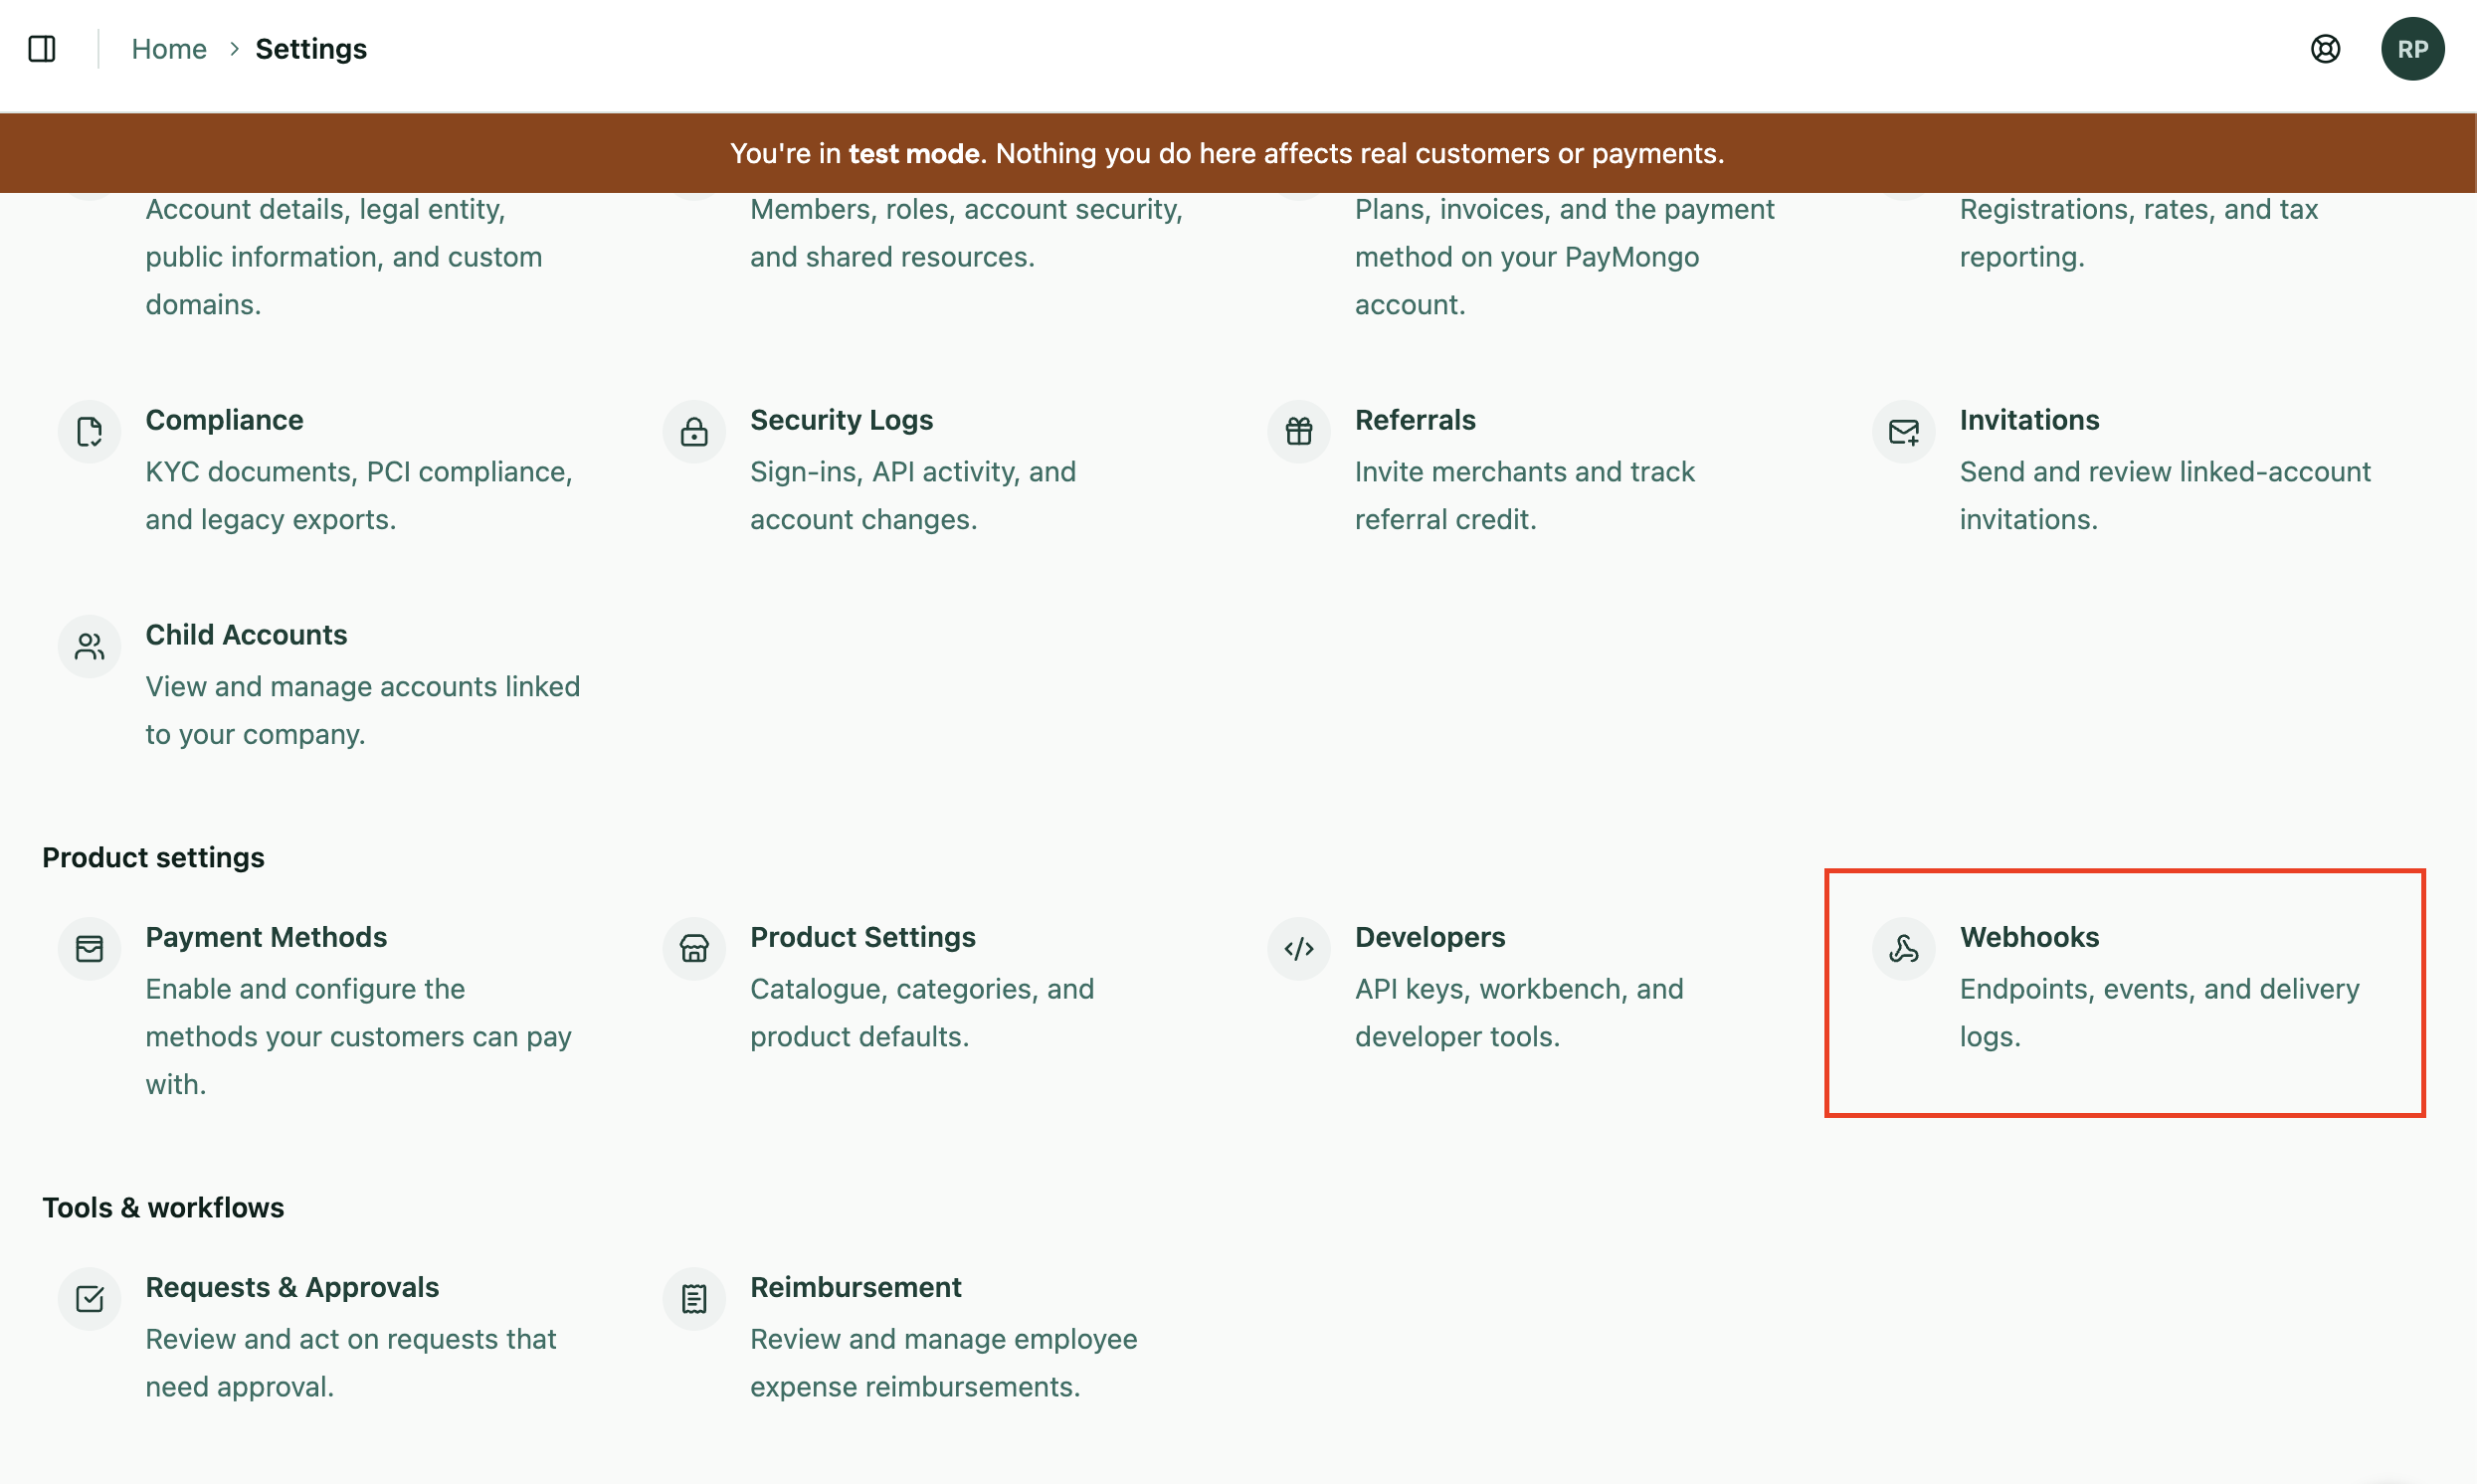
-
Open the webhook endpoint you want to test.
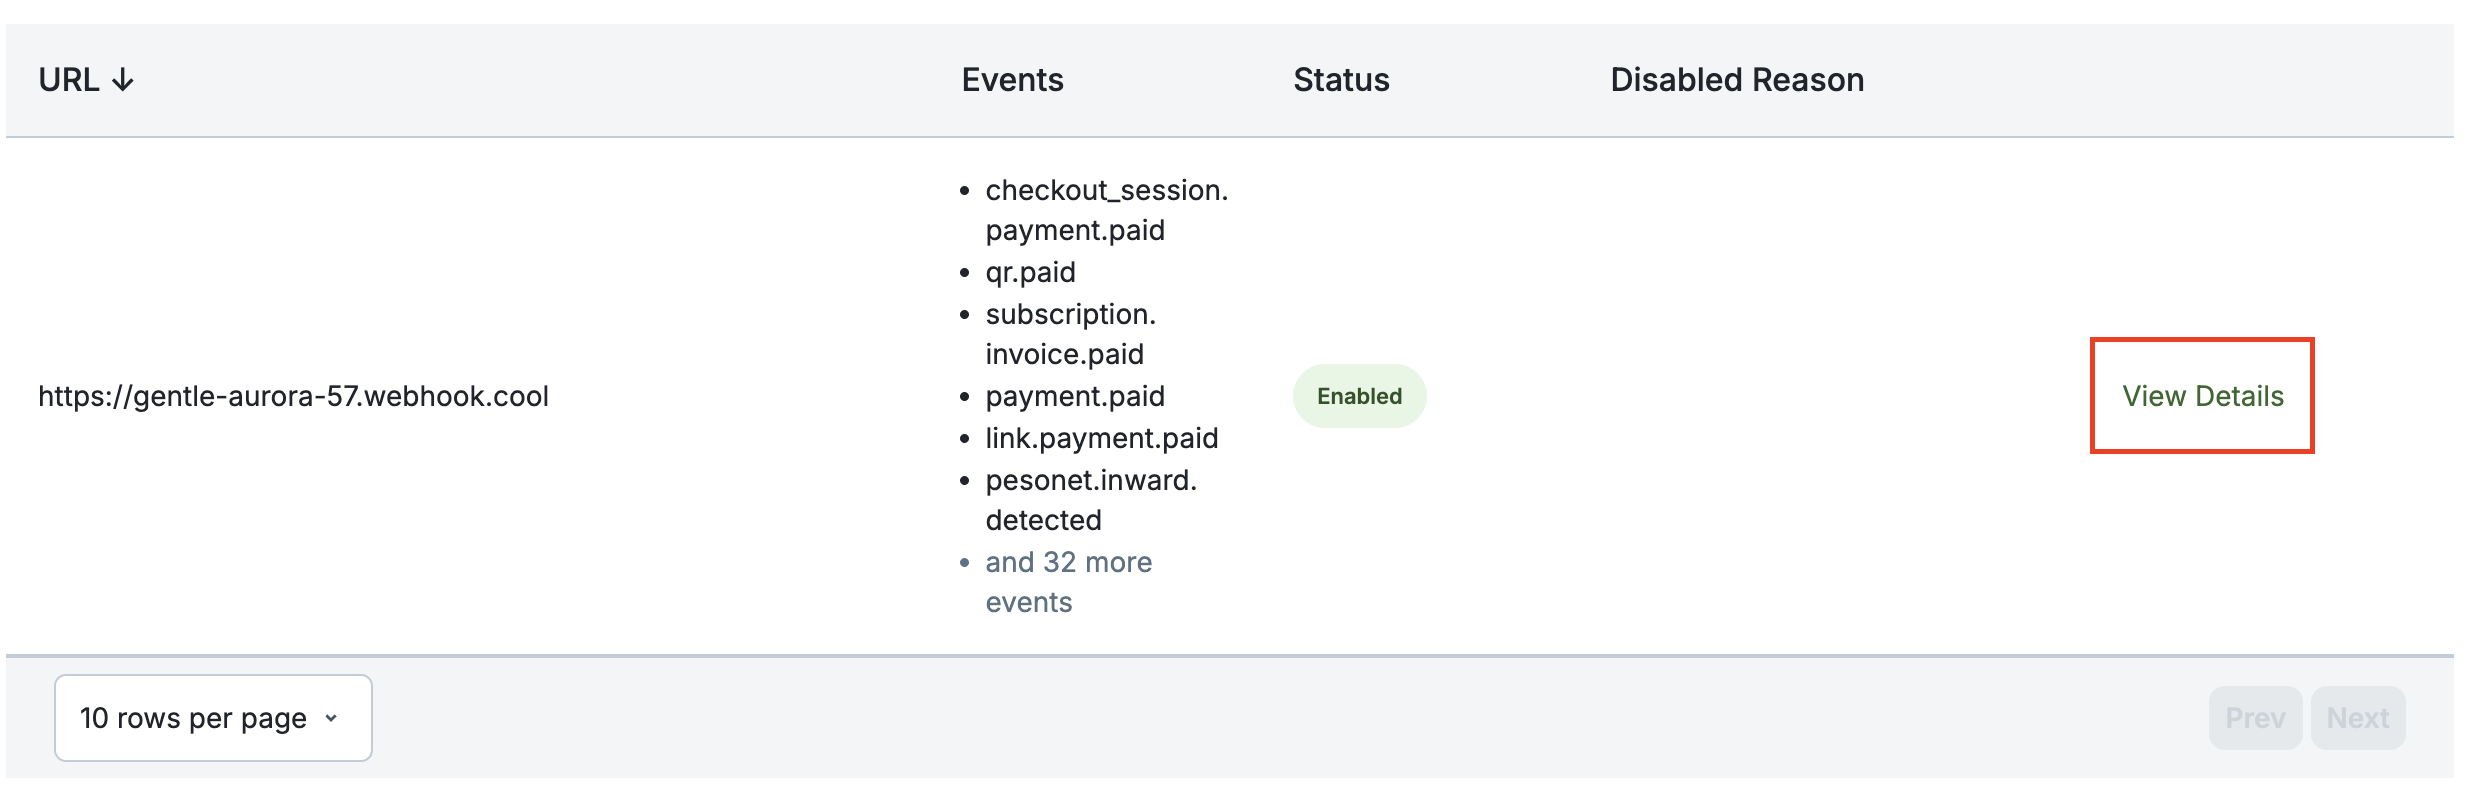
-
Select the Test Events tab. (This tab is only visible in Test mode — if you don't see it, check the mode toggle first.)
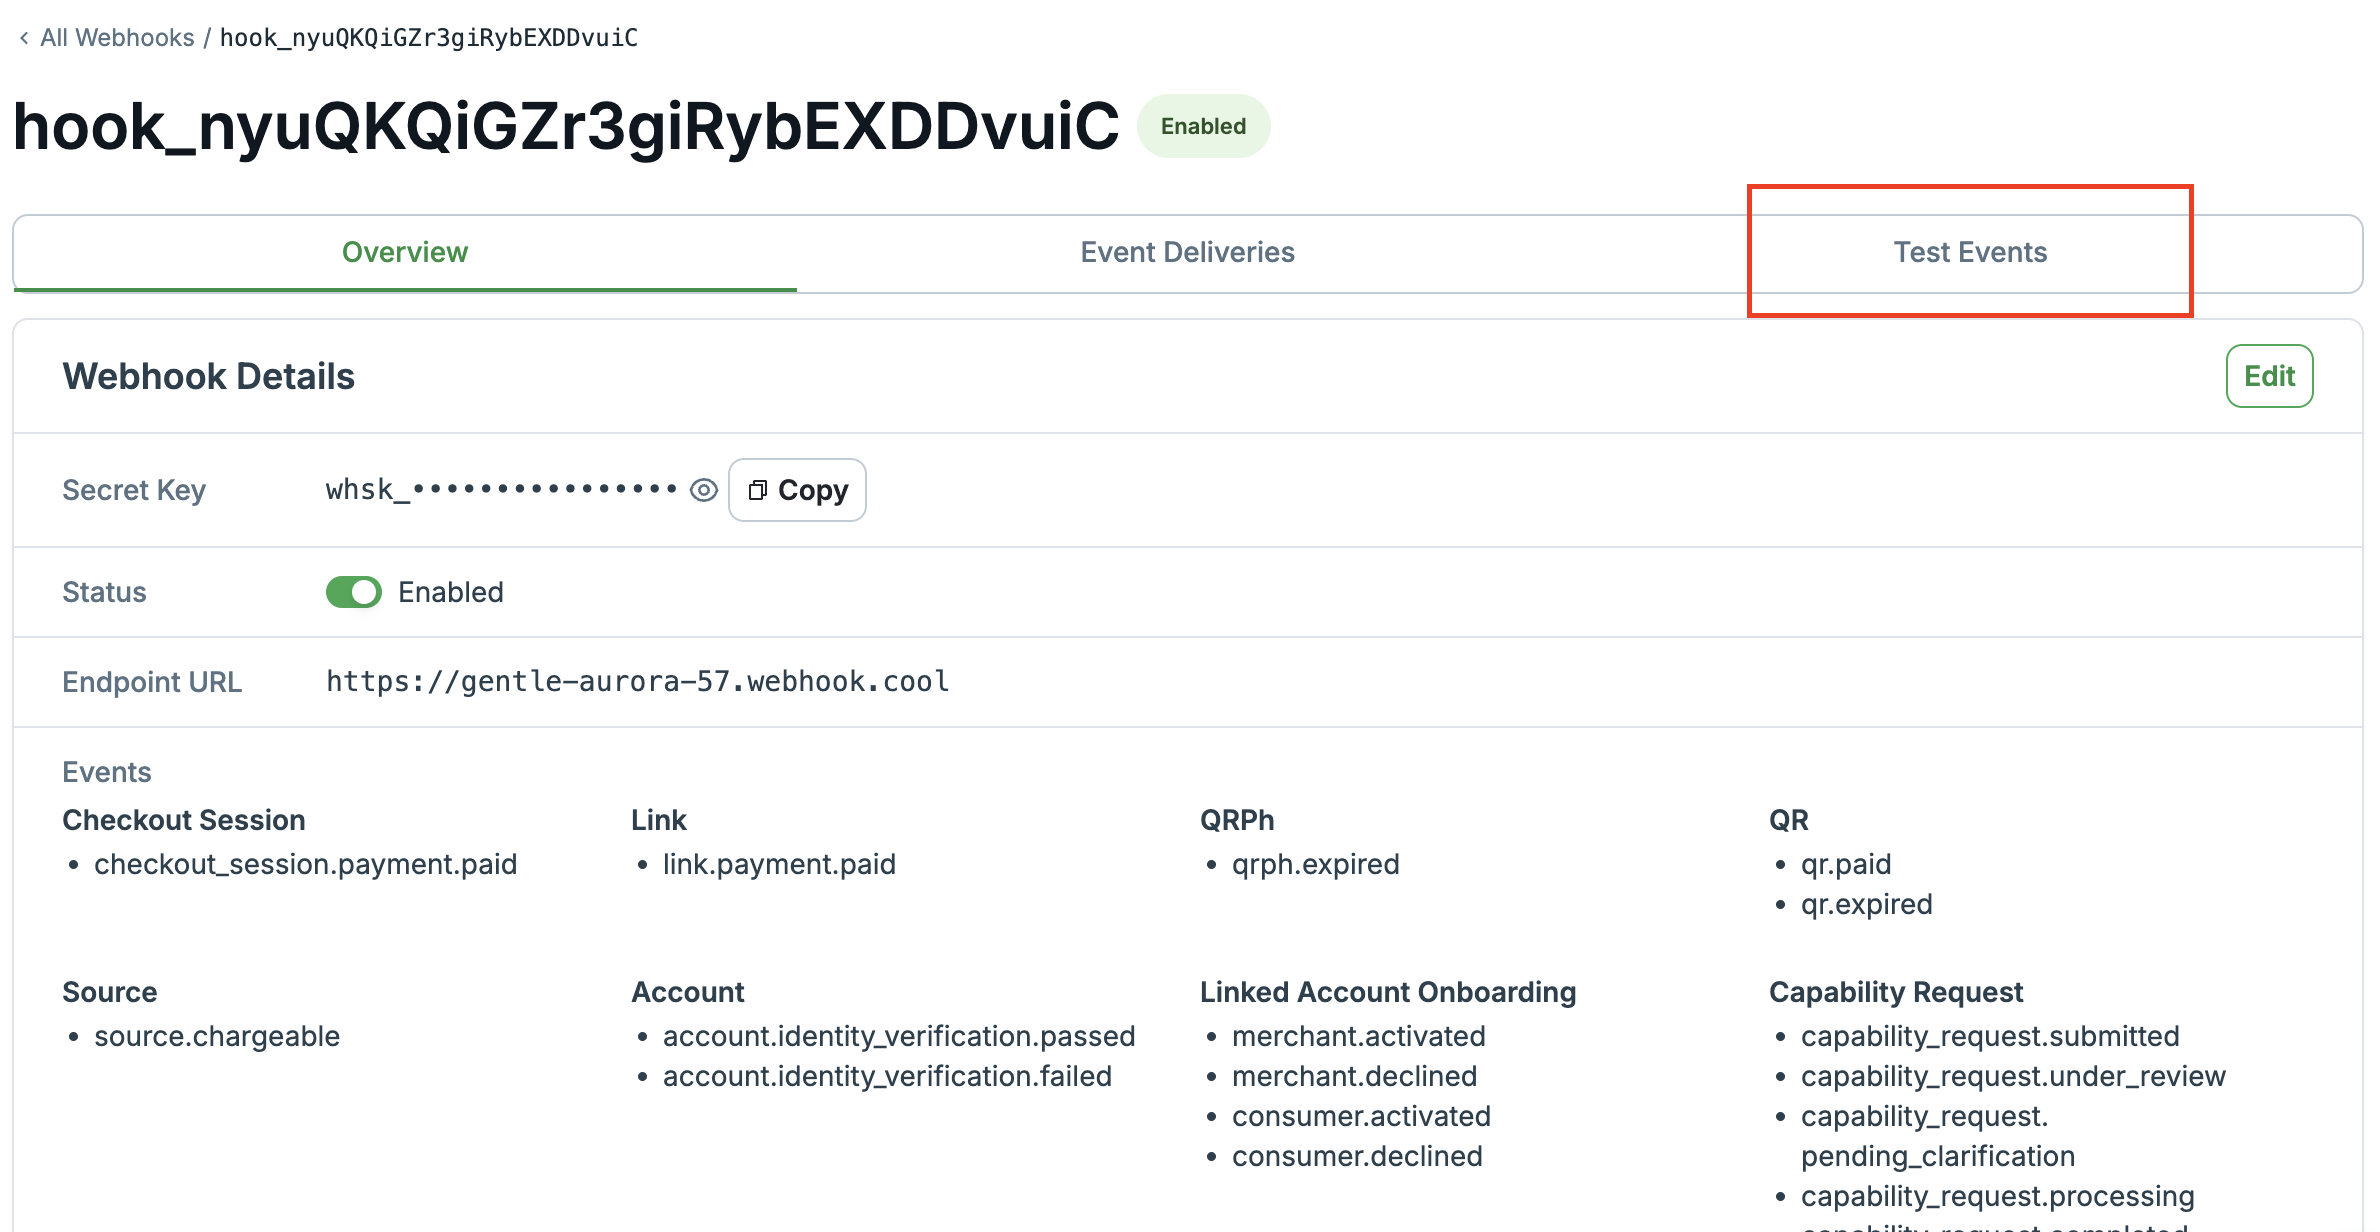
-
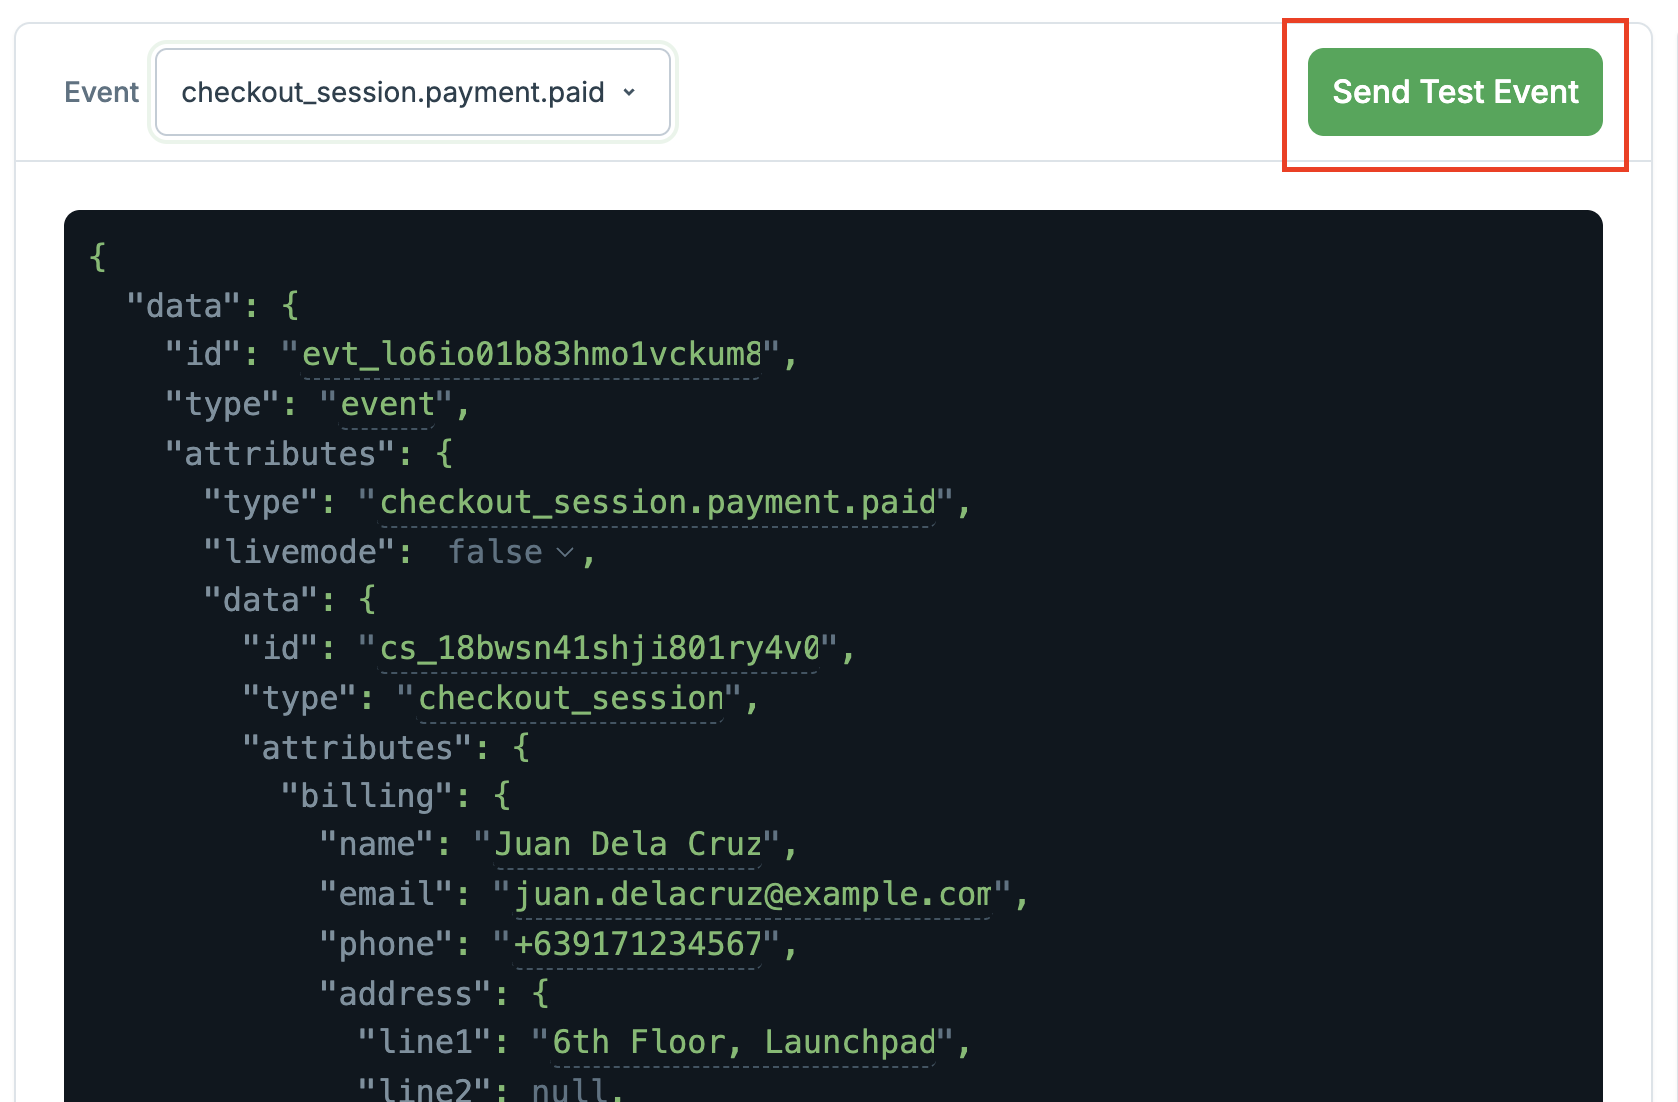
From the Event dropdown, choose one of the event types this endpoint is subscribed to.
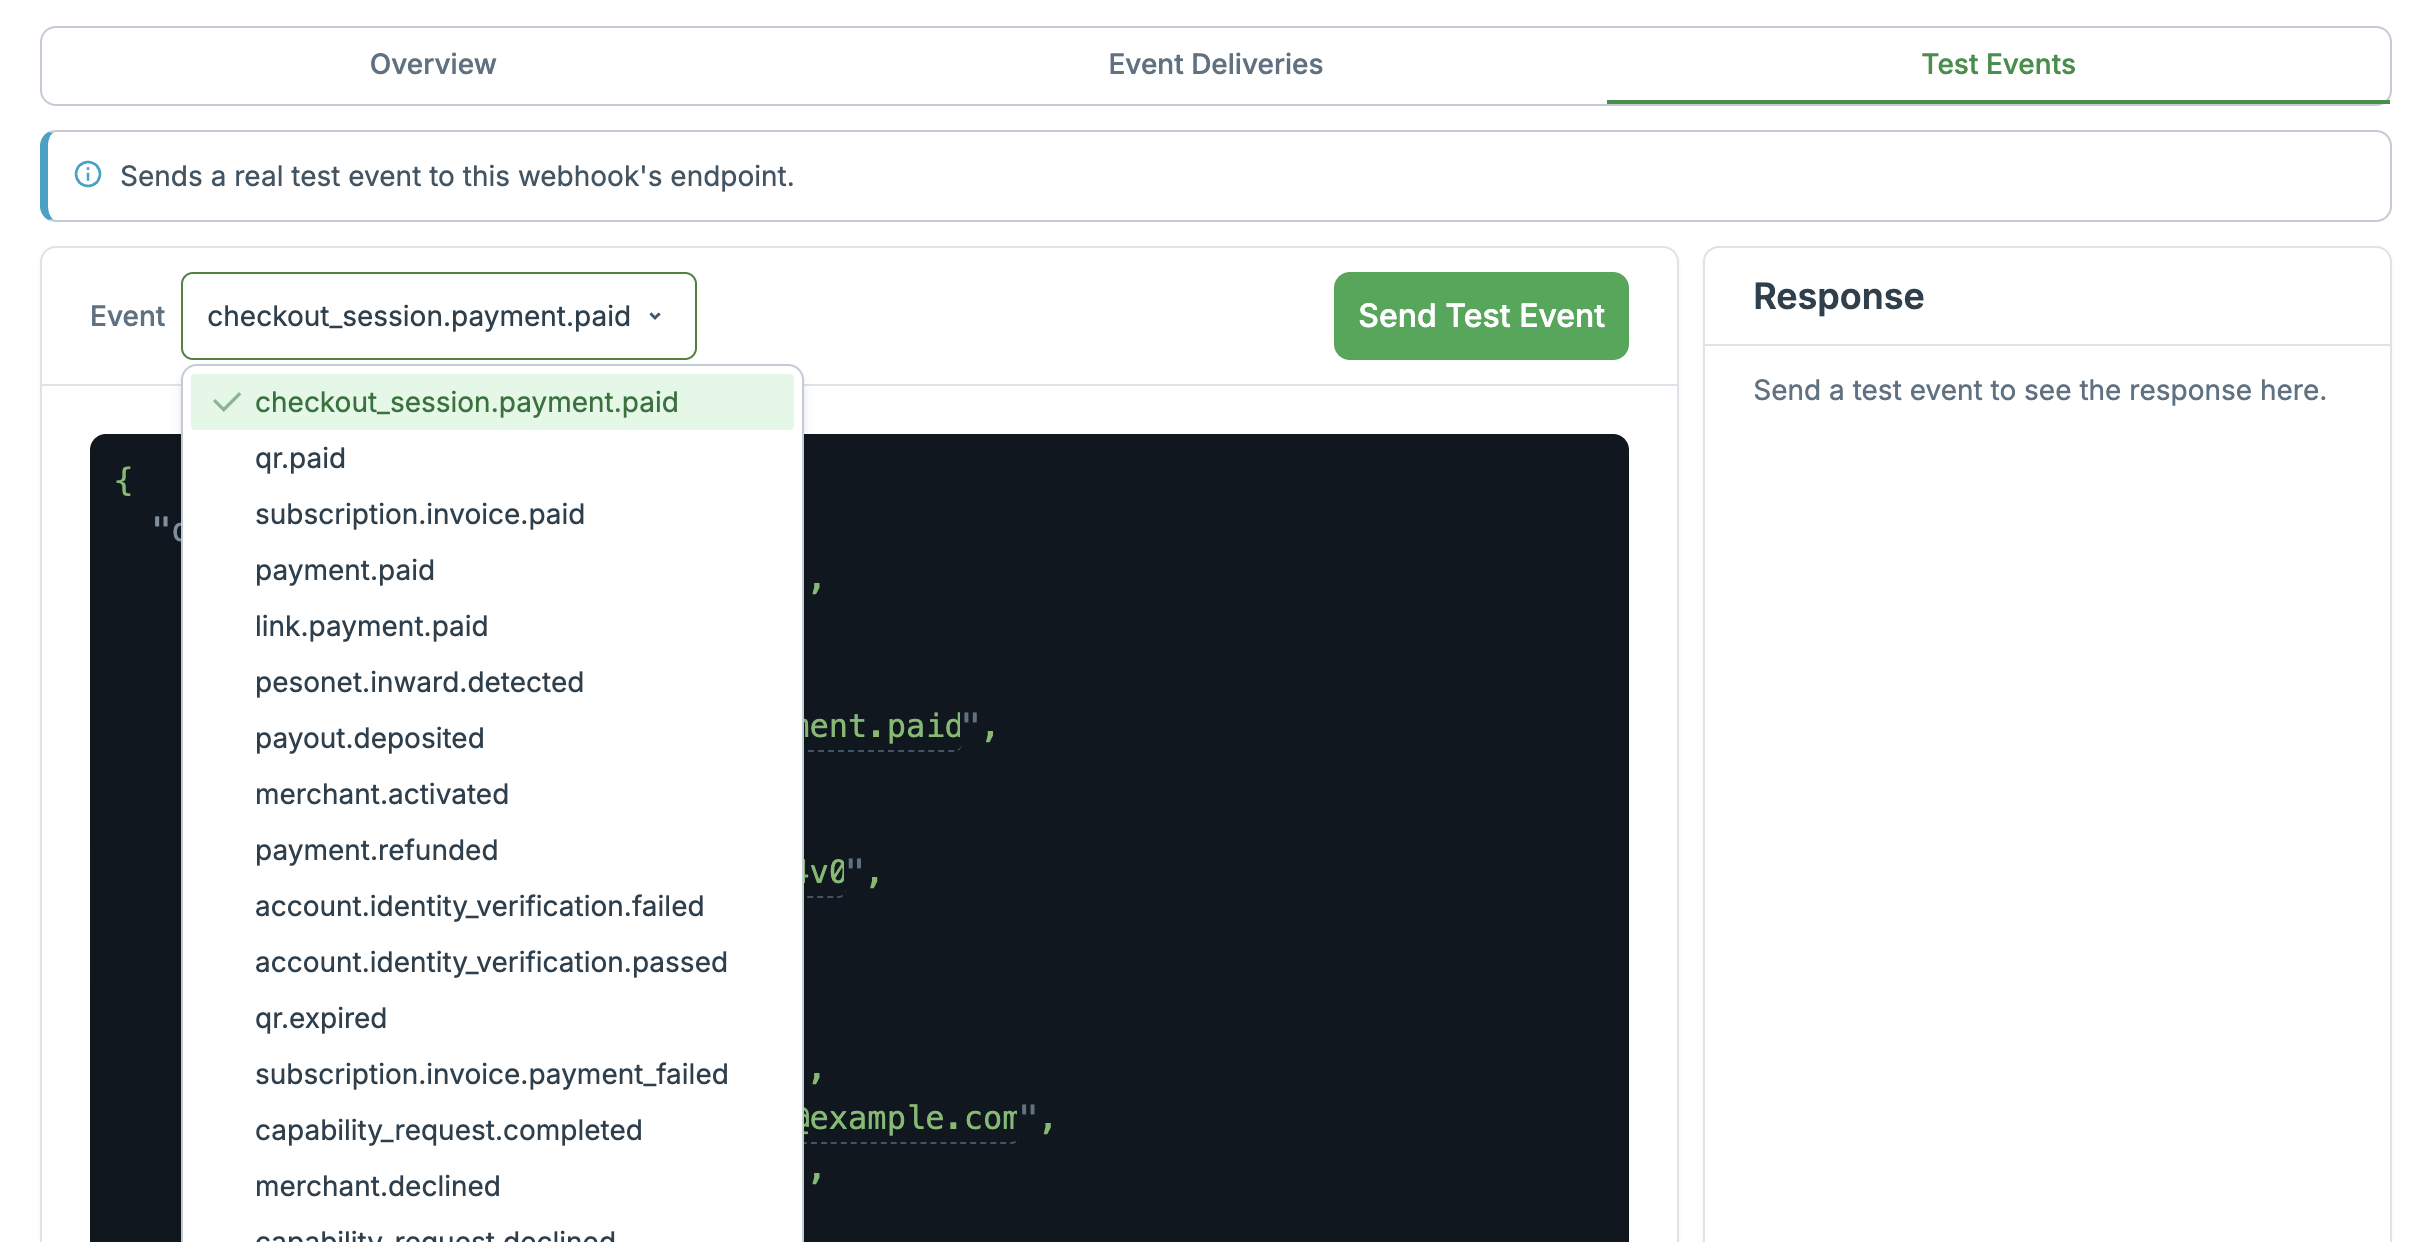
-
Review the sample payload that appears. You can edit individual values — amounts, statuses, names, and similar fields — directly in the editor. The overall shape of the payload (its keys and nesting) stays fixed, and the livemode field is always locked to false, since a test event can't be sent as a live one.
-
Select Send Test Event.
-
Check the result panel on the right. A success response means that your test webhook is queued for delivery. Monitor the sending status in the Event Details tab for more information
Because a test event travels the same path a production event would — same envelope, same signature header, same delivery and retry logic — sending one is a genuine end-to-end check of your handler, not just a payload viewer. It's a good way to:
- Confirm a brand-new endpoint is reachable and returns a 2xx response before you subscribe it to real events.
- Verify your signature verification logic accepts a genuine PayMongo request.
- Reproduce an event type that's hard to trigger naturally (for example, a failed payout) so you can check how your integration handles it.
- Try an edge case — an unusual amount, currency, or status — by editing the sample payload before sending.
Updated 5 days ago