
Setup
Set up Order & Pay by creating a Location, Catalog, and Touchpoints, then share branded QR codes or URLs. This example walks through a food & beverage setup — the same steps apply to other use cases like hotels, bookings, or ticketing.
Setup steps
-
Open Order & Pay in your dashboard
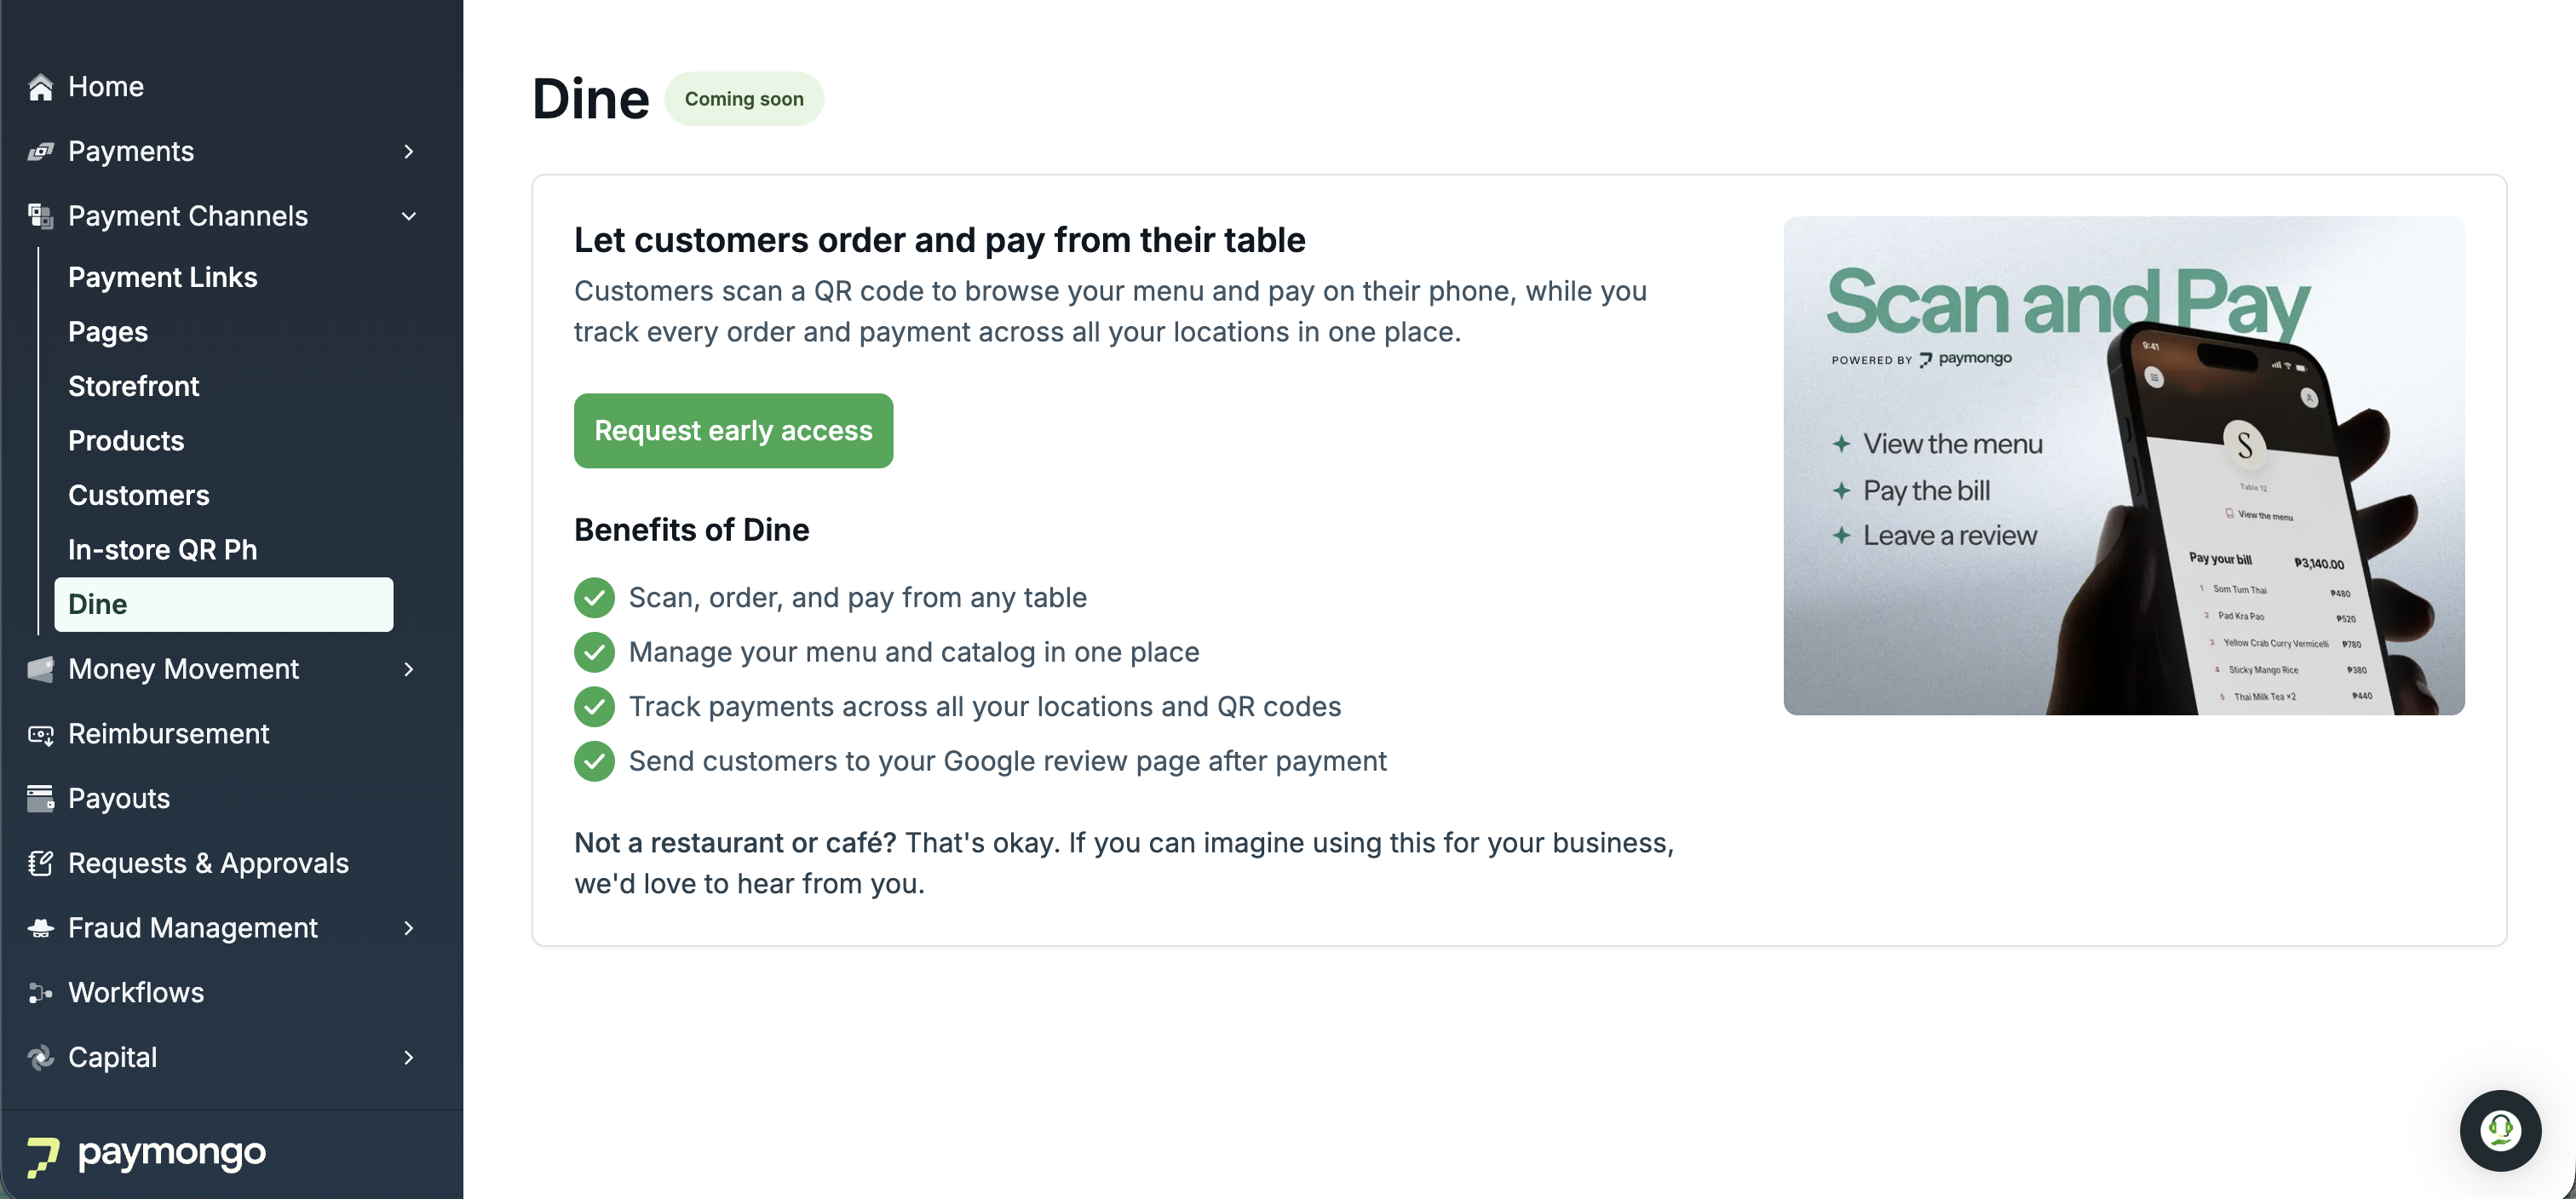
Sign in to your PayMongo Dashboard and go to Payment Channels → Order & Pay. If Dine is not enabled for your account yet, click Request Early Access to join the Dine Beta Program. After PayMongo enables access, return to Dine to continue setup.
-
Create a Location
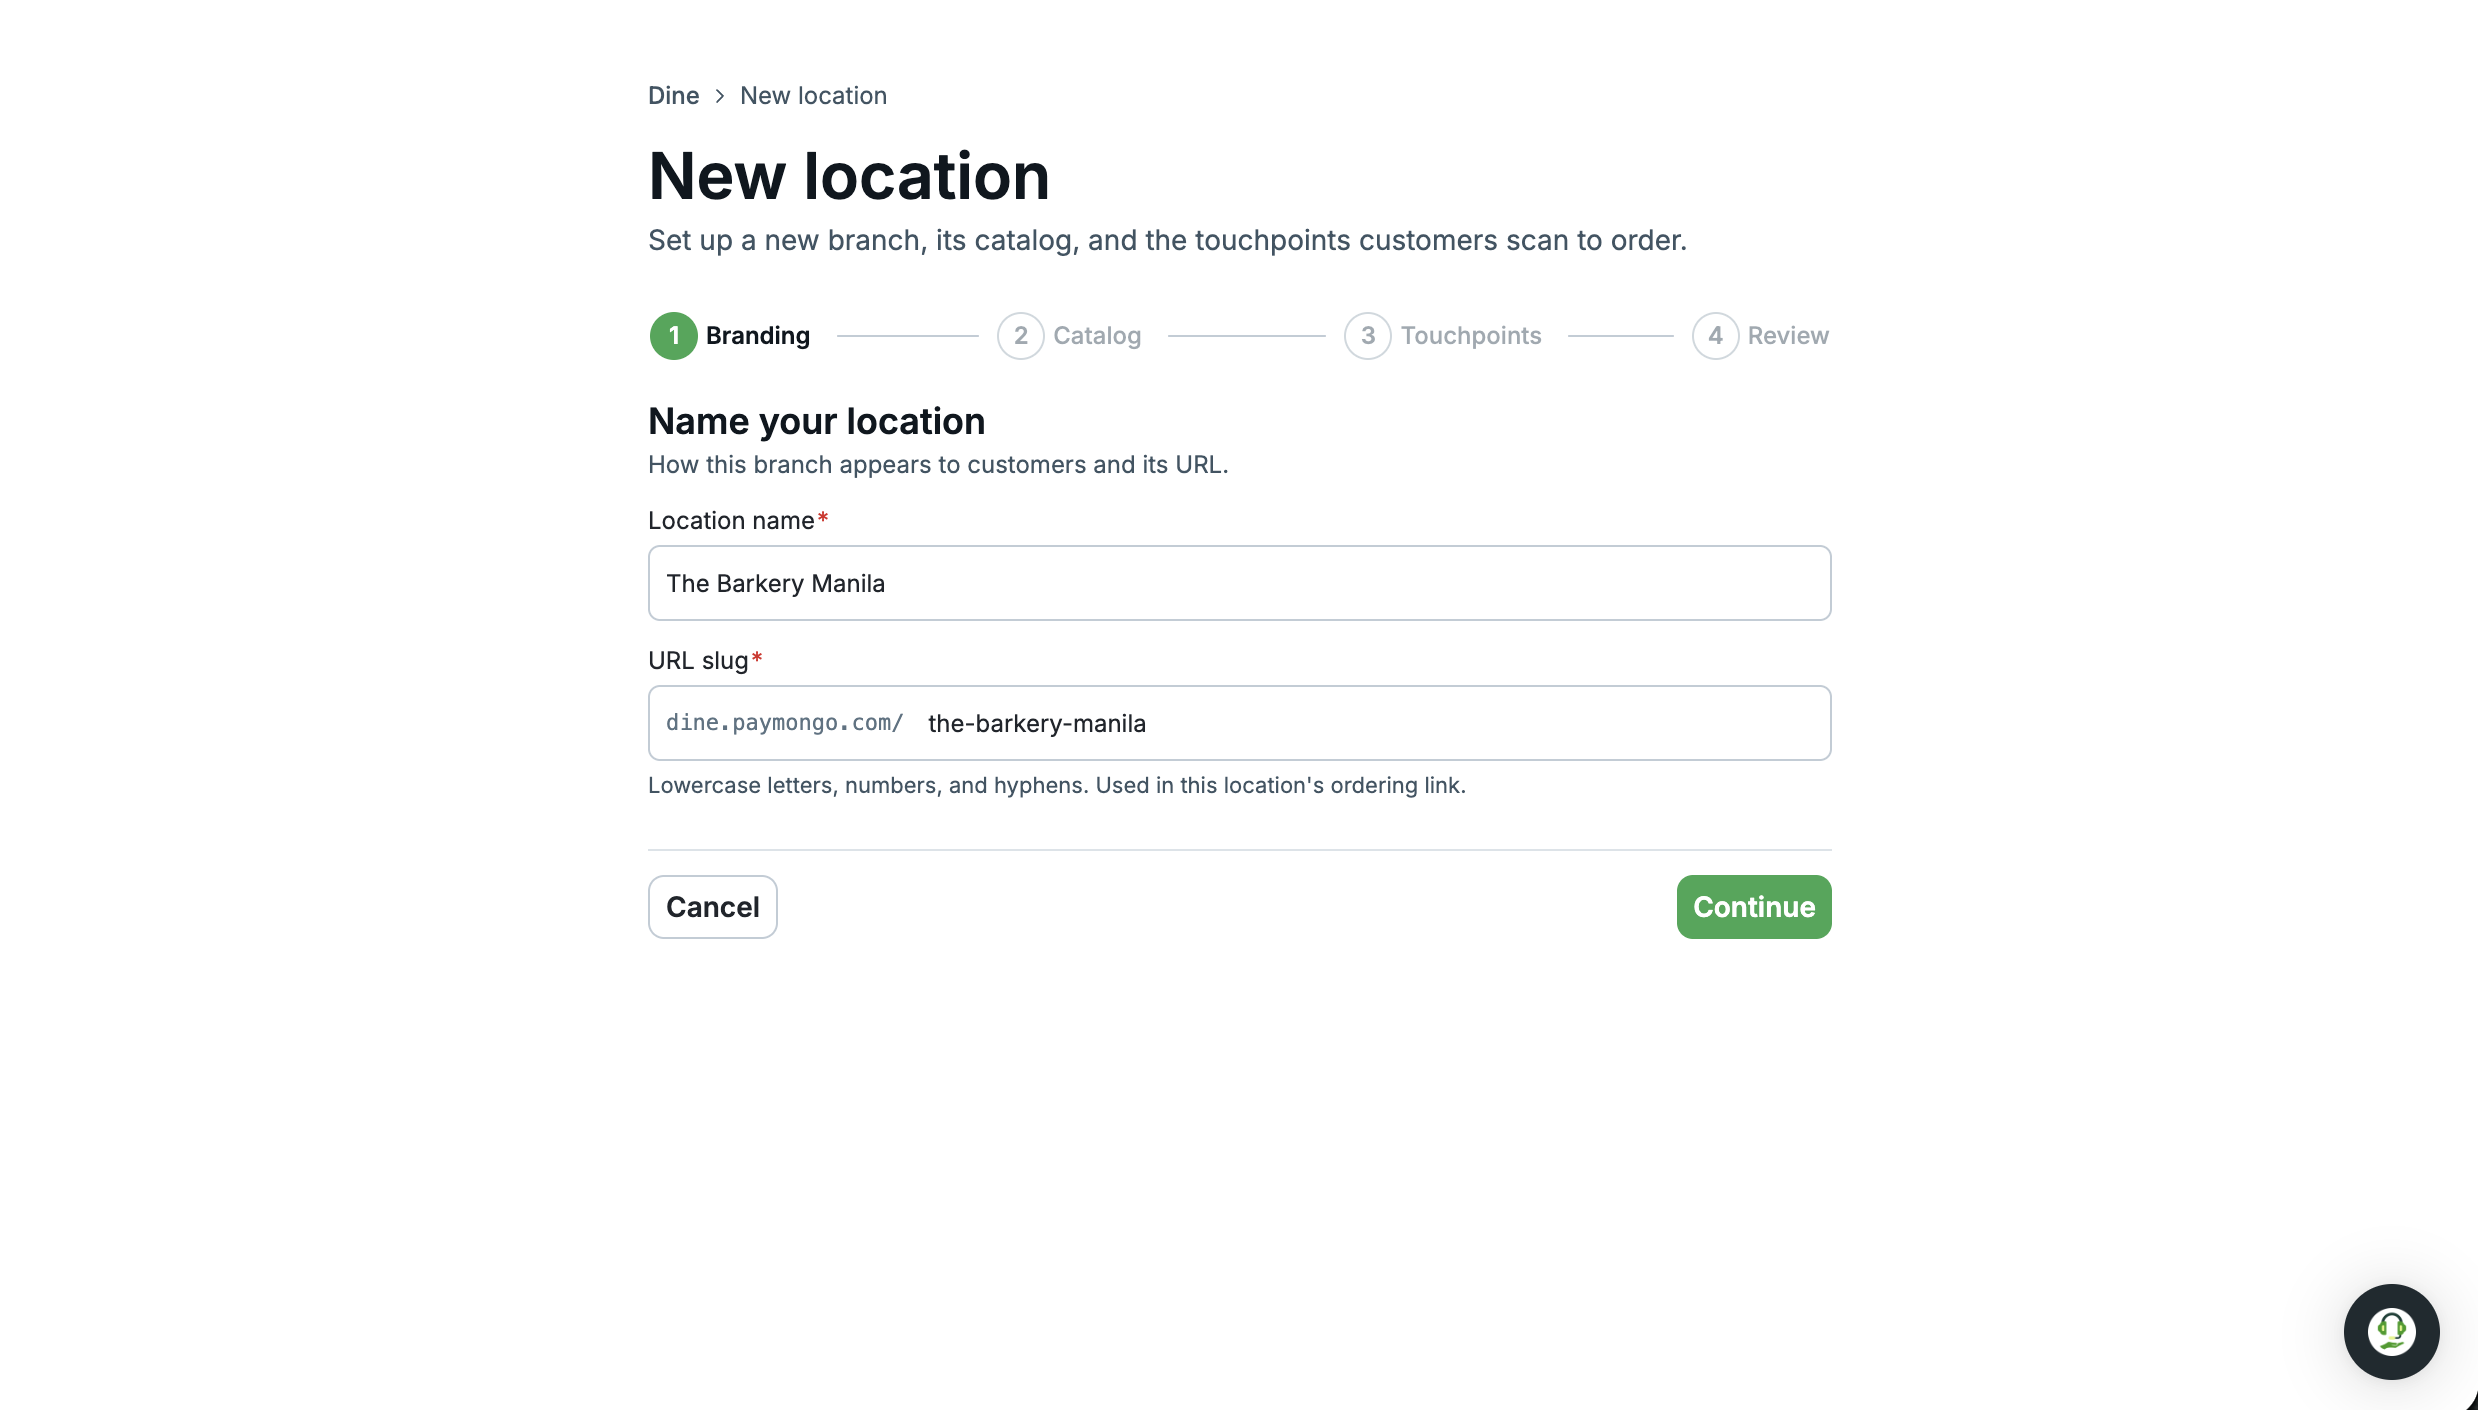
Create a Location for the branch, site, or property that uses Order & Pay — for example, a restaurant branch.
-
Set up the Catalog
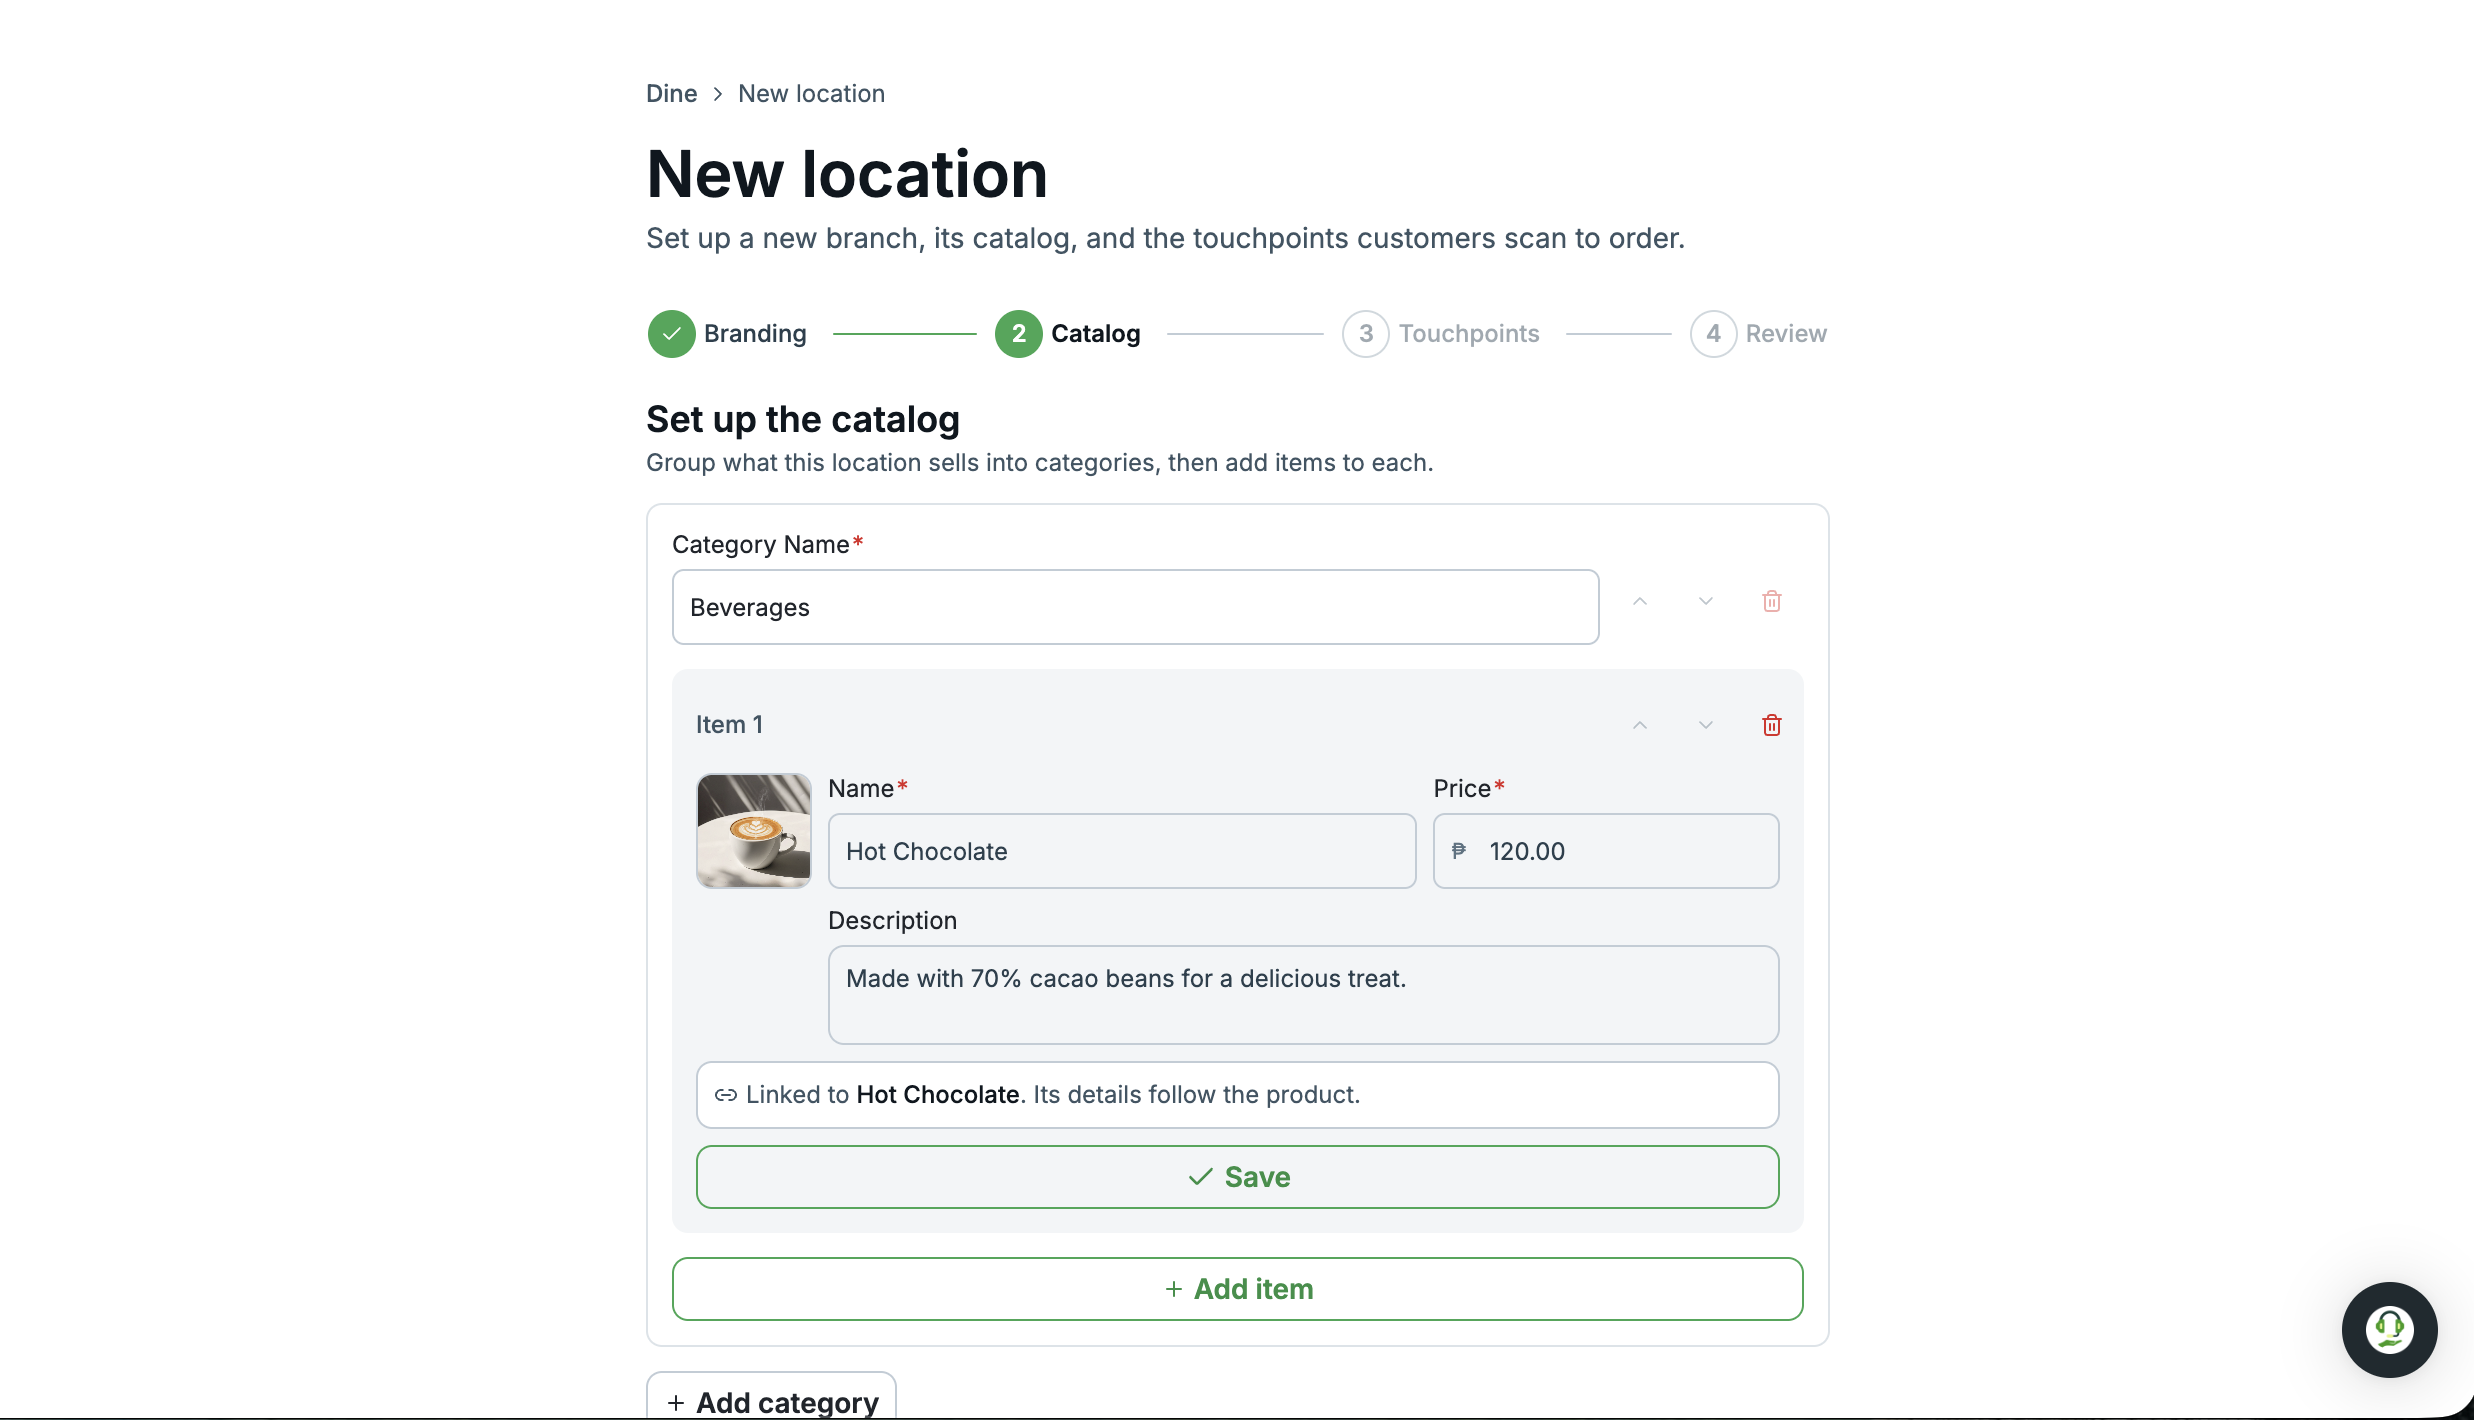
Add the Catalog for the Location. Organize the Catalog into categories and add the items that customers can browse and order, such as a menu for F&B, or a list of services for other use cases.
-
Add Touchpoints
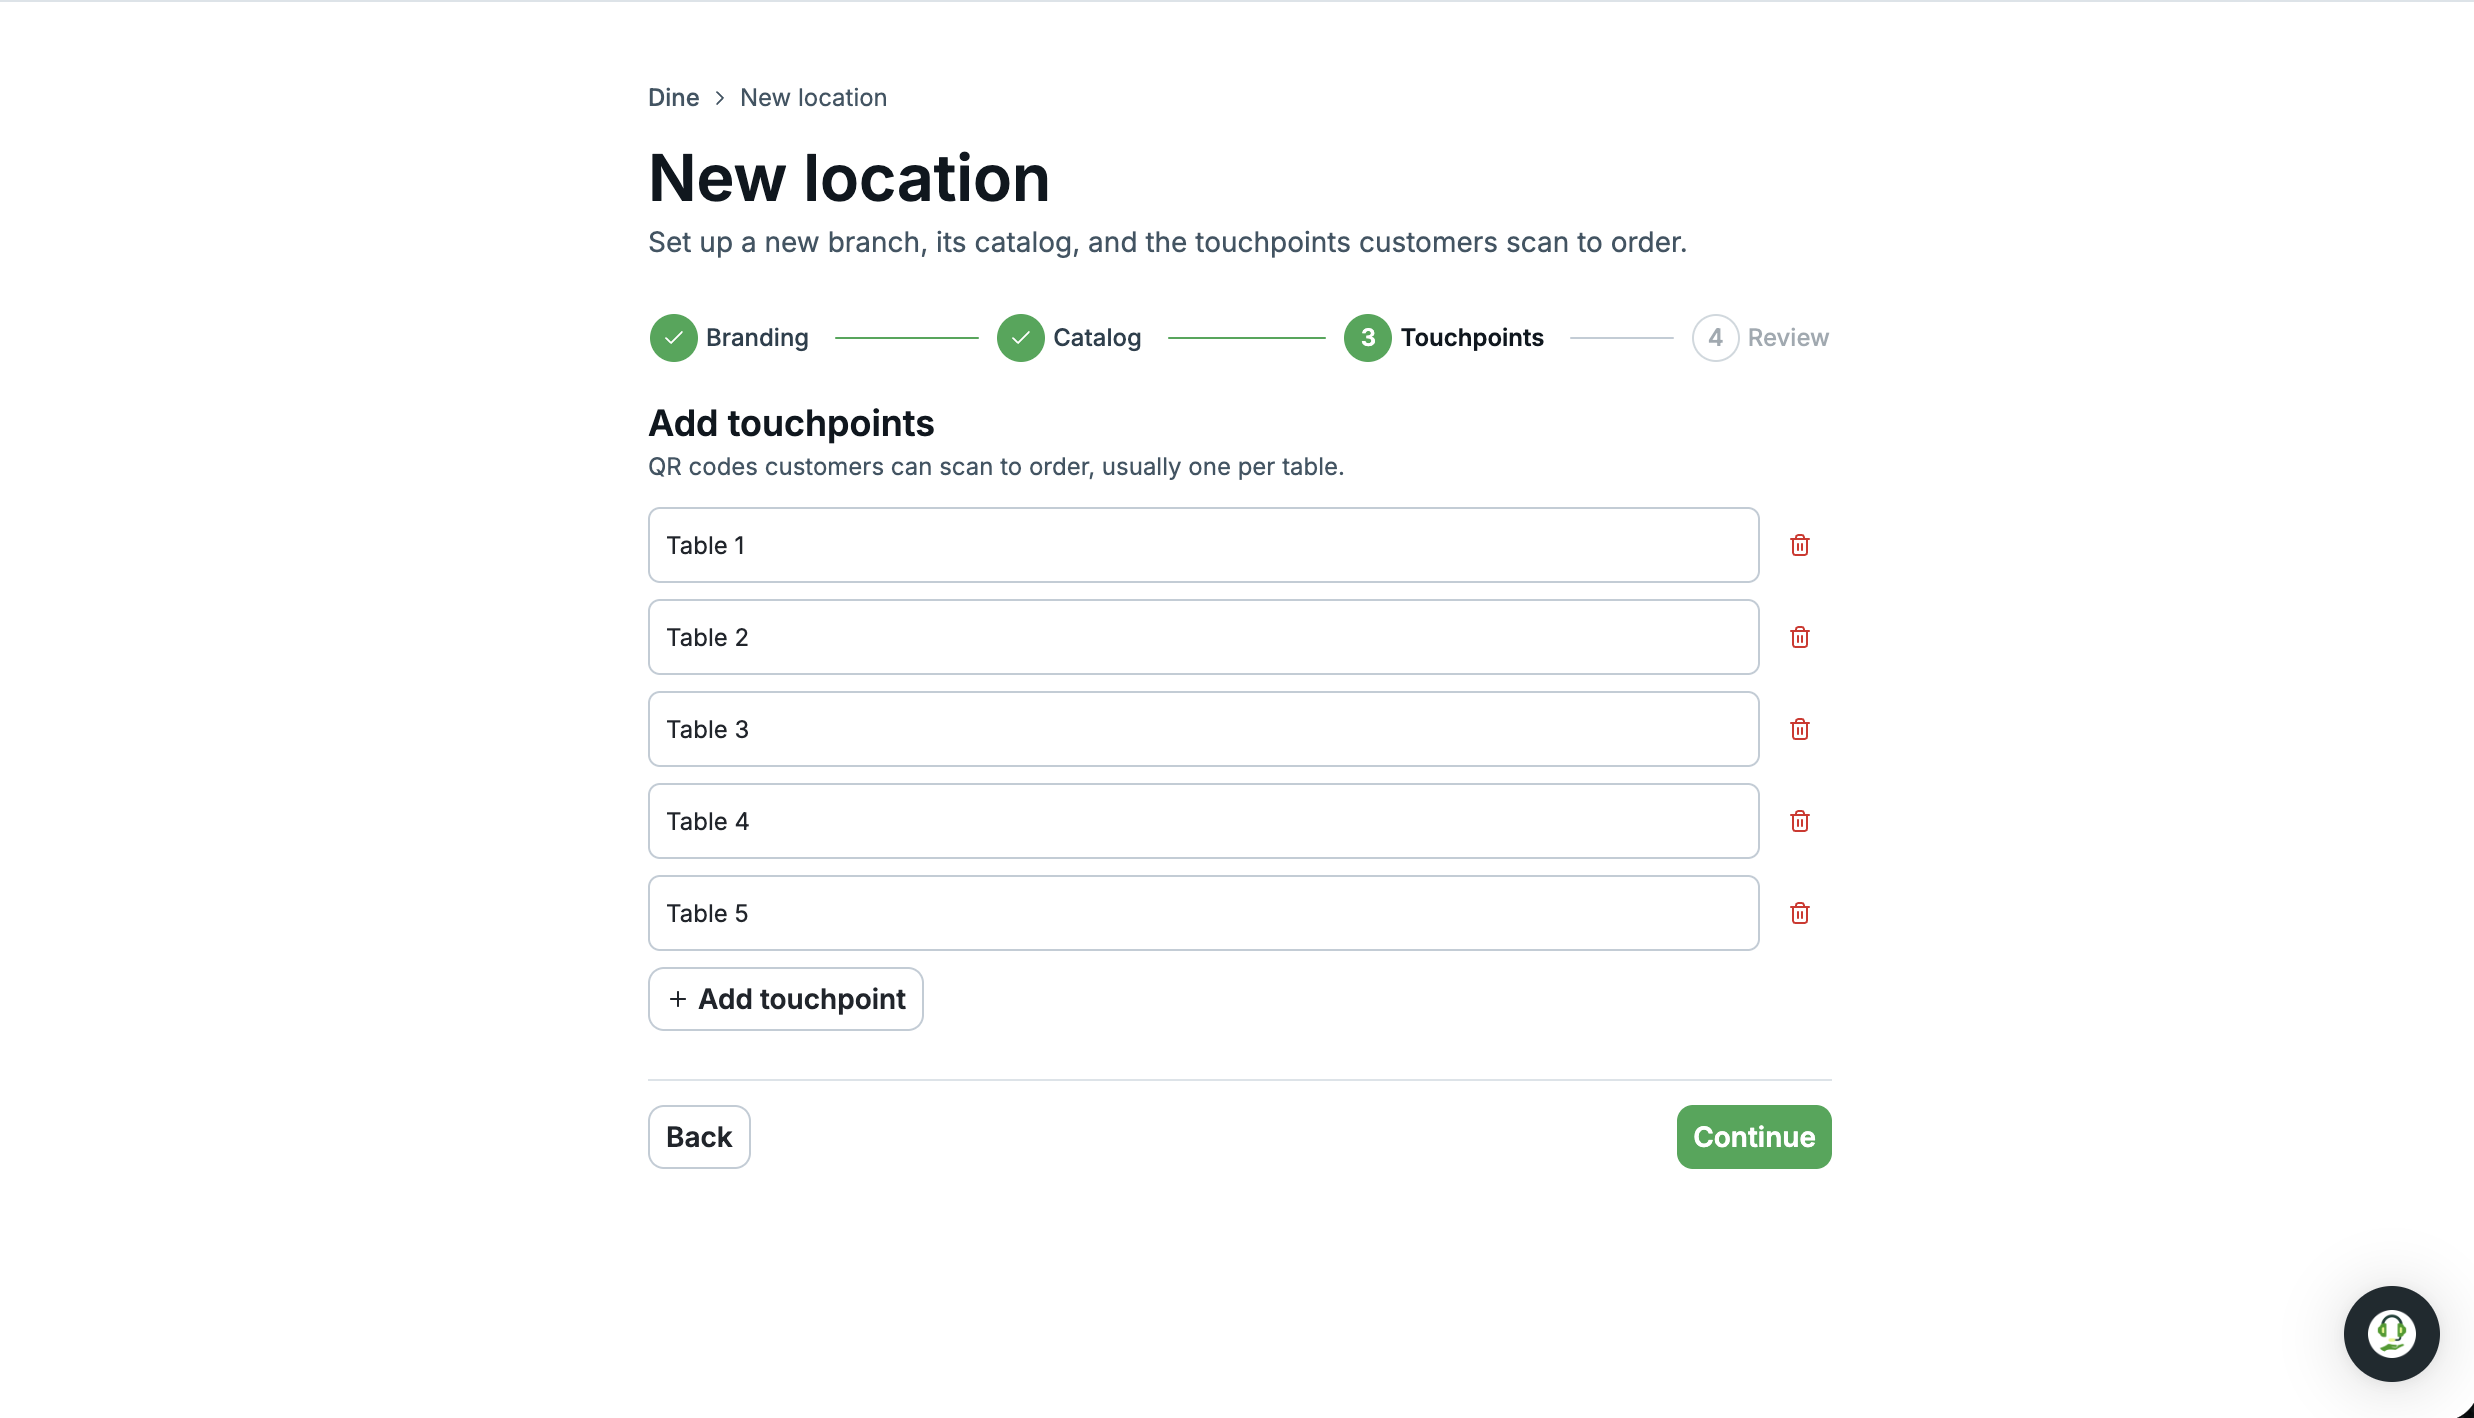
Create Touchpoints for the areas where customers will scan and order, such as tables, bar counters, rooms, booking slot or other in-store ordering points. Each Touchpoint belongs to a Location.
-
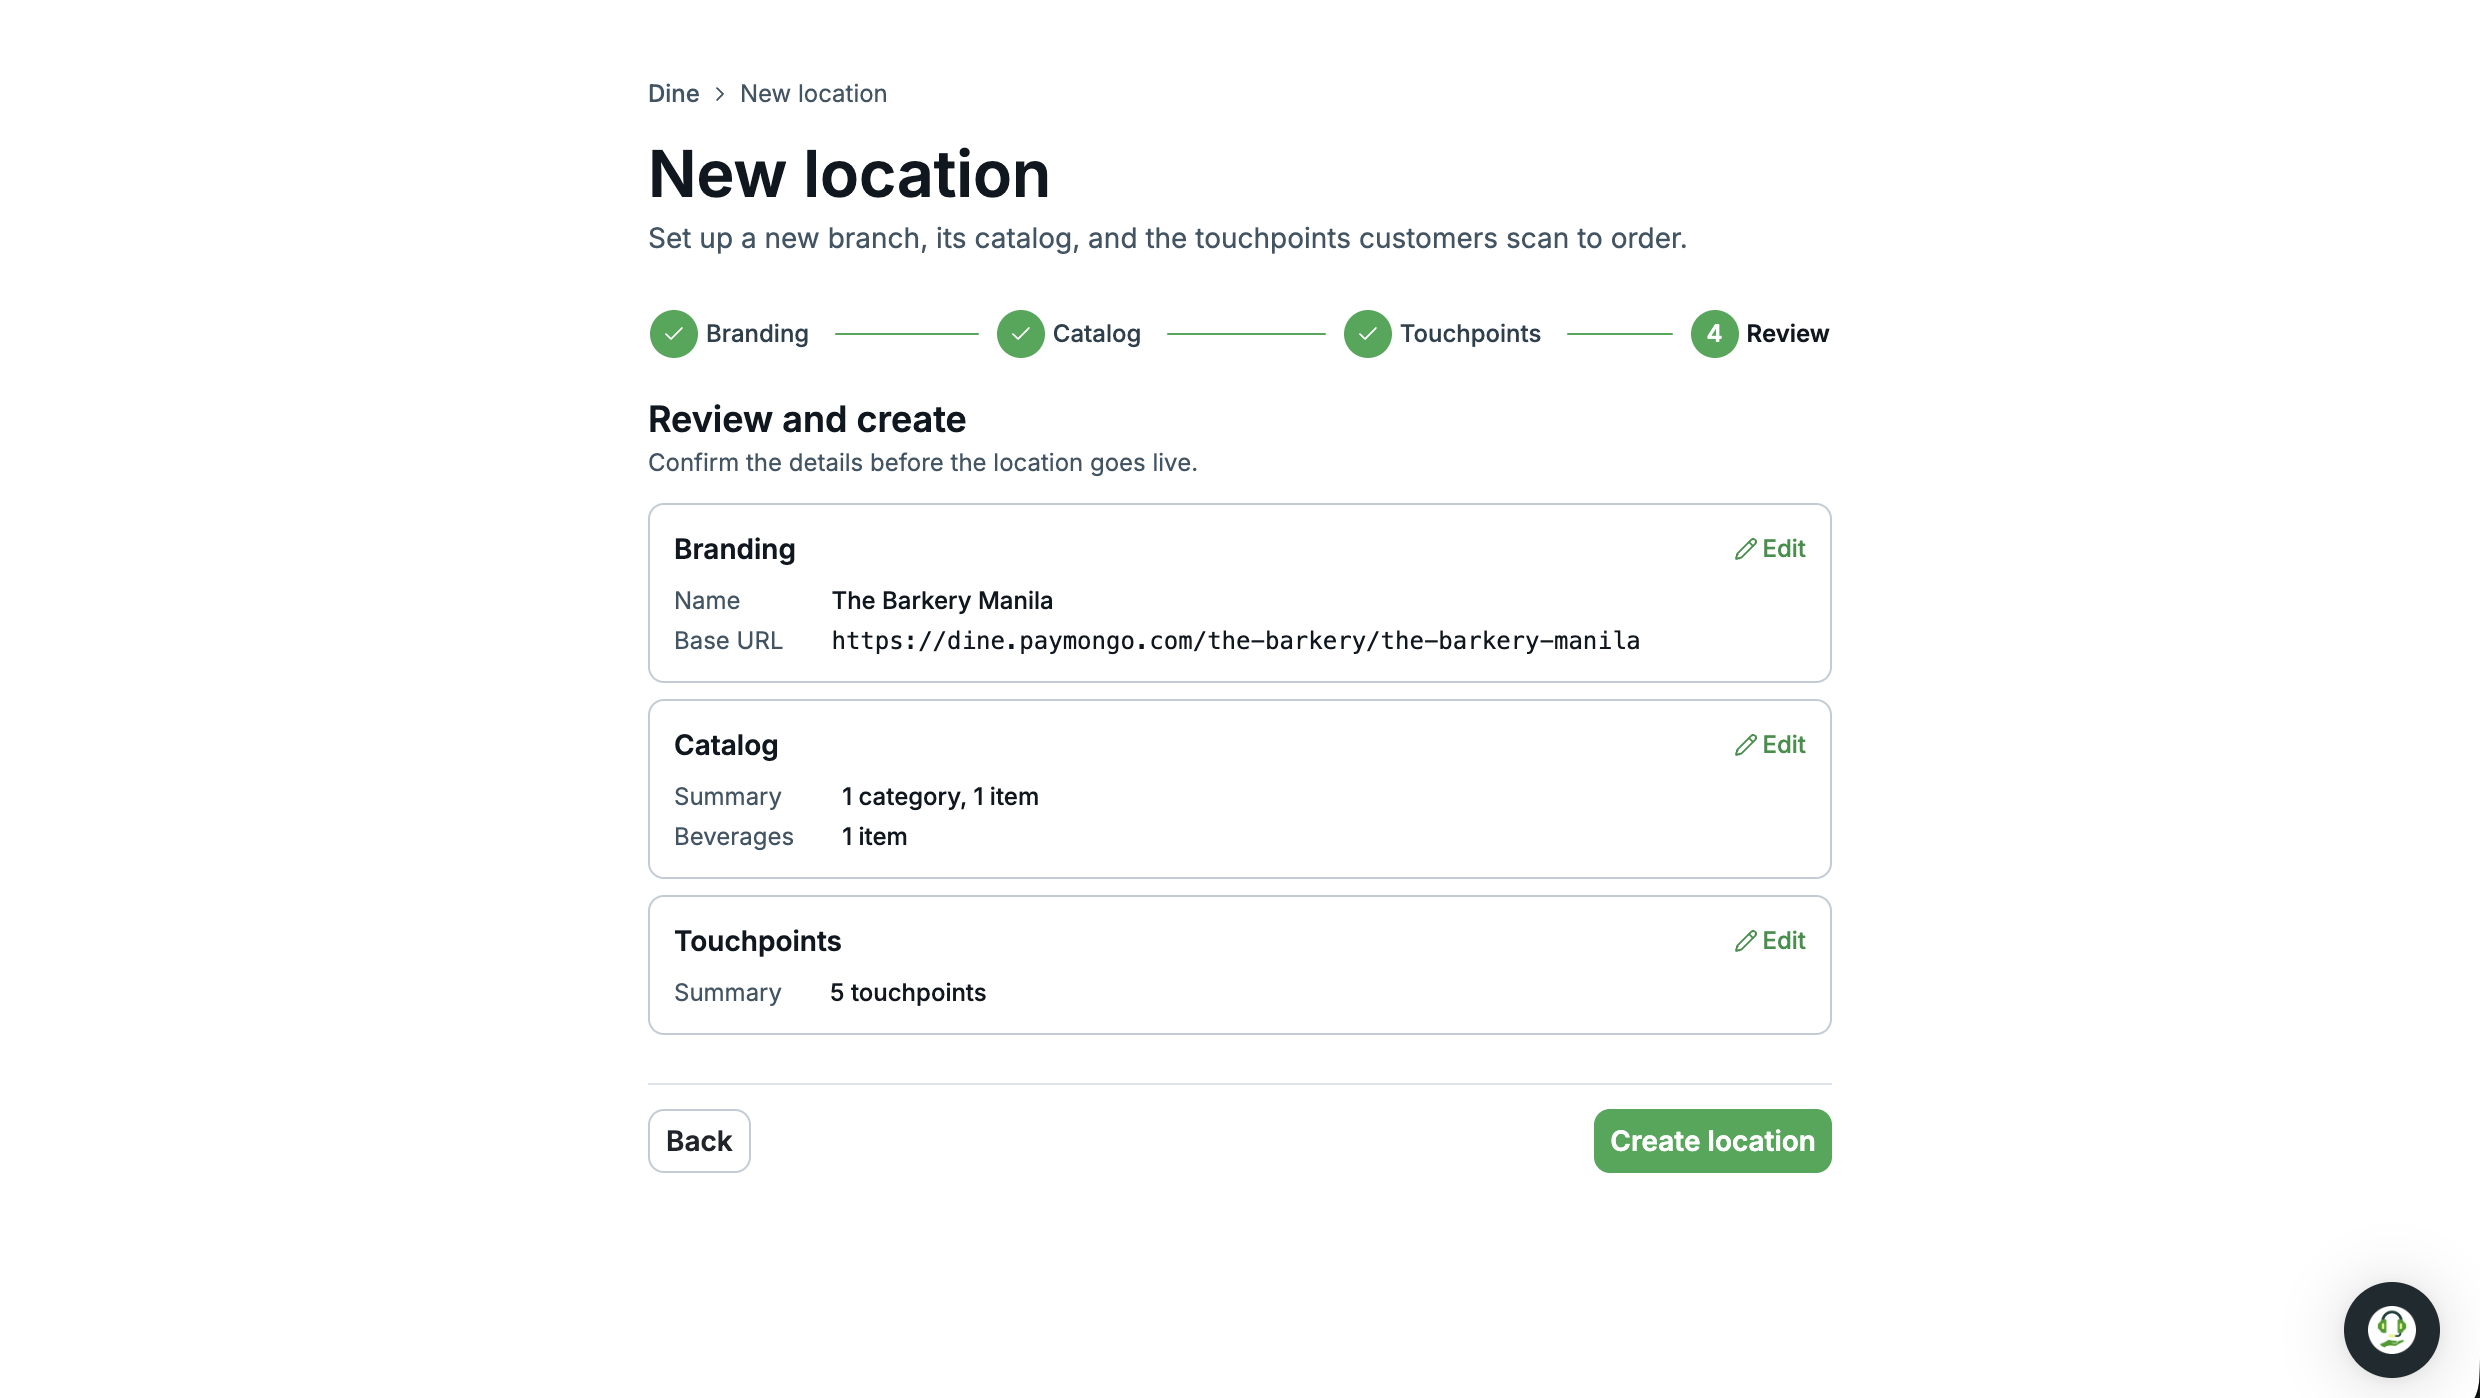
Review and submit the Dine setup
Review the Location, Catalog, and Touchpoints before completing the setup. Make sure the customer-facing details, Catalog items, and Touchpoint names are correct.
-
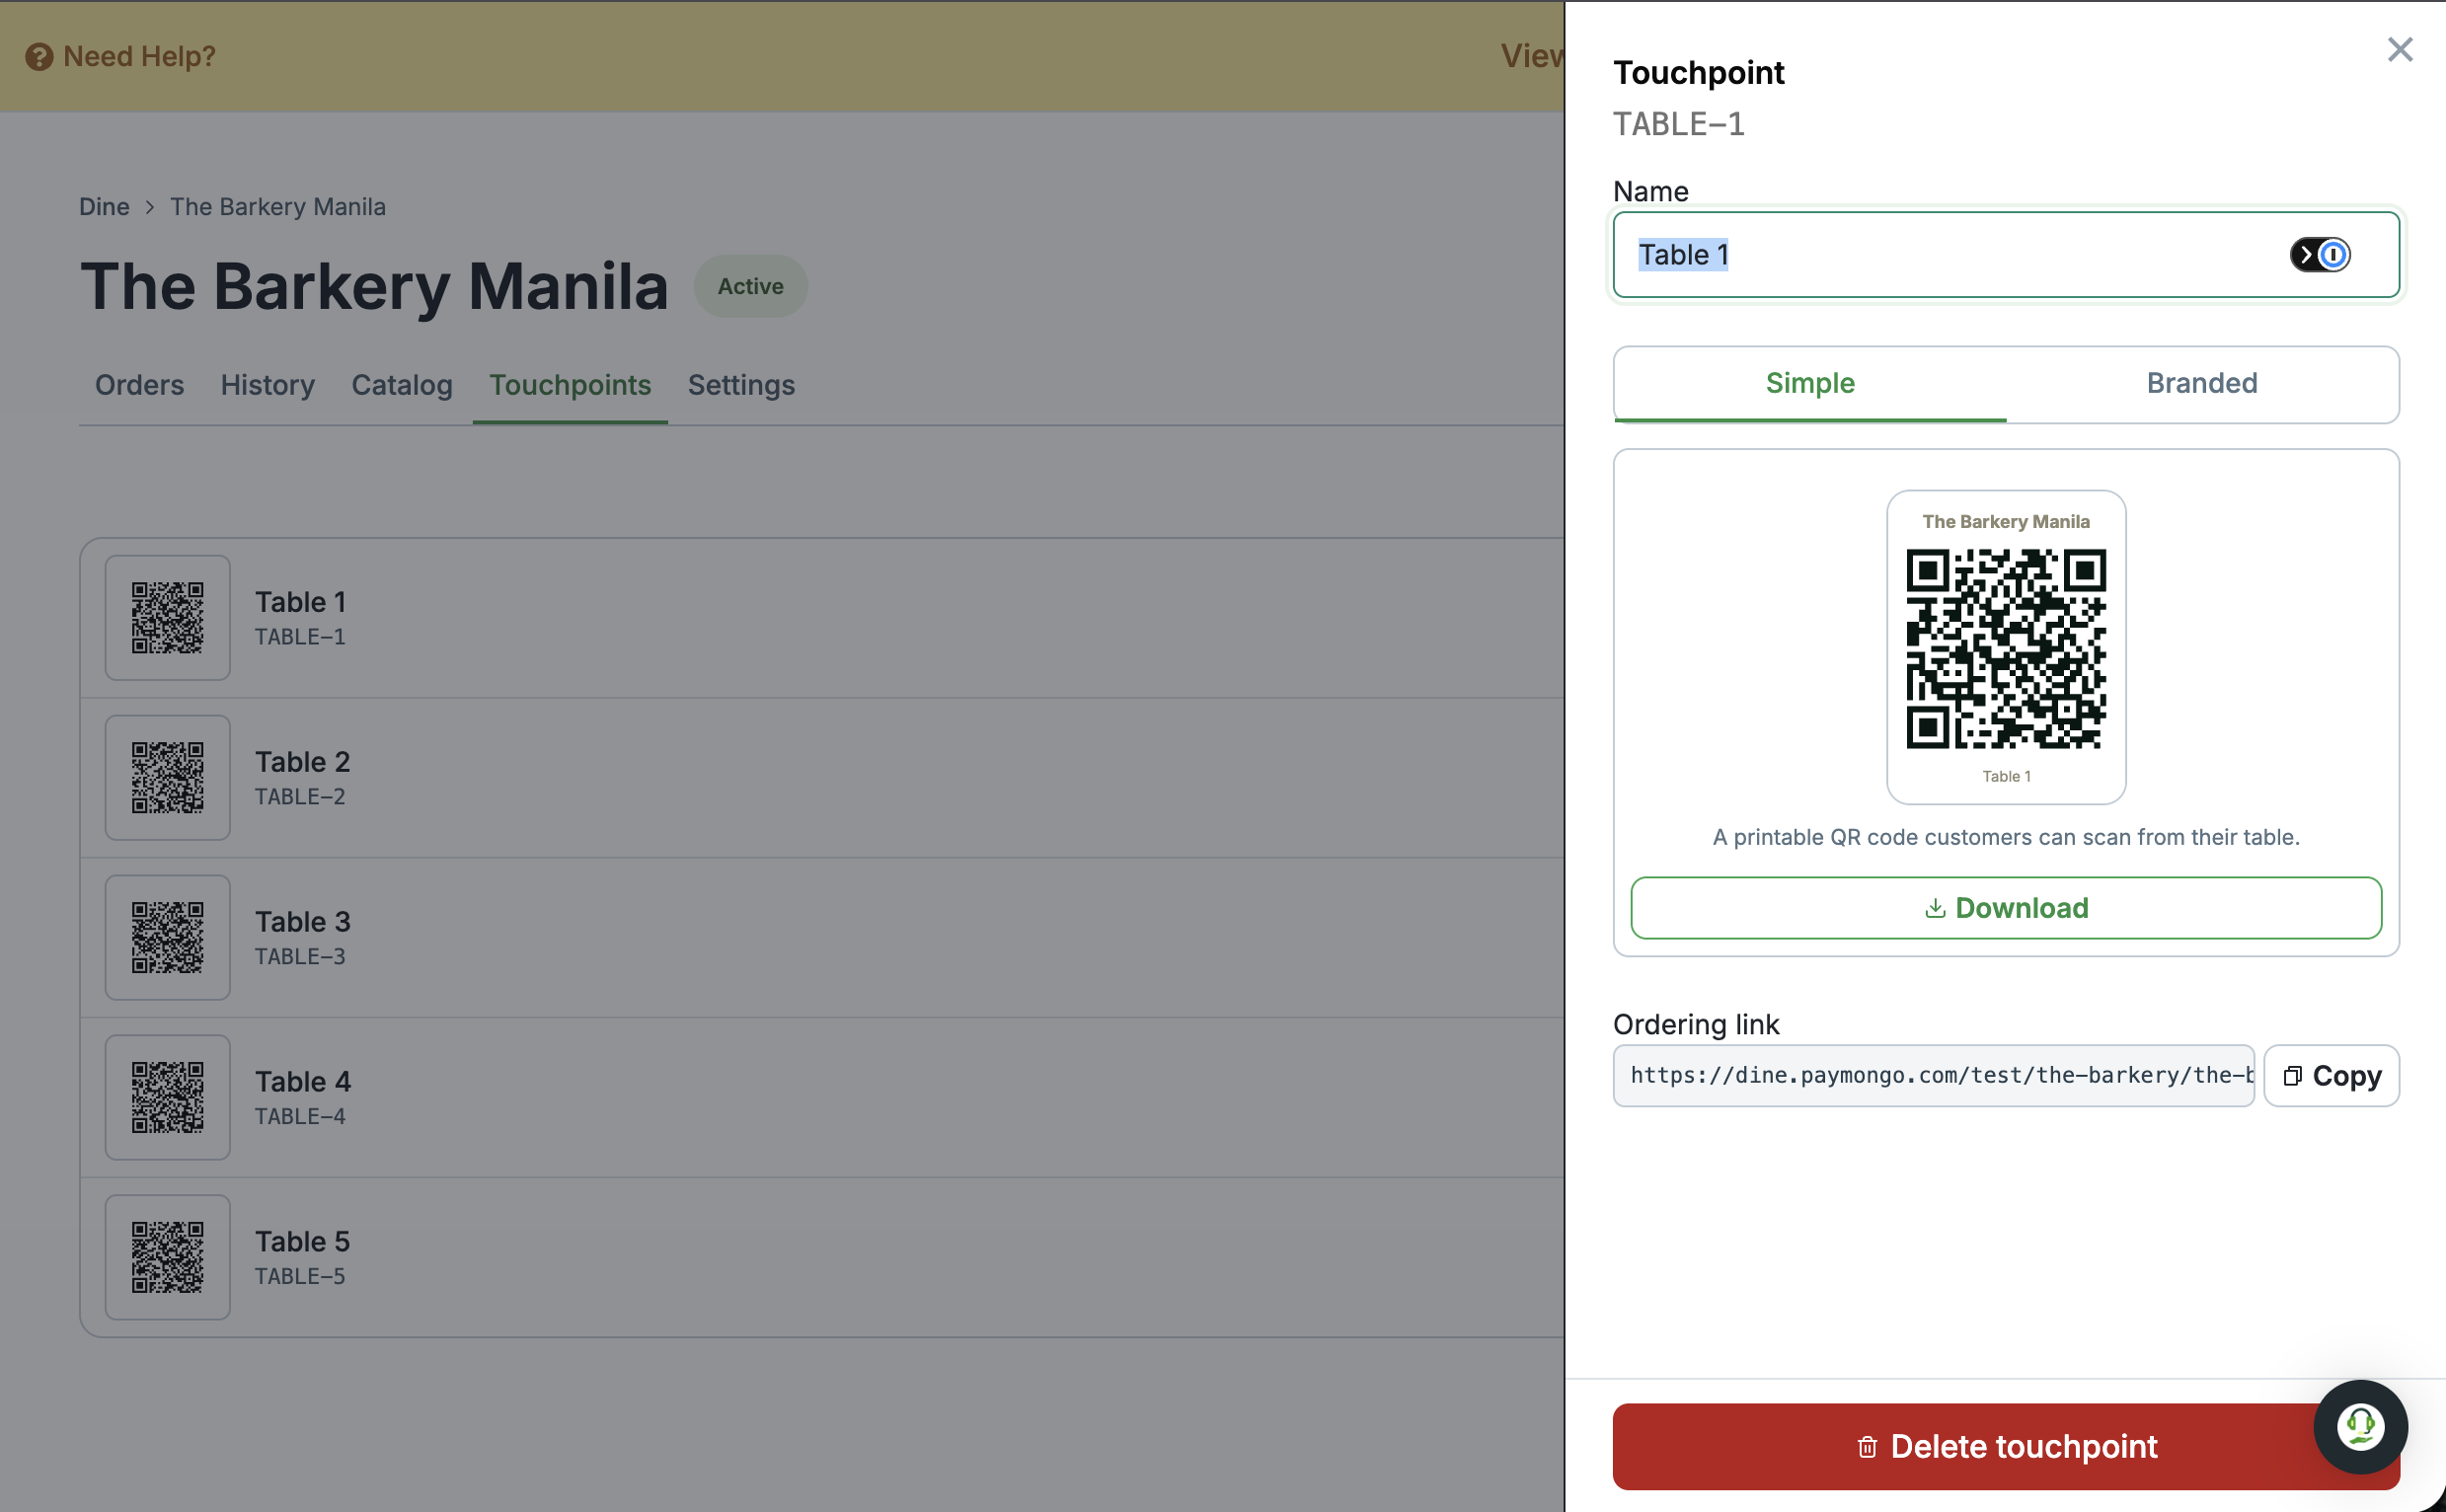
Share each Touchpoint QR code or URL
Each Touchpoint has its own QR code and specific URL. Place the QR code where customers can easily scan it, such as on a table tent, counter display, or printed Catalog. You can customize the printed QR material to match the merchant's design, as long as the QR code remains clear and scannable.
Updated 2 days ago